Contents
Artists easel – Plans and Instructions
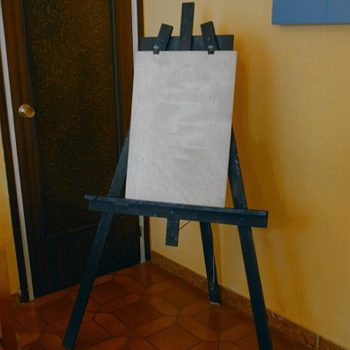
An artists easel is a freestanding, three-legged frame structure, usually made of wood, which is used by an artist to hold a canvas upright while it’s being worked on, or to exhibit the piece of artwork.
This artists easel is big, solid and bulky. It stands 2000mm (6′ 8″) high.
I first made it some six years ago under the directions of my daughters. At the time I thought it was cumbersome. However, it passed all trials, stood the test of time and became the budding young artist’s favorite painting tool.
It has helped produce many paintings and is still well used today.
Scroll to the bottom of the page to see some of the paintings which have been created on this easel.

Materials required
• 75×50 (2×3) lumber – 2 pieces at 2065mm (82 3/8″) and 1 piece at 2025mm (81″).
• 100×50 (2×4) lumber – 1 piece at 1200mm (4ft).
• 18mm (3/4″) plywood – 1 piece 1200×825 (48″x 33″)
• 10mm (3/8″) carriage bolts – 2 at 170mm (7″) and 1 at 125mm (5″).
• A hand full of 60mm (2 1/2″) nails and a bit of wood glue.
Note: If 75×50 (2×3) stock can’t be obtained, it can be ripped out of 150×50 (2×6) stock.
It can also be replaced by 50×50 (2×2) stock for a flimsier version or 100×50 (2×4) stock for a sturdier version.
Use treated lumber, galvanized bolts and galvanized nails if the easel is to be used and left outside.
Two Easel plans
$5.00- Pay online by credit card, debit card, or Paypal using Secure Server Paypal. You do not need a Paypal account if paying by credit or …
Instructions
Step 1. Cut the members
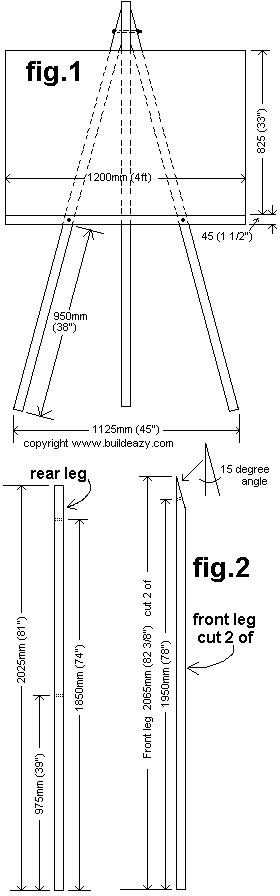
- Cut the two front legs 2065mm (82 3/8″) long. Angle cut the tops 15° as shown in the drawing.
Measure 1950mm (78″) up from the bottom of both front legs and drill a 10mm (3/8″) hole through the face (widest) side at right angles to the angle cut. See fig.2 in the plan drawing below. - Cut the rear leg 2025mm (81″) long. Drill two 10mm (3/8″) holes through the face (widest) side, one up 975 (39″) from the bottom and the other up 1850mm (74″).
- Cut the horizontal cross member 1200mm (4ft) long.
- Cut the 18mm (3/4″) plywood backing board 1200 (48″) long x 825 (33″) wide.
Step 2. Leg assembly
- Lay the three legs on the ground with the rear leg in the middle.
- Line up the holes in the tops of the legs.
- Put a bolt through the holes and loosely place a washer and nut on the end of the bolt.
- Spread the two front legs at the bottom until they are 1125mm (45″) apart. See fig.1.
- Tighten the nut.
Step 3. Complete assembly
- With the leg assembly still lying on the ground, and with the tops of the legs bolted together and the bottoms spread apart 1125mm (45″), then center and drill and bolt the horizontal cross member to the front legs 950mm (38″) up from the bottom of each front leg. See fig.1.
- Glue and nail the plywood backing board to the front legs positioned as shown in fig.1. Ensure that there is glue between the bottom edge of the backing board and the horizontal cross member.
Step 4. Stand and tie
- Stand the easel upright and arrange (spread) the legs until the easel is at a convenient angle.
- Add a rope to stop the easel from spreading any further apart. Thread one end of the rope through the hole in the rear leg and tie off.
- Tie the other end of the rope to an eye screw fixed to the back of the cross member. That’s it! Go and paint.
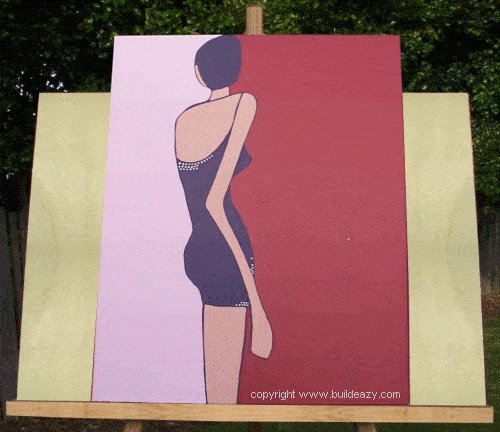
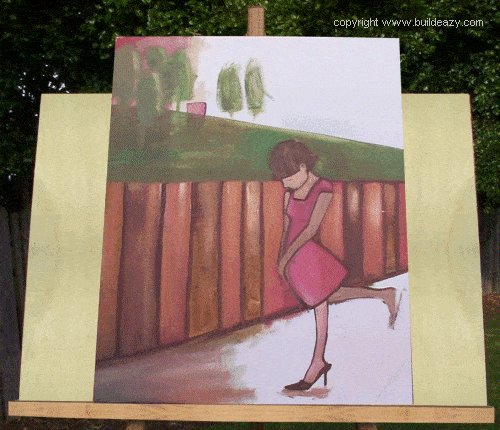
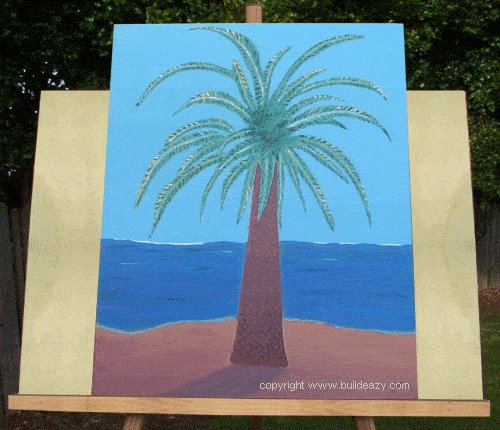
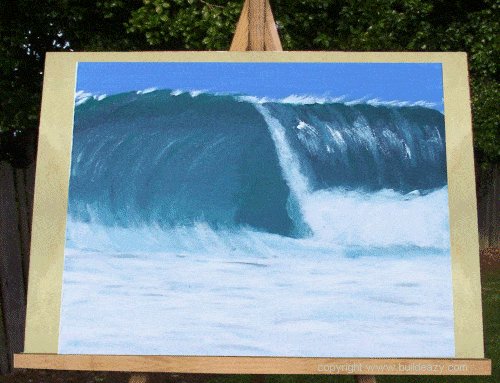
Paintings
- Below are some of the paintings that have been created on this easel.
- The size of the plywood backing panel on the easel is 1200mm (4ft) wide x 825mm (48″x 33″) so that will give a perspective as to the size of the painting.


Thought I’d send along a copy of my easel I built from your plans.
Made a couple mistakes when drilling the hole for the legs (forgot to lay the legs and the back leg on the floor with the angled cuts pressed against the back leg) so my holes for the front legs didn’t exactly match up when I passed or I should say attempted to pass the bolt through.
Rectified that mistake though and will cover the bolt holes (counter sunk the bolt head and nut) with wooden appliques.
Made mine from clear Ash because they didn’t have clear Pine on stock and Ash was cheaper than Pine or Oak.
Also cut a 1/4″ V grove into the cross piece on order to hold artwork in place better. Heavier pieces might have tended to slip off if displayed out doors.
Thanks again. � Keith Doucet, Tusket Nova Scotia
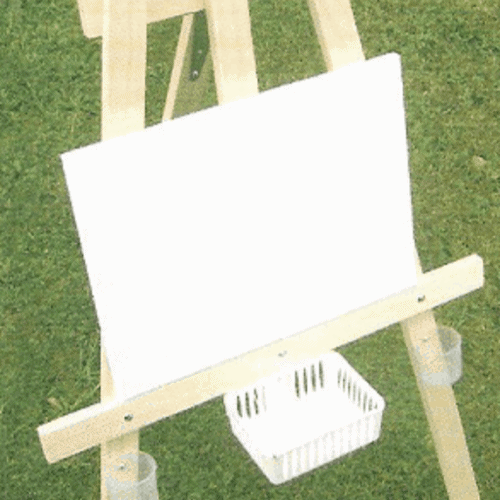
Here’s an easel we made off your plans while on holiday in Spain.
Things were a little different for me here, so had to change a few things!
I don’t know if they even have lumber yards here in the city (Barcelona) or close to it, but found a carpentry store just around the corner from where we are staying and asked what they had to offer.
They had a few spare pieces of lumber and offered us four 2m (80″) lengths of 50mm x 15mm ( 5/8″ x 2″) for 5 Euros (8 U.S. Dollars).
After measuring off the plan we realized it would be a little small for me (Yes I know it said kids easel!) so we followed your plan, just added some length.
Found the screws and bolts at a local hardware store. easy as! Total of everything including timber was 9 Euros (14 U.S. Dollars) spent.
We also added a piece of timber on top of the horizontal piece, so we could have a ledge for my canvas and pencil / paint brushes to rest on. We dug out a trench thingy for my pencils/paint brushes. You would cringe – we had no tools so just kinda dug it out with a screw driver and hammer. Good enough though – the pencil doesn’t roll away!
Everything bought, made and painted all in one day:)
ps. attached is a photos – Rose 🙂
I wanted to send my version of the Easel project.
I wanted to go cheap, but still sturdy, so I used 1″x2″x8′ lengths of primed MDF, cut them to proper length, and then sandwiched 7″ blocks spaced every 11″, starting at the top, between two lengths of them to make the final 2″x3″ lengths.
Glued and screwed (single 2″ deck screw on each block) the pieces to make one sturdy piece.
Had to make sure where I screwed the top piece would not interfere with the 15 degree angle cut or the bolt.
These give it kind of an artistic look, too. The rest is according to direction.
The whole project was around $23, I am estimating.
Thanks for providing the directions to it.
Terry in Normal, IL