Contents
Adding a polyurethane layer is an important step to protect the appearance and durability of your woodworking projects. However, it’s not the most comfortable medium to apply because it’s too thick for some brushes and can quickly ruin lower-quality bristles.
I have used countless brushes for applying polyurethane and put together these reviews and a comprehensive buyer’s guide to help you choose the best brush for adding poly to your project.
Best Brushes for Polyurethane – My Top Picks
BuildEazy.com may earn a commission if you purchase a product through one of our links.

Wooster Brush 5221-2 Angle Sash Paint Brush

Wooster is one of the most recognizable and trusted brands for painting supplies.
This brush has a comfortable wooden handle with a remarkably smooth surface. It feels great in your hand and is strong enough to last through many uses.
The bristles move fluidly and allow for good coverage and movement while you work. I’ve used this brush for several months’ worth of projects without ever having to pick loose bristles out of my recently applied polyurethane.
They’re made out of polyester, which makes them a breeze to clean. They’ll stand up to washing and solvents, so you can continue using this brush for many applications.
The painting edge is angled, so you can easily access corners and edges on your workpiece.
It’s 2½ inches wide, so it’s not ideal for very small projects. However, it makes applying polyurethane to large surfaces quick and painless.
This brush is made in the USA, so it’s an excellent option for those looking to support American businesses.
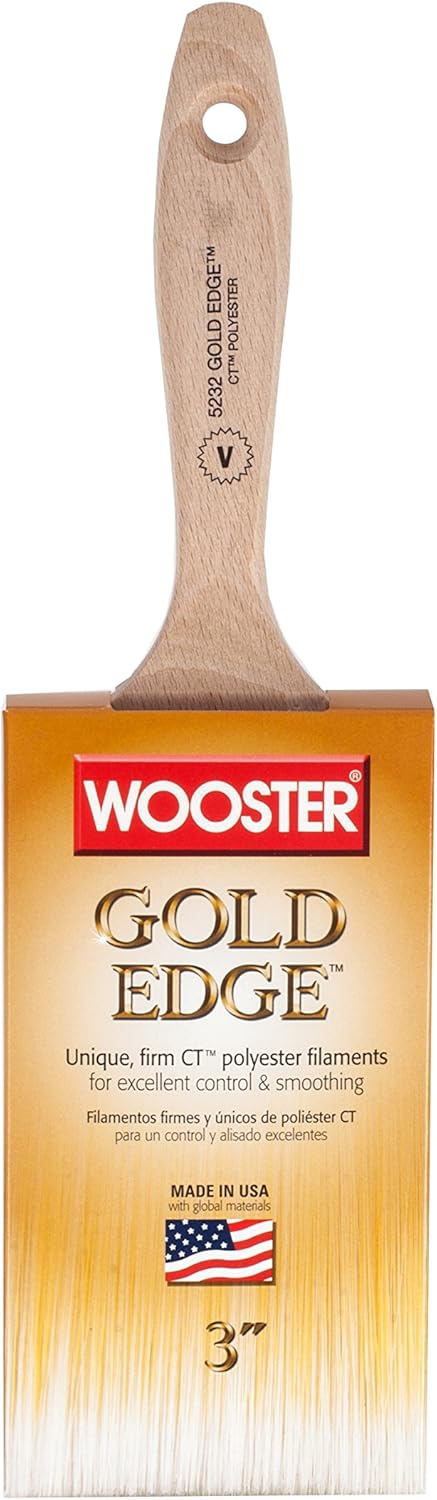
Wooster 5232-3 Gold Edge Varnish
The handle on this brush is hardwood, so it’s unlikely to break, and you’ll be able to use it through many projects. It’s exceptionally smooth and comfortable to hold, and the tapered design gives you reasonable control while you work.
The bristles are very fine and flexible. They move and fan out readily when applied to a wood surface, so they will allow you to get a very even application without too much trouble. Applying poly using this brush is effortless.
The ferrule is made of stainless steel and holds the bristles very tightly. I’ve used this brush through countless applications and have had nearly no issues at all with hairs coming loose and getting stuck on the surface of my projects.
They’re made out of polyester, which means they’ll persist through many uses and cleanings.
The painting edge is straight, making it ideal for use on flat surfaces. It’s not the best brush for getting into hard-to-reach corners, but the 3-inch wide painting surface will allow you to apply poly quickly to large surfaces.
This brush is made in the USA with high-quality components.
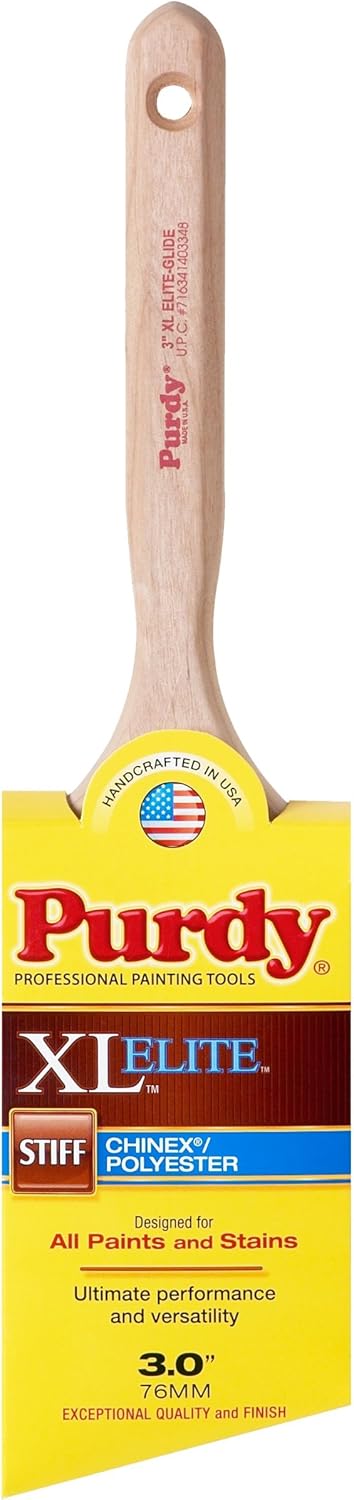
Purdy 144152330 XL Series Paint Brush
Purdy manufactures high-quality brushes and rollers for the smooth and reliable application of paint, polyurethane, and other varnishes.
The handle on this brush is hardwood, so it’s durable enough for extended and repeated use. It has a fluted, well-sanded design that makes it very comfortable to hold.
The bristles are made of nylon and polyester, so they soak up polyurethane very well. They’ll also stand up to washing and solvents, so you can continue to use this through many projects.
Purdy made the bristles relatively thick, so they don’t flex as much as others. This will lead to a less smooth finish than thinner hairs, but it will give you excellent control over where you apply your polyurethane.
I had no problems with bristles coming loose, and I expect that they will be held in place for quite some time without any issues.
The painting edge is tapered, so this is a good brush for getting polyurethane into corners. It’s also suitable for large and small projects, as it comes in sizes ranging from 1 inch to 4 inches.
This brush is made in the United States using only high-quality materials.
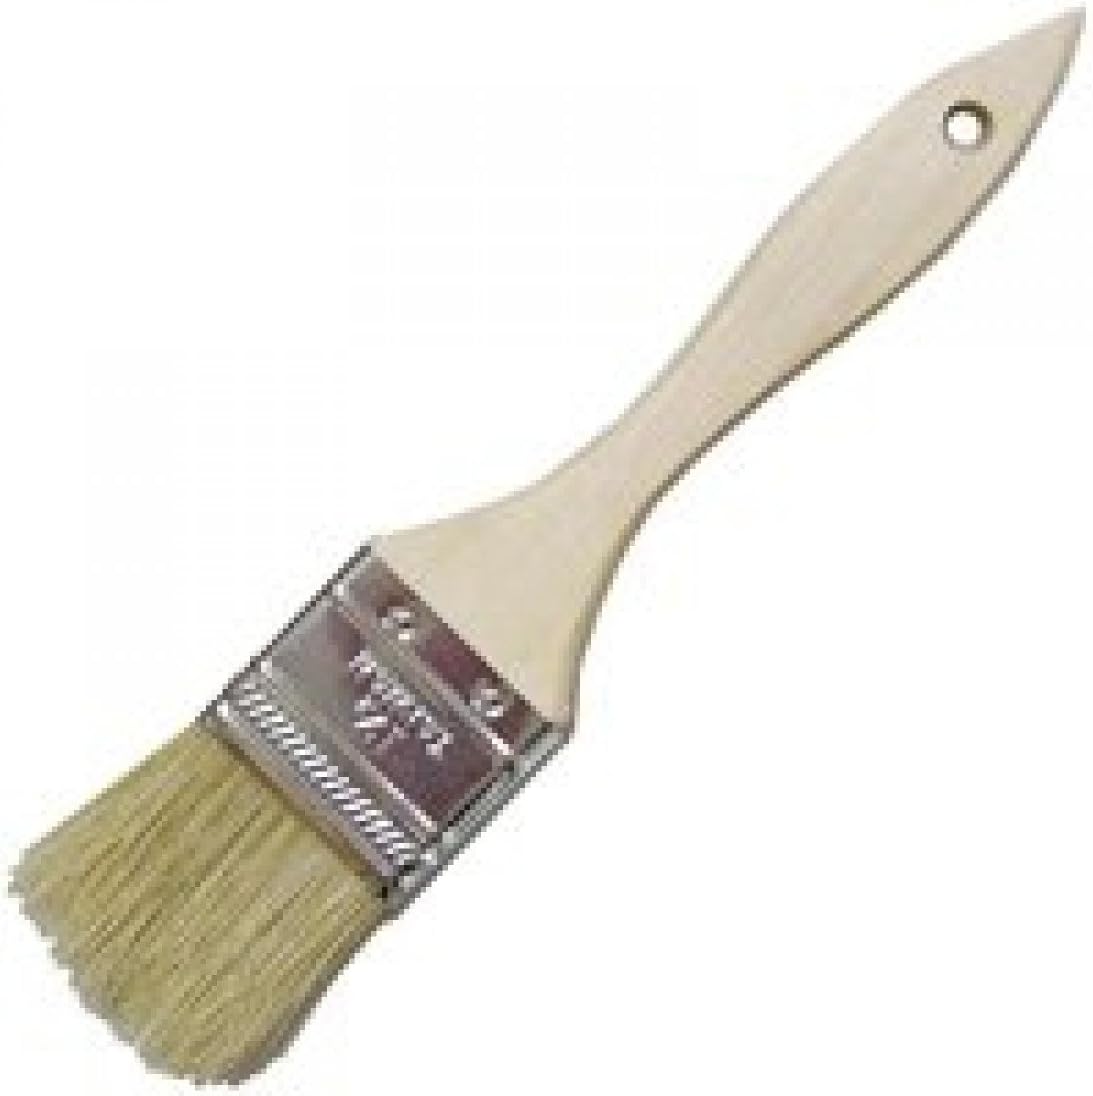
Minwax 427350008 Polyurethane Brush

Minwax has been a trusted name in the woodworking industry for decades. They provide varnishes and applicators that are affordable but still offer excellent quality.
The handle on this brush is made of softwood. It’s more durable than most plastics, but it won’t last quite as long as hardwood handles. It’s smooth and comfortable to hold, and the tapered design offers reasonable control while you work.
It features natural bristles that generally do a better job at soaking up polyurethane than synthetic options. They are thicker than most other options, which gives you great control. However, they are also a bit stiffer, so they’re likely to leave lines in your poly finish. You may find that more sanding is needed between coats when you use this brush.
The bristles are held in place with a stainless steel ferrule. I did have a few isolated instances of bristles coming loose, after which I had to do some touch-ups on my workpieces.
Cleaning this brush is straightforward, and it can stand up to some scrubbing and solvents. You’ll be able to use this for multiple projects with adequate cleaning, but I don’t think it will last as long as some heartier brushes.
The painting edge is straight and 2 inches wide, so it’s ideal for medium-sized projects that don’t have corners.
Redtree Industries 12033 Fine Finish Paint Brush
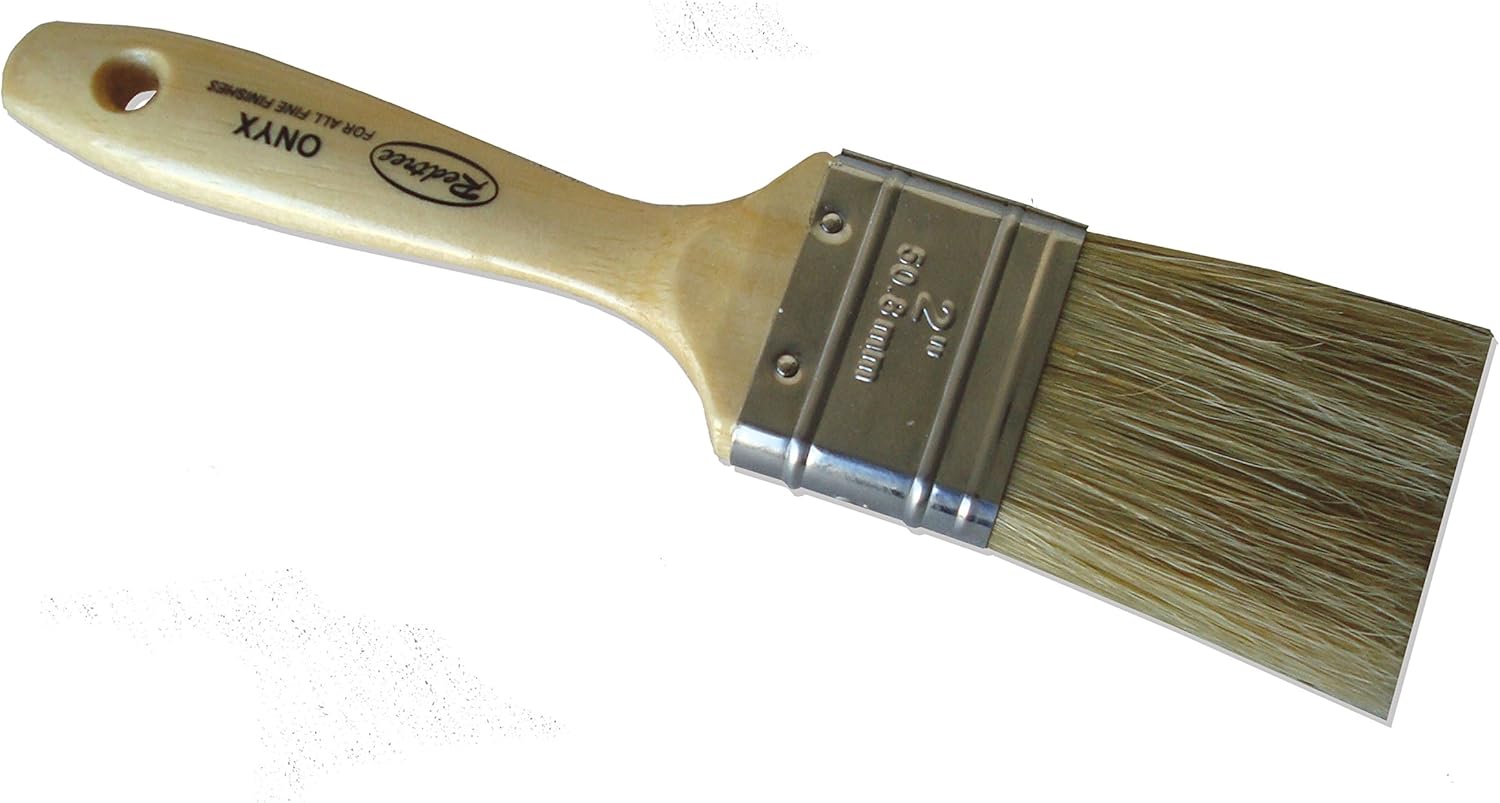
Redtree Industries provides painting accessories for accuracy and quality of finish.
The handle on this brush is made of finished softwood. It’s very smooth and comfortable to hold, but it isn’t as durable as hardwood handles. It’s tapered to give you a decent grip while you paint.
It features natural China bristles, which are thicker than polyester options and soak up a large amount of polyurethane. The painting edge is chiseled, making it easier to apply poly to larger surfaces, especially given how much medium it holds. The bristles are also a bit stiffer, which may require you to sand afterward for a smooth finish.
The bristles are held in place firmly, and I had no issues with them coming loose.
The brush is easy to clean and will likely last through many projects if appropriately cleaned after each use.
This brush is available in six sizes ranging from 1 inch to 4 inches, and the broadest brush makes larger projects much more manageable.
Hiltex 00308 Brush Set

Hiltex offers a variety of budget-friendly woodworking and painting tools with relatively good quality.
This is a brush set that includes five width options: 1 inch, 1½ inches, 2 inches, 2½ inches, and 3 inches. You’ll be able to use these for many different project types, including those with small and large surfaces.
The handles are made of softwood that isn’t as durable as hardwood. However, they are comfortable to hold, and the taper on the four larger brushes gives you decent control.
The bristles are made of polyester with feathered ends, so they soak up polyurethane very well and give you a relatively smooth application. They flex easily and offer good coverage with minimal effort.
I did have some issues with bristles coming out, so you’ll have to pay attention while you work for any that get stuck in the poly. You can remove them with needle-nose pliers or simply with your fingers, but you’ll have to touch up the poly afterward. This process can get rather frustrating.
These brushes are easy to clean, but they won’t last through as many projects as higher quality options. They’re ideal for infrequent use or for beginners.
The painting edge is straight on all of the brushes, which offers good coverage but isn’t ideal for getting into corners.
These brushes are very affordable, especially since you get five in the set, and they offer an excellent value for the money.
Magimate Paint Brushes Set

Magimate specializes in budget-friendly painting accessories for casual painters and woodworkers.
This is a set of five brushes, so you’ll get options for projects of all sizes. It comes with two brushes with straight painting edges that are 1 inch and 2 inches wide, as well as three angled brushes that are 1½ inch, 2 inches, and 2½ inches wide.
The flat brushes are ideal for smaller projects without corners, and the broader ones offer an easy application for bigger surfaces and inside corners.
The handles are made of softwood, so they aren’t the most durable. However, they’re nicely sanded and give good control.
The bristles are polyester with heavily feathered ends, allowing them to soak up poly for excellent coverage. They do come out from time to time, so you’ll have to be careful that they don’t dry in your polyurethane; otherwise, you’ll have to sand and reapply.
These brushes are easy to clean with a solvent, but they won’t last through heavy scrubbing or as many cleanings as the more durable brushes I tested.
MINTCRAFT 150015 ProSource Chip Paint Brush
MINTCRAFT offers highly affordable products and accessories for general home improvement projects.
The handle on this brush is made of softwood, so it won’t last as long or stand up to as much abuse as other hardwood options. It’s sanded and comfortable to hold with a tapered design for adequate grip.
It has natural bristles that aren’t as durable as polyester options, but they do soak up quite a bit of polyurethane to make the application a bit easier. They’re somewhat stiff and offer good control, but you’ll find that they leave lines in your finish that you will need to sand out.
I didn’t have too many issues with bristles coming out, but there were a few over several projects, so just keep an eye out while you work so you can remove them from the surface before they dry.
This brush won’t last through as many cleanings as others, but the cleaning process is effortless, thanks to the thick bristles.
The painting edge is straight and 1½ inches wide. It’s suitable for smaller projects without hard-to-reach corners.
This is a very inexpensive brush, so it’s great for beginners or woodworkers on a tight budget.
Pro-Grade Chip Paint Brushes

Pro-Grade specializes in low-quality, low-budget painting accessories ideal for one-time use.
These brushes come in a set of 36, all with 2-inch widths. They’re best for medium-sized projects, given their size, and the straight painting edge means they’re not ideal for getting into corners or tight spaces on your projects.
The handles are made of low-quality softwood. They have a rather rough exterior, but they’re comfortable enough to use for extended periods.
The bristles are natural and very thick. They’re likely to leave lines on your finished surfaces, which will require sanding. However, they’re stiff and will offer reasonable control.
I had several issues with bristles coming out, so you’ll need to be very careful as you work and make sure you remove any loose hairs from your polyurethane and touch up the area before it dries.
These brushes aren’t made to last or to be cleaned and instead offer a disposable option to remove the need for clean-up entirely. The low quality is acceptable for most casual woodworkers, and it allows for convenient, one-time-use painting options.
These are very affordable, especially since you get 36 brushes in the set. If you don’t mind keeping an eye out for loose bristles and sanding between coats, these are a very convenient brush option for polyurethane application.
Buyer’s Guide
Below are the most important factors to consider when choosing a brush that can apply polyurethane smoothly and efficiently.
Why Does it Matter?
Selecting a suitable brush for polyurethane is important because poly is unlike paint, stain, and other varnishes. It’s a thicker medium that can be challenging to apply efficiently. Brushes with natural bristles can soak up more poly than those with polyester bristles, making the application process more straightforward. However, polyester options usually last longer and will serve you through more projects.
Most importantly, polyurethane is often the final step for your woodworking projects, so it’s the most important protective layer to have a smooth finish. Natural bristles are thick and can leave large lines on the surface. You can sand these out with high-grit sandpaper, but that means more work and a more considerable time investment. Choosing thin polyester bristles makes for a smoother surface.
Check out this video for information on how to get the smoothest polyurethane finish possible:
The stiffness of the brush makes a difference in terms of application as well. Flexible polyester bristles generally lead to better coverage because they fan out when pressed against a surface. However, stiff bristles give you better control over where you apply the poly.
Types of Polyurethane Brushes
There are a few options you’ll have as far as the type of brush goes. Each has its upsides and drawbacks.
Natural Bristles
Natural bristles are thick and stiff. They give you the best control over the application area, and they soak up a lot of polyurethane to make your job a bit faster. However, they tend to leave a more textured surface behind, which usually requires sanding.
Synthetic Bristles
Synthetic bristles, most often made out of polyester, are flexible and fine. They give you an excellent coverage area but less control over where you apply the poly. They offer the smoothest surface on your workpieces. They tend to be more durable than natural bristles, and they can stand up to more washing and more frequent use.
For a detailed guide on how to clean and care for your brushes, check out this video:
Foam Brushes
Some woodworkers use foam brushes to apply polyurethane, but I recommend against it. They’re very challenging to clean properly, so they’re usually best for one-time use. They soak up a lot of polyurethane and can lead to uneven distribution on your work surface. Polyurethane is often too thick for foam brushes, so I usually end up adding pressure and tearing the foam before the poly is applied.
However, they can be suitable for small projects to which you apply a thin, water-based poly coating.
What to Consider
When choosing a brush to apply polyurethane to your projects, you should consider the type of poly you’ll be using. Polyurethane is available in water-based and oil-based solutions. Not all brushes are ideal for both.
Water-based polyurethane is thin and can be applied effortlessly with most brushes, even foam options. I find it most convenient to use a brush with natural bristles for water-based poly because they soak up the thinner medium better. You might want to opt for a foam brush for thinner polyurethanes to avoid loose bristles, but I recommend choosing cheap, disposable foam brushes, as they won’t last through multiple uses.
Oil-based polyurethanes are thicker and most comfortable to apply with a brush that has fine polyester bristles. These will soak up enough of the thicker poly to make application straightforward, and they can fan out and provide better coverage than stiffer, natural bristles. I recommend against foam brushes for oil-based poly.
Using Polyurethane as a Top Coat Over Existing Paint
Many woodworkers use polyurethane as a protective coating over previously painted surfaces. The application process is more or less the same, but you may want to do a very light sanding with high-grit sandpaper on the paint before applying your poly. This will give you a smooth surface that will accept the polyurethane more readily and make for a smoother finished surface.
For more information on how to apply poly over paint, check out this video:
Frequently Asked Questions
How Do You Apply Polyurethane Without Brush Marks?
To avoid brush marks when applying polyurethane you will want to follow our five steps below!
These steps will help prevent brush marks when working with wood, metal, or any other surfaces.
To do so, you will want the following:
– Bristle paint brush
– Foam paint brush
– Lambswool applicator
– Paint thinner
– Paint stir stick
Once you have the items listed above, you can start to apply your polyurethane. Use the steps below to do this.
Step 1 – Choose Your Applicator
First, you will want to use a lambswool applicator or foam brush instead of a typical paintbrush. These tools are less likely to leave marks compared to natural or synthetic bristle brushes.
You could use a natural bristle brush if you want as these will leave fewer marks and are better suited to oil-based paints. It is best to avoid a synthetic brush at all times.
Step 2 – Thin Your Polyurethane
Next, you will want to mix your polyurethane with paint thinner to thin it. Use a paint stick to stir the mixture.
If your polyurethane is too thick, then brush marks will hold their shape and not settle out, so we want a thinner substance for a smoother finish.
You will want to experiment here to find the right level of paint thinner for you. You might want equal amounts of thinner and polyurethane, or less thin.
Play around and see what is best for you, this will vary depending on the type of thinner and brand of polyurethane you are using.
Step 3 – Apply The Polyurethane
Now, apply your polyurethane. You will want to move your brush across the surface in even strokes.
You don’t want to drag the brush back and forward quickly as this will create bubbles and make the polyurethane dry faster, which doesn’t give the brush marks time to settle out.
Step 4 – Sand The Surface
To finish, let the polyurethane coat dry overnight. Then, take a 280 grit sandpaper (or finer if you can) and sand the surface to ensure that it is smooth.
You can then apply your next coat, and sand it once it has dried. You will want to use 600-grit sandpaper on the final coat to create a sleek and smooth surface, free of brush marks!
What Do You Do With A Brush Between Polyurethane Coats?
In between coats of polyurethane, you can store your brush securely to prevent needing to clean it or polyurethane from getting onto other surfaces. To do this, you will want to put the brush bristles down into a ziplock bag, any type in your kitchen will do the trick!
While the brush is in the bag, push down to remove any air and seal the bag. If you don’t have sealable bags, you can secure the bag with a rubber band. This will prevent the brush from drying out or the polyurethane from dripping anywhere.
If you aren’t waiting too long in between coats, then you can fill a cup with water and place your brush bristles down into the water. Keep it in the cup until you are ready to use it. <br>You can then remove the brush, wipe it with some kitchen towels to remove the excess water and you can use the brush again.
You might find that the first few strokes are a little thinner than normal due to any water in the bristles, but after a few strokes, it will be business as normal! <br>These two methods are the most successful, so you should choose the one that best fits your needs!
Wrapping Up: Which Brush is Best for Polyurethane?
As simple as a paintbrush may seem, there are a variety of options available, and the brush you use for polyurethane should be chosen to suit the medium and your project.
Although no brush is ideal for all types of work, my favorite brush for applying poly is the Wooster Brush 5221-2 Angle Sash Paint Brush. It has a super comfortable handle and bristles that flex easily for effortless application. The hairs don’t come out and get stuck in your work, and the tips are fine enough to get a clean surface that doesn’t require sanding.


Dan Simms
Dan's interest in woodworking began while watching his dad build furniture in a pieced-together home workshop. He inherited old but reliable tools from his father and quickly became enamored with the ability to make something out of nothing. Starting with a simple picture frame and moving onto building all the furniture for his house, he's proud to have begun his own home workshop, built a stronger relationship with his dad through the craft, and developed a love of all things woodworking.