Contents
When it comes to your kitchen cabinets, the protective clear coat is everything. The best topcoats can add significant protection from spills and make your cabinets look beautiful and professional. Choosing the wrong clear coat can turn your cabinets yellow, detract from your kitchen’s aesthetic, and leave the wood prone to damage and rot.
I put together these reviews and a buyer’s guide to help you choose the best product for your cabinets.
Best Clear Coats for Kitchen Cabinets – Top Picks
BuildEazy.com may earn a commission if you purchase a product through one of our links.
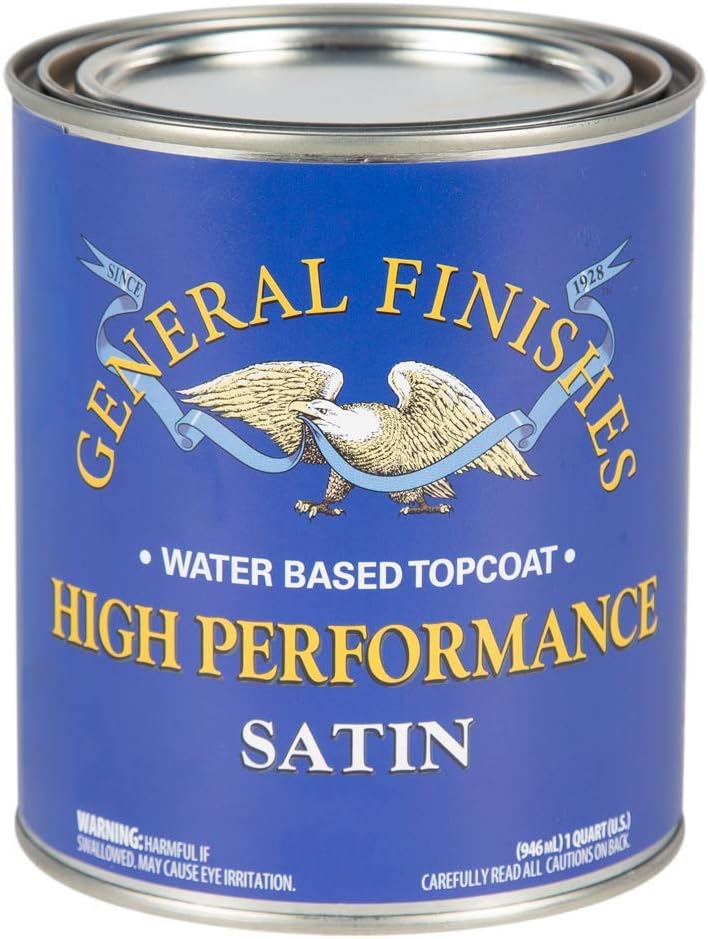


General Finishes High Performance Water Based Topcoat

General Finishes offers a variety of high-quality protective treatments for wood that are suitable for DIYers and professionals
This is a water-based polyurethane that is relatively thin and easy to apply. I recommend you use a good bristle or foam brush to apply this, as you’ll get good coverage and even application. Check out this video for information on how to use a foam brush effectively:
It doesn’t glob or streak much during the application process, so I’d recommend this product for beginners. However, it is thinner than most, so you’ll want to be careful when applying to vertical surfaces to ensure it doesn’t drip.
This poly leaves a very hard topcoat after an hour or two once it cures, so it will protect your cabinets from scratches and scuffs, both of which are common in high-traffic areas like the kitchen. The surface is easy to clean and won’t stain, so any spills or grease splatters can be wiped off with a sponge without much effort at all.
It offers an excellent waterproof barrier over wood or medium-density fibreboard (MDF), so you won’t have to worry about water or steam in the kitchen damaging your cabinets and eventually leading to rot.
It has UV protection, making it an excellent option for sun-filled kitchens. Ultraviolet radiation won’t fade the surface below, so your cabinets will look newer for longer.
This poly is available in multiple finishes, including flat, satin, semi-gloss, and gloss. You can choose how shiny the surface will be according to your preference.
I strongly recommend against this product if your cabinets are white, as it can cause yellowing. It may not occur right away, but it’s likely to happen over time. Most polyurethanes will cause some discoloration over white paint, but this one seems to cause more than many others.
Each coat dries in about 2 hours, so you can start and finish your entire project in just a day or two. This means less time spent waiting around and more time getting the work done.
It comes in 1-quart, 1-pint, and 1-gallon cans, so it’s suitable for projects of all sizes. It is a bit on the expensive side, but I think the protection it offers is worth it.
It contains volatile organic compounds (VOCs) that are dangerous if inhaled. You should only apply this in a well-ventilated area while wearing a respirator or face mask.
Minwax 244444444 Polycrylic Water Based Protective Finish
Minwax is a highly trusted brand for protective coatings, finishes, stains, and other topical wood treatments and application products.
This is a water-based polyurethane that is thin and a breeze to use. You can apply this with a synthetic bristle or foam brush. I didn’t experience any imperfections during the process. If you do get drips or globs, you can easily clean them off with soap and water.
This poly contains acrylic, so it hardens into a durable topcoat that will protect your cabinets from physical damage during cooking and dining. It’s highly waterproof and easy to wipe clean once cured, so you won’t have to worry about food or grease staining or damaging your cabinets.
It won’t protect your surfaces from UV radiation, so areas of your cabinets that receive a lot of sunlight may fade a bit over time.
It’s available in several finish options. You can choose from ultra-flat for a super natural look with the added protection, matte, satin, semi-gloss, and gloss. I tested each of them, and they all produce a crystal clear finish that looks really professional once it cures.
This poly is a non-yellowing formula, so you can comfortably apply this over bright white cabinets without worrying about discoloration. There’s a small chance some minor yellowing may occur over long periods, but I haven’t had any problems with it.
It dries very rapidly, so you’ll spend minimal time waiting between applications. You can lay down an additional layer after just two hours, so you can plan on two or even three coats in only one day.
It comes in 1-pint, 1-quart, or 1-gallon cans, each of which is very affordable. You can get large or small projects done for a fraction of the cost of many other topcoats.
This poly contains relatively few VOCs and has a low odor. However, I still recommend applying it in a ventilated space and wearing a face mask to be safe.
Minwax 63200444 Helmsman Spar Urethane
This is an oil-based spar urethane, which means it’s significantly thicker than water-based options. I suggest a high-quality, natural-bristle brush for applying this product.
It can be a bit challenging to apply evenly, as it has a higher tendency to glob. You can still use this if you’re a beginner, but I recommend keeping some mineral spirits handy in case you need to clean up any mistakes. You cannot clean off this clear coat with soap and water like you can with water-based options.
Since the oil formula soaks into the wood more readily than water-based products, it offers less physical protection than many other polyurethanes. However, it will still harden a bit on the surface and provide some defense against scratches and scuffs.
Spar urethanes are often formulated to have the best waterproofing capabilities. This one bonds tightly with wood on and below the surface, so you can trust that this product will keep your cabinets safe from spills and steam in your kitchen.
It protects against UV radiation, so your cabinets won’t fade and will look newer for longer. This is an excellent option for kitchens that have a lot of natural sunlight coming in.
It comes in satin, semi-gloss, and gloss options, so you can choose how natural or shiny your cabinets appear. Each of them leaves a super clear finish that looks very professional.
Oil-based urethanes tend to discolor white surfaces more readily than water-based products, and this one is no exception. I strongly recommend against applying this over white cabinets, as you’ll likely see yellowing almost immediately. Additionally, it will darken the appearance of raw wood a bit, so keep that in mind if you’re going for a rustic look in your kitchen.
It dries much more slowly because of the oil base, so you should expect to wait 24 hours before applying an additional coat. This will extend your project time significantly and can be problematic if you have a busy schedule.
It’s available in 1-quart and 1-gallon cans, so you can use this to cover big or small areas. It is relatively expensive, so it may be cost-prohibitive for full kitchens.
It contains a higher concentration of VOCs than many other options, so you’ll need to apply it in a heavily ventilated area and take proper safety precautions before and during use.
Minwax 40910000 Wipe-On Poly Finish Clear

This is a polyurethane with an oil base, meaning it’s relatively thick. It isn’t quite as straightforward to apply as a water-based product, and you may get some minor imperfections on the surface of your cabinets. However, it’s made to be rubbed on, which means you’ll have a very low chance of getting streaks or drips.
I recommend investing in some rags to make the application process as straightforward as possible. I also suggest purchasing mineral spirits alongside this poly in case you make any mistakes, as you won’t be able to clean it off with soap and water.
This poly will soak beneath the surface of your cabinets, so it offers little physical protection. It does harden a bit and will be sufficient for most kitchens. However, it likely won’t stand up very well to scratches or damage from pets or children.
It’s highly waterproof and creates a seal that extends about an eighth of an inch into your cabinet surfaces. It will readily defend against spills, steam, and grease from cooking, and it’s durable enough to offer that protection for several years.
This poly doesn’t have UV blockers, so you may notice that your cabinets fade a bit if they’re exposed to sunlight for long periods during the day.
It’s only available in satin and gloss, so you’ll have limited options as far as the finish goes.
As an oil-based poly, this will readily interact with white paint and cause yellowing. I strongly recommend against using this over white or light-colored cabinets, as I found that the discoloration occurred immediately.
If you rub this product into the wood correctly, it should soak in more rapidly than a brush-on, oil-based poly. This speeds up the drying time a bit, and you should be ready for re-coating in about six hours.
It’s only available in 1-pint cans, but it’s reasonably affordable. However, it may push you over your budget if you intend to use it on large surface areas.
It contains VOCs, so you’ll need to wear a face mask or respirator to avoid inhaling the harmful vapors, as well as gloves to prevent skin contact. I recommend applying this outdoors or in a well-ventilated room.
Watco 63041 Lacquer Clear Wood Finish
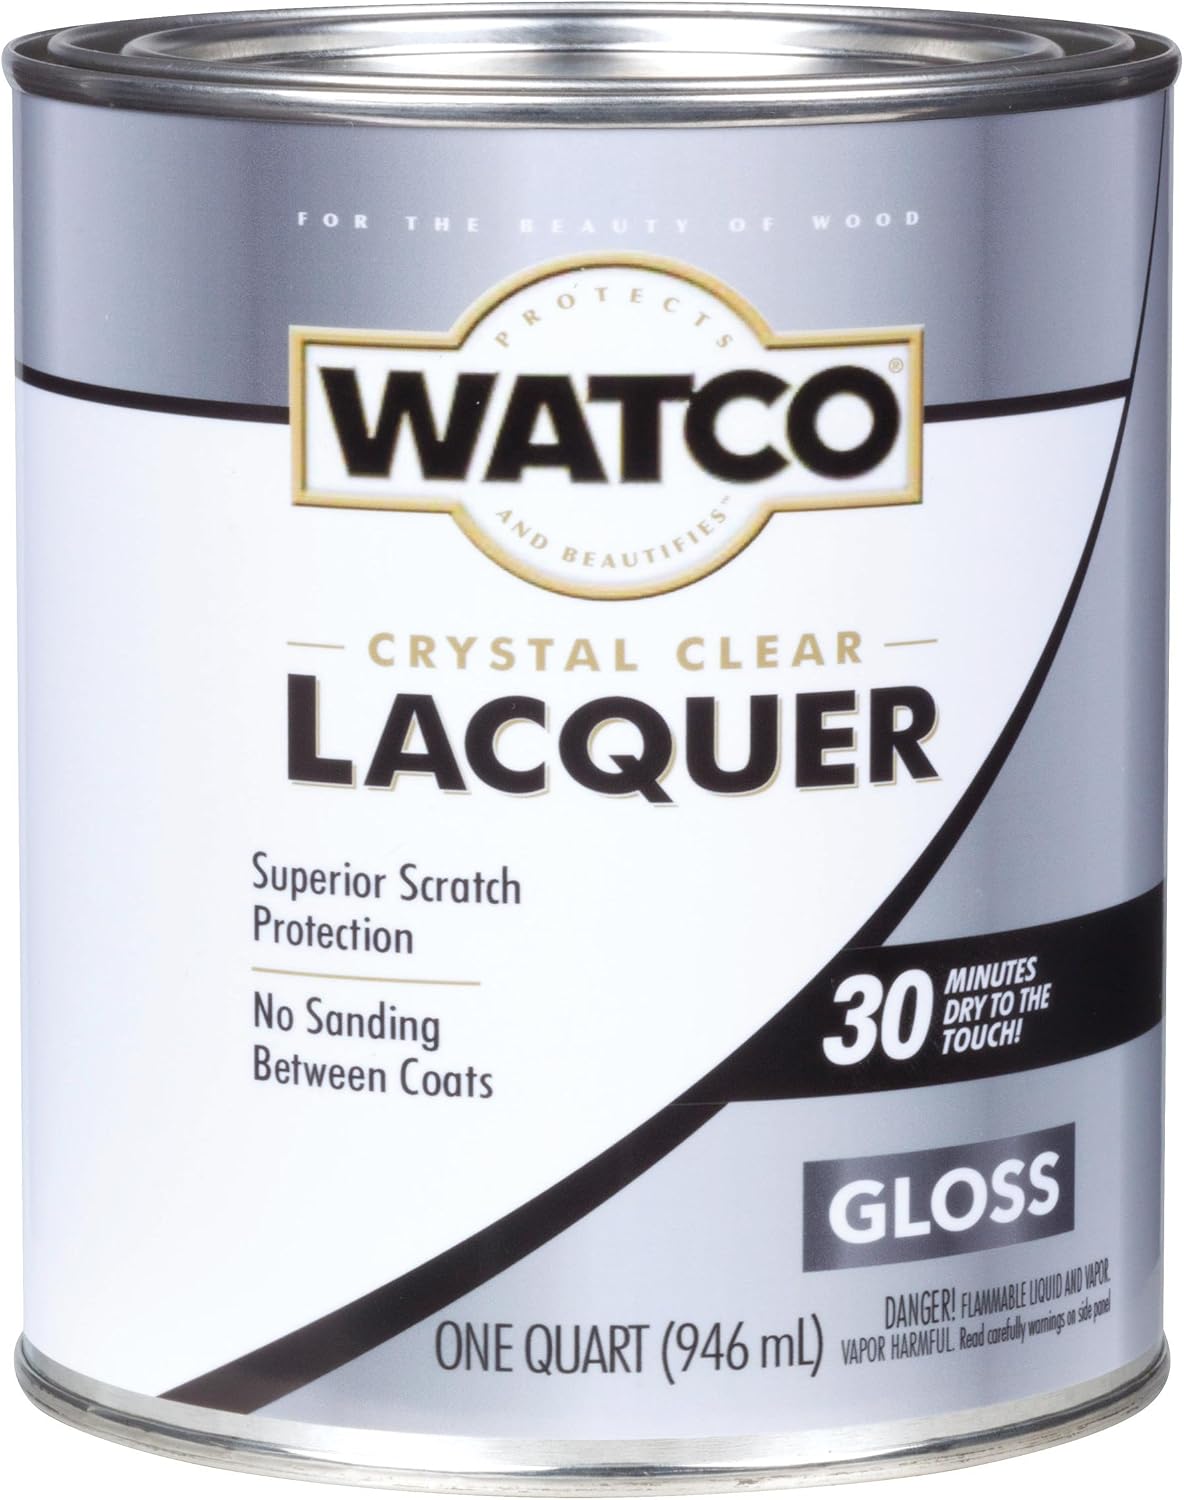
The Watco line of products is made by Rust-Oleum, a well-established brand for protective paints and topcoats across multiple industries.
This is a lacquer, which is one of the thickest varnishes. It’s more dense than water- and oil-based polyurethanes, but this particular product is self-leveling, which means it won’t glob, and drips will often fix themselves during the curing process. It’s a breeze to apply, so it’s suitable for beginners.
It will dry mostly on the surface of your cabinet and create a very durable protective barrier. It will stand up to scratches, scuffs, and other physical damage, leaving your high-traffic kitchen adequately defended.
It has extreme waterproofing capabilities, so you won’t have to worry about spilled liquids or grease from cooking damaging your cabinets. You can easily wipe off food or condensation without leaving stains behind.
It doesn’t have UV blockers, so you may see some fading on your cabinets if you have a sun-filled kitchen.
It’s available in satin, semi-gloss, and gloss options, so you won’t be limited much in the finishing options with this product.
Most lacquers will cause some yellowing over white paint, but this one is formulated to remain clear, even over light colors. I didn’t see any discoloration over bright white paint during testing.
It cures rapidly and can be re-coated in just one hour. This means your total project time will be limited, and you’ll be able to finish the application process in just a day or two.
It’s only available in 1-quart cans, but it’s relatively inexpensive. This will likely fit into your budget regardless of your project size.
It has a reasonably high concentration of volatile organic compounds (VOCs), so I strongly recommend wearing a respirator and following all safety precautions when using this product. The odor is somewhat strong, so adequate ventilation will help prevent your home from smelling for long periods.
Deft Interior Clear Wood Finish Gloss Brushing Lacquer
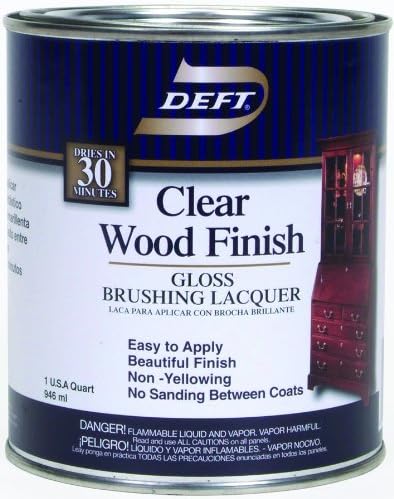
Deft specializes in protective finishes for wood that dry rapidly and produce professional-looking results.
This is a lacquer, which is thicker than most other products I tested. It’s relatively easy to control while you apply it, but you will need to be conscientious of drips and globs, as they can form quickly and be challenging to clean off. I suggest using this with a high-quality, natural-bristle brush for the best results and keeping mineral spirits nearby to fix any mistakes.
This product offers excellent physical protection from surface damage, so your cabinets will be likely to stand up to the high demands of a kitchen.
It’s highly waterproof and will keep your cabinets safe from water damage and rot. You won’t need to worry about food stains, spills, or swelling from steam.
This product won’t prevent fading from UV radiation, so it’s not ideal for kitchens with a lot of sun exposure.
It’s only available in a gloss finish. I personally prefer semi-gloss or satin finishes on kitchen cabinets, but this product may suit you if you’re looking for a nice sheen.
Deft made this lacquer to be non-yellowing, so you can put this on over white paint without worrying about discoloration.
It dries in just 30 minutes, but I recommend waiting about an hour before re-coating. This rapid dry time means you can finish your project in a single day, which is perfect for those with a busy schedule.
This lacquer is only available in 1-quart cans, which are expensive. However, each quart can cover an impressive 400 square feet, so it’s likely to fit into your budget for any sized project.
It has a high concentration of VOCs, so you’ll need to take proper safety measures to avoid inhaling the vapors. The odor is powerful as a result, so I recommend against applying indoors if possible, even with good ventilation.
Deft Interior DFT108/04 Waterborne Clear Wood Finish
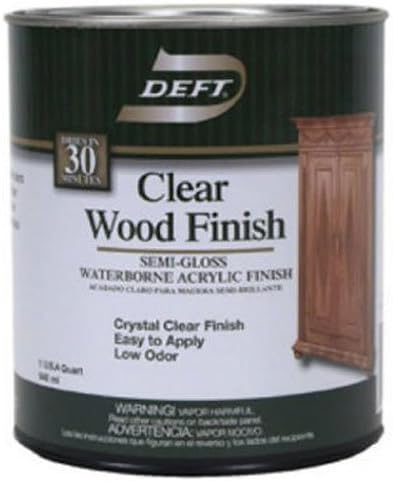
This is a water-based clear coat, so it’s relatively thin and super straightforward to use. I found that a high-quality foam brush offered the best and fastest results, but you could opt for a natural-bristle brush if you prefer.
This product tends to streak a bit, even when you use foam to paint it on. As such, you will likely need to sand between coats for a smooth, clear finish. Sanding with a 220-grit or 320-grit sandpaper once each coat dries requires far more work than many other products, but it does leave your cabinets with a professional-looking finish.
This product contains acrylic, which dries on your cabinets and creates a hard, protective layer. Your surfaces will be safe from scratches and scuffs.
It’s highly waterproof and will add protection from spills and moisture build-up as a result of cooking. You can easily wipe food spills off without leaving stains behind.
This clear coat doesn’t have UV blockers, so your cabinets may fade a bit over time if exposed to sunlight regularly.
It’s only available in a semi-gloss finish. This is suitable for most kitchen cabinets, but you’ll need to choose a different option if you’re looking for a high sheen or matte finish.
It reacts with the surface of your cabinets as it’s drying, which means you’re likely to see some minor discoloration. This isn’t usually an issue on natural wood or darker paint colors, but it can lead to some noticeable yellowing on white or light-colored cabinets.
This product dries and is ready for re-coating in about two hours. It’s not quite as fast to cure as some other options, and having to sand between each coat means your project will likely take longer than a day.
It only comes in 1-quart cans, which are relatively costly. You can get decent coverage from each quart, but sealing larger projects may be prohibitively expensive.
This clear coat is VOC-compliant, which means it has a low concentration of dangerous chemicals. I still strongly recommend wearing a face mask or respirator and applying in ventilated areas, but it’s generally safer than most other options.
Deft Interior Exterior Water-Based Polyurethane
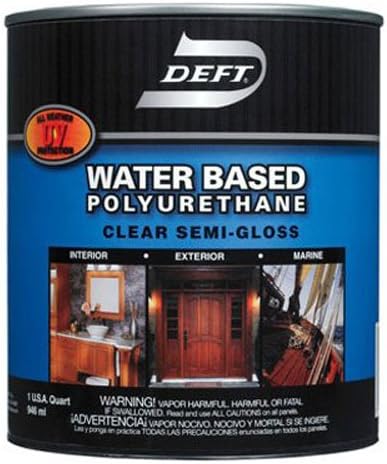
This is a water-based poly that is thin and straightforward to apply. It’s suitable for beginners because it settles nicely and won’t leave streaks or globs behind. I didn’t experience any imperfections when using this product. Mistakes are easy to fix if you do make any, as the poly can be washed away with soap and water.
It features a water-based, oil-modified formula, so it creates a protective layer both on and beneath the surface. The physical protection is outstanding and will keep your cabinets safe from scratches, scuffs, and other damage expected in the kitchen.
It has good waterproofing capability, so it will limit water damage and rot to your cabinets. It will also defend against steam and grease stains, making it suitable for use on cabinets over your stove.
It contains UV blockers that will resist the radiation from the sun. Your surfaces won’t fade over time and will look newer for longer.
This clear coat is only available in semi-gloss finish. This is my favorite sheen option for kitchen cabinets, but it may not be the best option for you if you like a more or less glossy appearance.
This poly will yellow your cabinets. The discoloration likely won’t be noticeable on natural wood or dark-colored paint. However, I recommend against using this on white or light-colored cabinets. The yellowing occurs almost instantly, so you won’t be able to fix the problem unless you wash off the clear coat, sand the surface, and repaint.
It takes about two hours to dry before it’s ready for a re-coat. This means you can likely finish your project in a single day, but you will spend more time waiting than you would with many other water-based polyurethanes.
It only comes in 1-quart cans, and it is one of the most expensive clear coats I tested. The coverage is decent, but this will likely put you over budget if you plan on coating all of the cabinets.
This product is VOC-compliant, so it’s generally safer to use than other options with a higher concentration of dangerous compounds. However, I still suggest using this in ventilated areas while wearing a face mask or respirator.
Varathane 200041H Water-Based Ultimate Polyurethane
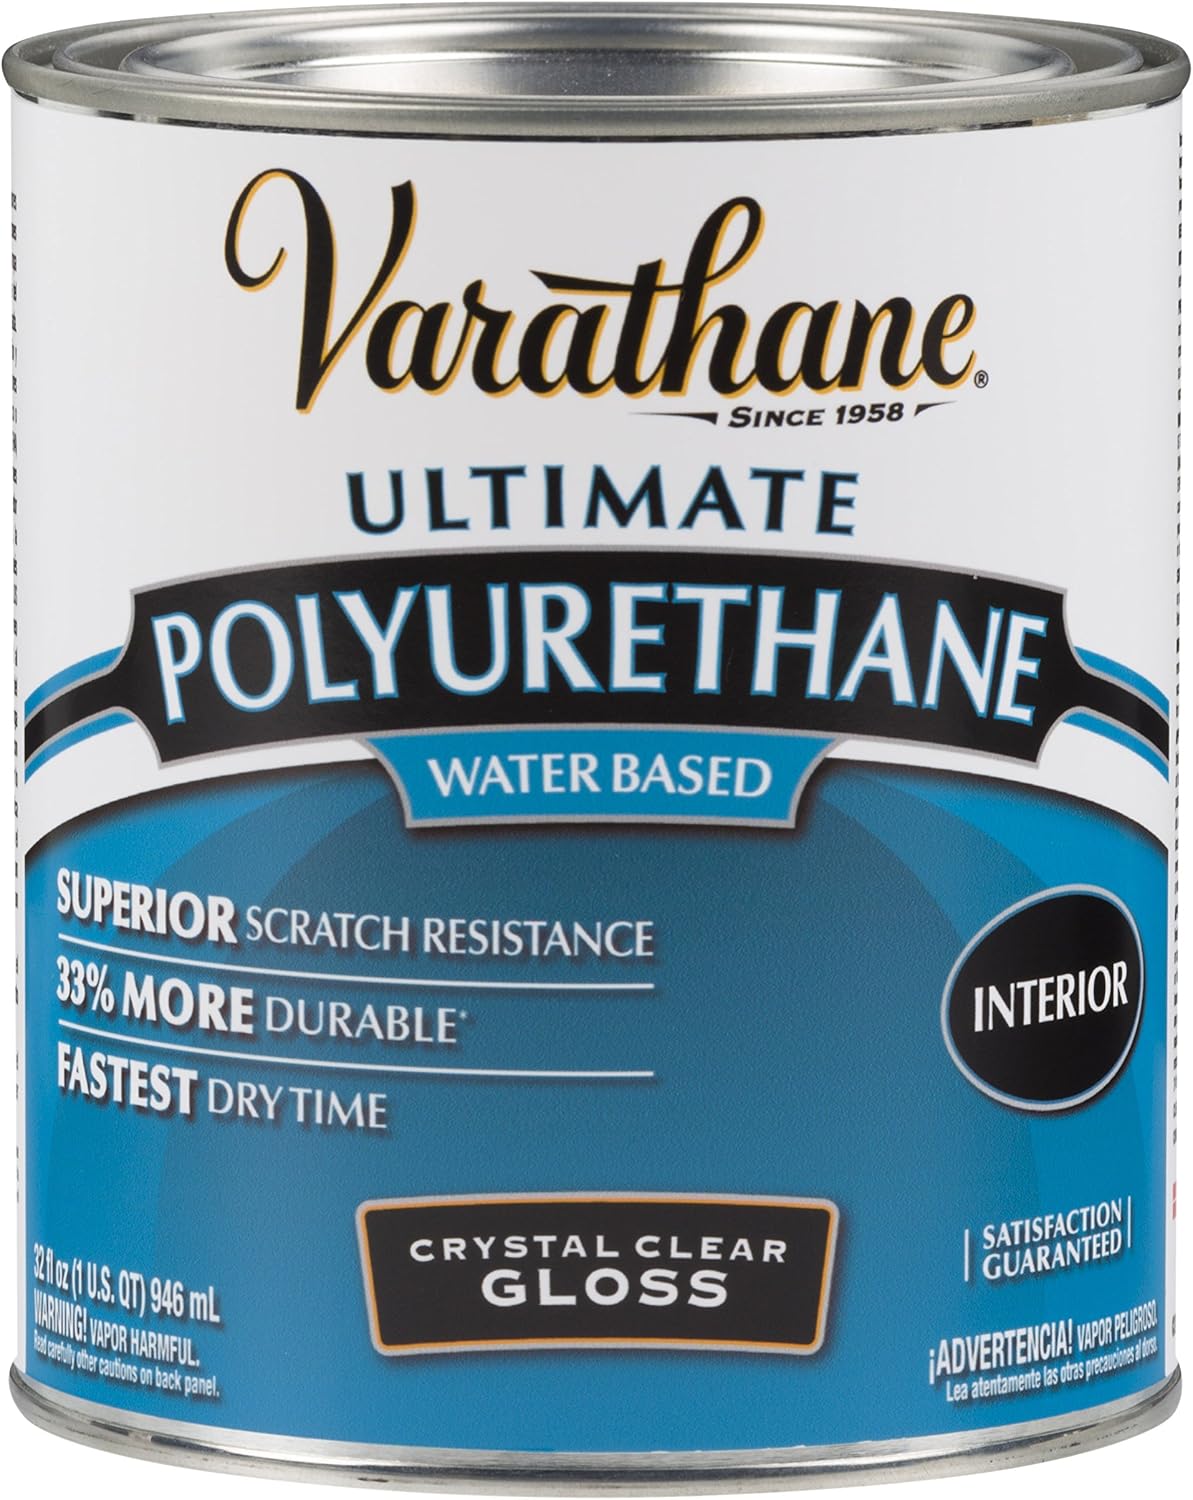
Varathane is a trusted name in the woodworking industry for wood stains, sealers, and protective coatings.
This is a water-based poly that is exceptionally thin. It’s straightforward to spread over the surface without too much effort. However, it can be a bit challenging to apply given how easily it runs. I experienced some drips that required cleanup, especially on vertical surfaces. You can wash off mistakes using water and soap without too much effort, but having to fix them will extend your working time.
This poly adds excellent protection from physical damage, like scratches and scuffs.
It creates a waterproof seal over your cabinets, making it ideal for use in the kitchen. Spills and moisture build-up from steam or smoke won’t damage your cabinets, and you can easily wipe off food or grease messes without leaving residue or stains behind.
This poly doesn’t protect against UV radiation, so constant exposure to sunlight will cause the unprotected surface below to fade over time. This can be problematic if your kitchen receives a lot of natural light through windows or doors.
It comes in gloss, semi-gloss, and satin finishes, so you’ll have options for how shiny your cabinets will appear. I personally don’t like the high sheen of the gloss option, but the other two finishes are gorgeous and don’t look overly processed.
This poly seems to dry clear on natural wood surfaces. However, it discolors paint quite a bit. I noticed heavy yellowing when I placed it over white paint and some minor yellowing over other light colors. As such, I only recommend this for use on natural wood cabinets or over very dark paint.
It dries to the touch very quickly, which helps prevent dust and other debris from settling on the surface. It’s ready for re-coating within two hours. This is a bit longer than many other water-based products, so you’ll end up waiting longer between coats.
It’s only available in 1-quart and 1-pint cans, which means it’s better for smaller projects. A single quart only covers about 125 square feet, and the poly is very expensive. I recommend using it only for small areas.
It has a low-VOC content, so it’s a bit safer than many other products. However, I still suggest wearing a respirator or face mask and applying it in a properly ventilated area.
INSL-X CC550109A-01 Cabinet Coat Enamel
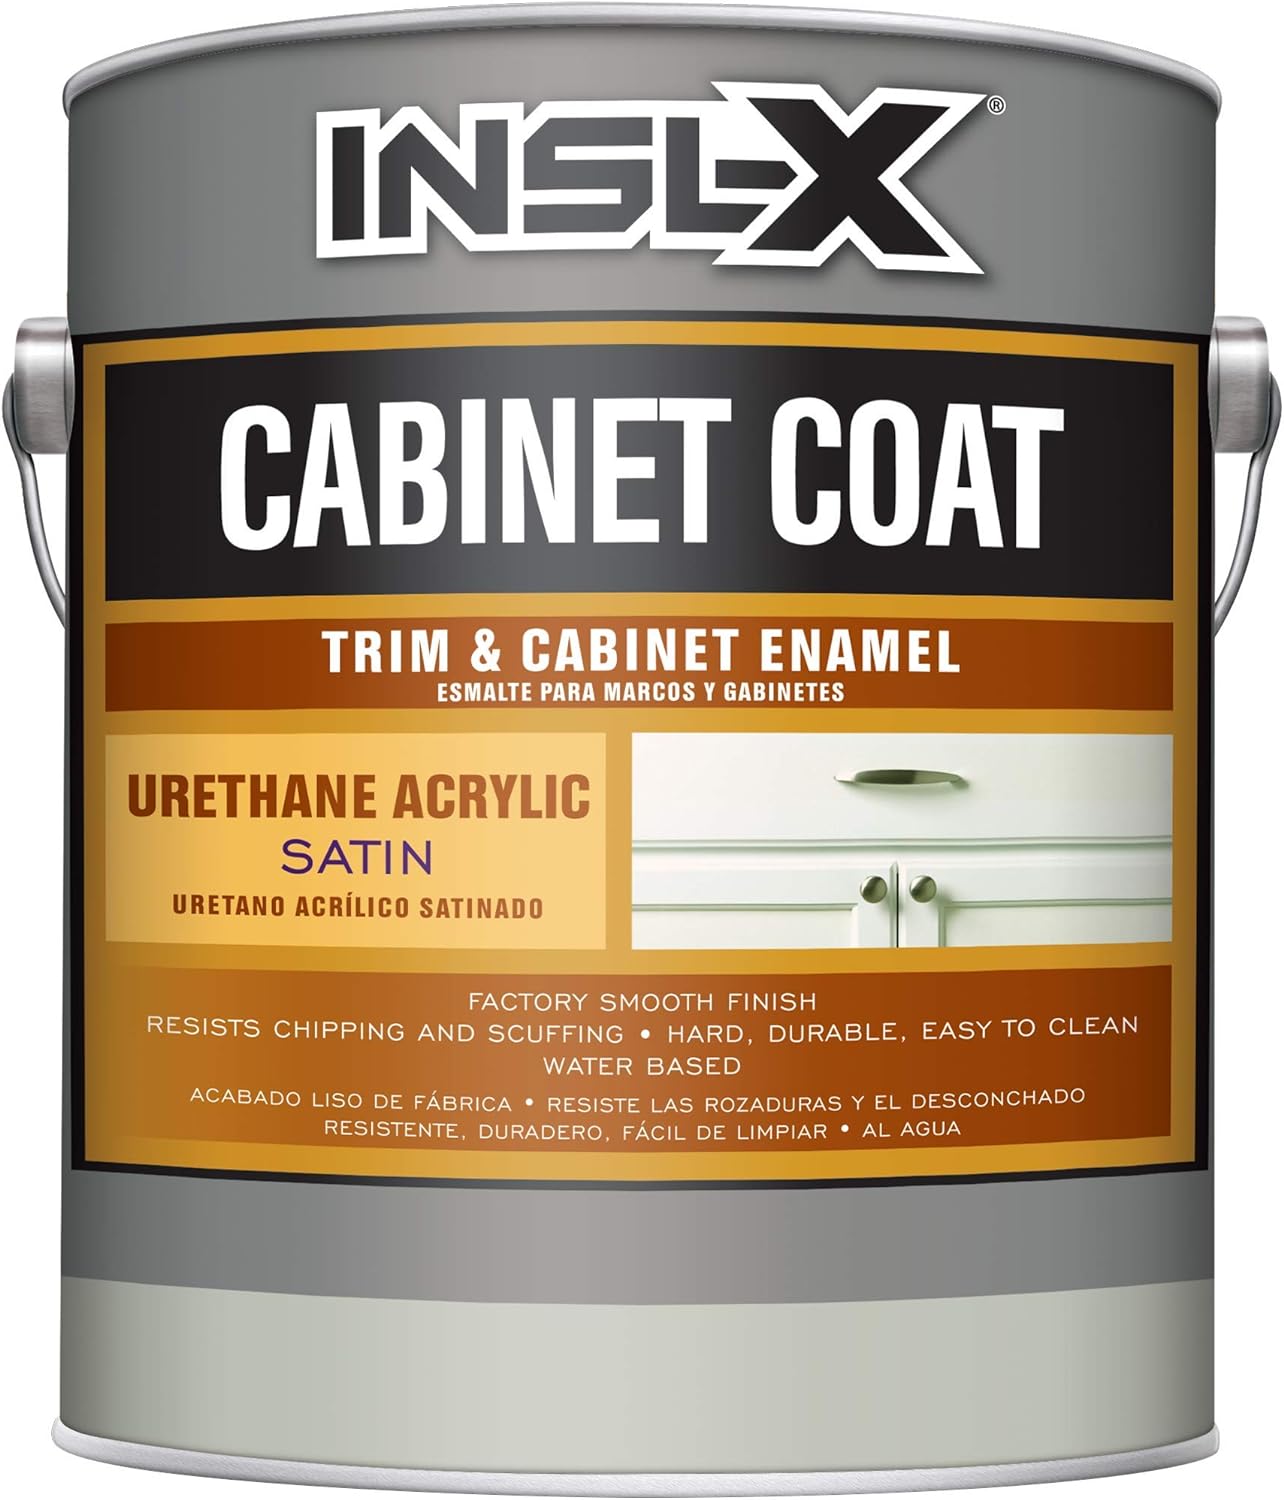
INSL-X specializes in wood coatings and protective varnishes designed with specific uses in mind. Their products often provide fire-proof, water-proof, or highly durable physical protection.
This is a water-based poly paint that is straightforward to apply. It has a low viscosity, so you may experience some drips, especially on vertical surfaces. However, I had very few imperfections that needed to be fixed. You can easily clean up mistakes with soap and water.
It contains enamel, which cures into an extraordinarily durable and damage-resistant layer on top of your cabinets. It will stand up to quite a bit of abuse that is common in high-traffic areas like the kitchen.
It will defend your wood from water and steam, so spills and cooking won’t present any problems with your protected surfaces.
It doesn’t contain any UV blockers, so the color may fade a bit over time. Ultraviolet radiation is less of an issue with this cabinet coating because it includes color that will help protect the wood underneath.
This is an opaque finish for your cabinets, so it acts like a paint and a clear coat in one. It’s only available in satin and semi-gloss, each of which is a bit shinier than other products because of the white color’s reflective properties. It’s only available in white, so you’ll have very limited options for your cabinets’ final appearance. You can opt to tint it with a colorant, but this will add to your cost and preparation time.
You can apply this over previously painted surfaces, so it won’t discolor over white paint. I didn’t experience any yellowing over time.
It dries very slowly and won’t be ready for an additional coat for about six hours. This means your project will likely take several days, especially if you need multiple coats to cover dark wood or a dark-colored paint.
It comes in 1-gallon or 1-quart cans, and it’s reasonably priced. One gallon covers a very impressive 350-450 square feet, so it’s affordable enough for large projects.
It has almost no odor and contains very few VOCs, so it is safer than most other clear coats. I still strongly recommend you avoid inhaling the vapors, so wearing a respirator during use is good practice.
Buyer’s Guide
As you can see, clear coats vary in their drying time, how easy they are to apply, and how much they will protect your cabinets. Make sure to pay close attention to the below factors when choosing a clear coat.
Why You Should Use Clear Coats
Clear coating your cabinets may seem like an unnecessary step, especially if you have already placed a waterproof paint over them. However, clear coating is just as important – if not more important – than priming before painting for a few reasons.
Physical Protection
Your kitchen sees a lot of foot traffic during cooking and eating, which exposes your cabinets to scratching, chipping, bumping from kitchen chairs, and other physical abuse.
The risk of your cabinets being damaged is even higher if you have pets or children in your home. As such, you’ll want to make sure they are protected as much as possible to prevent damage.
Most clear coats harden over the surface of your cabinets, but they offer varying levels of protection depending on the base and the chemicals used in the varnish.
Oil-based clear coats usually offer the least amount of defense. Companies typically use oil to help the poly soak into the wood grain, and the deeper it soaks in, the less robust the surface layer will be.
Water-based poly offers a bit more protection because most of the solution cures on top of your project rather than under the surface.
Some clear coats with a water base include acrylics, which spread over your cabinets and harden into a plastic. Poly with acrylic is more protective than regular polyurethane.
Other formulas include enamel, which is even more durable than acrylic and defends more readily against damage. Enamels can be suspended in any base.
Lacquers will give the best layer of defense, as they cure into thick, hard coats over your cabinets.
Smooth Shine
Kitchen cabinets often look best if they have some level of sheen. Raw wood cabinets look very rustic and distinctly unfinished without a shiny clear coat, and painted cabinets often look too flat and unprofessionally finished.
A clear coat will provide a nice amount of shine that simply looks right. The sheen on cabinets may not be something you readily notice when you walk into a finished kitchen, but it’s certainly something that will stand out if it’s missing.
I recommend against a matte finish on kitchen cabinets for this reason. It’s up to personal preference, of course, but a satin or semi-gloss sheen looks beautiful and clean without looking over-processed.
Prevents Chipping
Paint has a tendency to chip or flake, especially when exposed to heat and humidity. Since these conditions are both common in the kitchen, a clear coat will help stop paint from pulling away from the surface of your cabinets.
Most polyurethanes and lacquers are waterproof or at least water-resistant, which means they protect your cabinets from steam and other sources of moisture.
This layer of defense they provide will help prevent chipping, bubbling, and flaking, which will keep your cabinets looking new for more extended periods without touchups.
Avoids Paint Degradation
Some products include UV blockers that will stop ultraviolet radiation from damaging the surface of your cabinets. These options are useful for kitchens that get a lot of sunlight and will prevent fading of the natural wood or the paint color.
What to Look For
When selecting a clear coat for your cabinets, there are a few key factors that can help direct your purchase.
The Longevity of the Coat
Clear coating cabinets can be time-consuming, regardless of how comfortable the coating is to apply.
Most homeowners won’t want to repeat the process very often, so choosing a product that is durable and will last for years without needing touch-ups is important.
Some clear coats offer excellent protection but only for a few years. Others will keep your cabinets protected and looking new for decades without needing to be reapplied.
More durable coatings are often more expensive, but they will be cheaper in the long run and usually save you time and frustration.
High Abrasion Resistance
Pots, pans, utensils, chairs, pets, and children can all be a threat to your kitchen cabinets.
Most kitchen surfaces see a lot of action every day, so keeping the cabinets protected is more important than most other portions of your home.
I recommend choosing a clear coat with a high abrasion resistance if you want to keep your cabinets damage-free.
Many clear coats contain polyurethane, which offers good protection. Products with acrylic usually dry even harder. Polyurethane with enamel and lacquers generally cure with the most rugged protective layer left behind and will stand up to the most abuse.
Generally speaking, oil-based polyurethanes offer the least physical protection because they soak into the wood more readily and cure partially beneath the surface.
Finish/Coat Selection
Cabinet clear coats are typically offered in different finishes. From the lowest sheen to the highest, the standard finishes are matte, satin, semi-gloss, and gloss.
Most homeowners have a preference for the amount of sheen they like on their kitchen cabinets, so make sure the coating you choose comes in the option you prefer.
The different finishes only affect the appearance and won’t detract from or add to the level of protection.
However, the finished product will look and feel different depending on the finish. High-gloss tends to look a bit more manufactured and may be better suited for MDF cabinets.
A matte finish looks rustic, while satin and semi-gloss are a nice blend of refined and natural. I recommend a satin or semi-gloss finish to show off the grain pattern on hardwood cabinets that have a lot of natural beauty.
Not all finishes are clear, and those that aren’t usually come in limited colors. For example, the INSL-X CC550109A-01 Cabinet Coat Enamel is opaque but is only available in white.
Alternatively, you can paint your cabinets first and then apply a clear coat. Just make sure that the finish won’t cause discoloration, as is common with a clear coat over white or light-colored paints.
For more information on how to choose the best finish for your kitchen, check out this video:
Fast Drying
Clear coats need time to cure and harden, after which you can sand them – if necessary – and re-coat. The drying time varies wildly from product to product.
For example, the General Finishes High Performance Water Based Topcoat is ready for an additional coat in just one hour, while the Minwax 63200444 Helmsman Spar Urethane takes 24 hours to cure fully.
Generally speaking, the slower the drying time, the more readily the product soaks into your wood.
As such, those that cure slowly tend to be more durable, but they may not offer the same physical protection as those that are ready to re-coat in just an hour or two.
I strongly recommend you choose a clear coat with a drying time that will be most convenient for you. If you have a hectic schedule or want to be able to finish your project in a single day, a rapidly-drying poly is likely best for you.
Even if you have an open schedule, you should keep in mind that you use your kitchen every single day. Having to keep out of one of the most utilized spaces in your home can be frustrating and impractical for the several days it may take to finish applying a slow-drying clear coat.
Easy to Use
Some clear coats are significantly harder to apply than others. In general, water-based polyurethanes are easiest, oil-based are slightly more complicated, and lacquers lend themselves to the most imperfections.
However, this isn’t always true. Some lacquers are self-leveling, which means drips and globs will smooth out as they dry, leaving a beautiful, clean finish.
Similarly, some water-based polyurethanes are so thin that they readily drip during the application.
If you’re a beginner or just want the most straightforward product possible, I highly recommend purchasing a relatively thin water-based poly or a self-leveling lacquer.
Resurfacing Cabinets with Lacquer
Lacquer is the thickest of the clear coats. Instead of soaking into the wood, it sits on the surface and fills in cracks and divots. Once dry, the surface will feel entirely smooth if you’ve applied enough, regardless of how damaged the cabinet was previously.
As such, you can use lacquer to resurface scratched cabinets. I recommend sanding the surface before coating, working from a 120-grit sandpaper to a 320-grit or higher.
You’ll have to take care to apply enough lacquer to level out above the surface imperfections, but the viscosity should help make the job straightforward.
The Method of Coating
Using a tool that is specific for the kind of clear coat you buy will make your work significantly more manageable.
For example, you’ll have some difficulty painting on a thick lacquer with a foam brush or a roller. Conversely, a very thin water-based poly may be too light for an easy application with a brush because the bristles won’t hold enough medium.
If you’re using an air gun, make sure that your compressor can handle the viscosity of your poly or lacquer. Check out this article for more information on which kinds of sprayers can handle the thickest clear coats.
This video explains how to use a sprayer to apply your clear coat quickly and evenly:
If you’re more familiar with using a specific painting tool, you may want to consider choosing a clear coat that will go on easily with it.
How to Apply a Clear Coat to Kitchen Cabinets
I recommend you start the process by removing cabinet doors and laying them flat on the ground.
A horizontal surface is significantly easier to apply poly or lacquer to and will make your job more comfortable. I suggest wiping down all cabinet surfaces with a microfiber cloth to remove dust and any other debris.
Begin the process by coating your cabinets with a 2:1 ratio of clear coat to thinner. This will help the first coat go on smoothly and dry quickly, and it will act as the perfect base for additional coats.
Water-based poly should be thinned with water, oil-based with mineral spirits, and lacquer with acetone. Allow this first coat to dry thoroughly.
It’s not always necessary to sand between coats, but I recommend a light sanding for the clearest, most professional-looking finish possible.
I typically use a 320-grit or 400-grit sandpaper over all of the treated surfaces. If you do sand, make sure to wipe down the cabinets with a microfiber cloth to remove dust from the surface before applying more clear coats.
Your next coat can either be thinned at a 4:1 ratio if you plan on applying a third coat, or it can be unthinned. Either way, paint this on with the same tool you used for the first coat.
I suggest sanding again once this coat is dried and wiping your cabinets with a clean cloth before proceeding.
Once this second coat cures, you can apply a third coat for added protection or call the project completed.
I recommend a third coat if you have pets or children in your home, as each additional coat adds more and more protection to your cabinets. I suggest avoiding any sanding on your final coat.
For a visual guide on how this process is done, check out this video:
Be Careful! Clear-Coat for Cabinets Can Yellow
Clear coats contain chemicals that commonly interact with the surface you’re treating. This is a good thing in most cases, but it means that you can experience some discoloration on your cabinets.
Regardless of the base, a clear coat has the chance to yellow the surface of your cabinets, which can look very unprofessional and dirty.
This is usually only noticeable over bright white paint or lighter colors. You can see some very minor discoloration on light natural wood, but darker woods, including oak, usually won’t be visibly altered at all.
If you’re painting over light-colored paint or natural wood, I recommend looking for an explicitly made formula not to discolor your work surface.
Frequently Asked Questions
Which is Better: Polycrylic or Polyurethane?
So which of these two finishes is the best choice? Here are some pros and cons of each material.
Polyurethane is an oil-based finish that adds a strong and waterproof finish to wooden surfaces. It’s thicker than Polycrylic, which makes it a little harder to apply and means it takes longer to completely dry.
That said, it hardens into a durable topcoat that bonds tightly with the surfaces you apply it to and protects against scratches and buffs.
Polyurethane, like other oil-based formulas, can discolor white and light surfaces much more easily than water-based products, so avoid using it on these surfaces.
It is also quite toxic and smelly which makes it a poor choice for surfaces that food might come into contact with.
Meanwhile, polycrylic is much less toxic than polyurethane and doesn’t produce the same gross smell. It is also easier to work with, being easier to apply and taking less time to dry. Polycrylic is water-based, and is less resistant to heat and moisture.
This means that it’s not great to use outdoors as it can be damaged more easily.
Both materials are useful in their own right, but they perform best under the right circumstances for each material.
Polyurethane’s oil-based finish and better resistance to heat and moisture make it ideal for use outside where it can endure the elements. Using it outside also helps reduce the issues of smell and toxicity which isn’t great for use indoors.
Polycrylic, on the other hand, is better suited for interior use. Because it cures more quickly, it is much more convenient to use on countertops and furniture. And because of its reduced toxicity, you don’t need to worry about having it inside your home.
What is More Durable: Polycrylic or Polyurethane?
Polyurethane’s durability is what gives it an edge against polycrylic and makes it better for exterior use.
Water-based finishes that soak into the wood (such as polycrylic) don’t offer much in the way of protection against scratches or buffs due to how little of the finish remains on the surface.
As an oil-based lacquer, polyurethane stays mostly on top of the surfaces you apply it to and leaves a much more durable topcoat.
While polycrylic is a better option for use inside the home, it won’t give your surfaces much protection.
Without a thick topcoat and with its thinner consistency, surfaces coated with polycrylic are more prone to being damaged by scratches and scrapes.
Polycrylic also doesn’t resist moisture or heat as well as polyurethane, as the water-based formula isn’t suited for use in these conditions.
Polyurethane, on the other hand, is much more resistant to heat and moisture, which is what makes it the better choice for outdoor use and for surfaces that will have more heavy-duty handling.
That said, polycrylic is still a better choice for surfaces such as counters, cabinets, and furniture that will only be subjected to light handling.
While it might not offer as much protection as polyurethane, polycrylic will still add some defense to your wood and help keep it safe from minor damage.
How Do I Get A Smooth Finish With Polycrylic?
Getting a smooth finish with a water-based coat like polycrylic is easier than with oil-based polyurethane (which is prone to forming blobs). However, there are still some things you should be doing to ensure a smooth-as-glass finish.
Using a high-quality brush will prevent your polycrylic from forming globs or streaks as you apply it.
Make long, consistent strokes with your brush that go with the grain of the wood. Smaller strokes that go against the grain will leave your finish bumpy and bubbly.
Only apply a thin coat at a time, making sure that it is even along the whole surface. If the polycrylic is too thick to start off with, add some water (around 10% of the volume of your polycrylic) and stir it in.
This makes it easier to apply and reduces the risk of an uneven finish.
You should never sand a surface coated with polycrylic, as this will leave it rough and covered in scuffs.
Conclusion: Which Clear Coat is Best for Kitchen Cabinets?
Clear coats can have different bases, which affect how straightforward the application process will be and also how much protection you add to your kitchen cabinets.
Different options also dry at various intervals, and some can self-level or even resurface damaged cabinets for a smooth, clean appearance. There is no clear coat that will be ideal for every kitchen.
With that said, my number one pick for a kitchen cabinet clear coat is the General Finishes High Performance Water Based Topcoat. It’s super simple to apply, so it’s suitable for beginners and professionals. It dries rapidly, leaves a clean, professional finish behind, and offers protection from physical damage, water and moisture, and UV radiation from sunlight.


Dan's interest in woodworking began while watching his dad build furniture in a pieced-together home workshop. He inherited old but reliable tools from his father and quickly became enamored with the ability to make something out of nothing. Starting with a simple picture frame and moving onto building all the furniture for his house, he's proud to have begun his own home workshop, built a stronger relationship with his dad through the craft, and developed a love of all things woodworking.