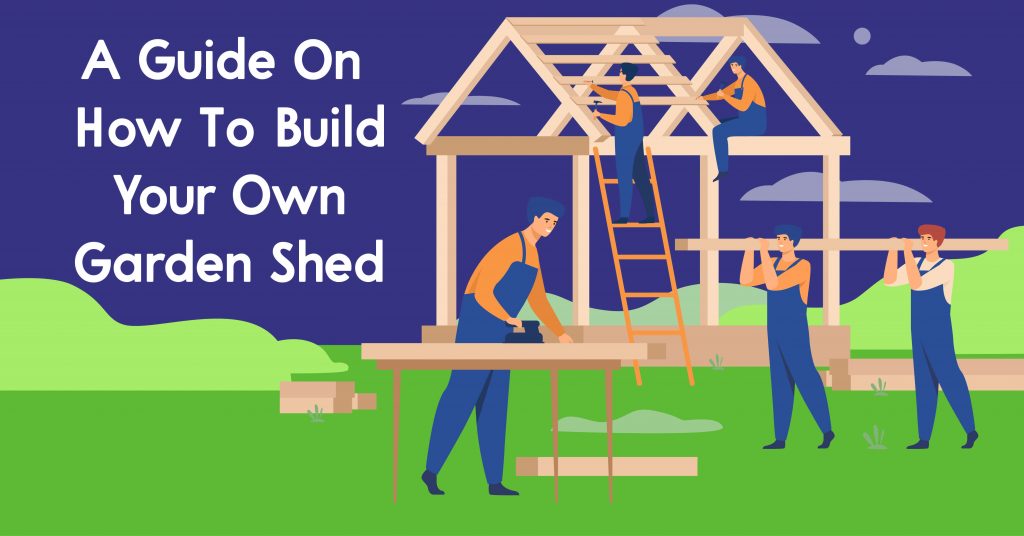
Having a good shed in your garden can prove to be excellent tool storage, a hobby home, overflow storage from your house, or just a nice and quaint place to sit and enjoy your garden. However, buying a shed and installing it is very expensive.
A good alternative to this is to build your own shed from scratch. Plenty of people do this, and it comes with the benefits of having a unique shed, built and designed by you.
Some people may argue that the cost of materials means that building your own shed will cost more. However, it will be less expensive to build your own shed than to buy a pre-built one. You will need to consider tools and the time it takes to build, however. But if you already have tools at home, you are already cutting the costs of having a wonderful shed in your garden.
Before you set your heart on building your own shed, it is important to consider the factors that make a difference between you building your own shed, and buying a pre-made one. DIY is fun, and very rewarding, however you need to be open with yourself, and deduce whether you have the skills for the task ahead. Building your own shed requires a lot of heavy labor, and if you are not up for that, or if you have certain ailments like suffering from back pain, building your own shed might not be for you.
Similarly, building your own shed requires a lot of guarantees, things like delivery times of your materials, and the quality of the timber that you use to build your shed. The one guarantee you won’t get doing this, is warranty, which is the primary reason why you need to be certain of your skills before you start on this shed building venture.
If a shed you buy lacks in quality, falls apart or gets damaged, you can enforce the warranty and get things sorted out fast. However, if you build the shed and something goes wrong with it, then it is all on you. Understanding that you are totally responsible for this shed, from the moment you decide to build it onwards, is a commitment you need to be certain you are ready for. But, if you are up for it, then you can build your own shed, and you can make it even nicer than ready-made ones.
Contents
Prepare

Before you build anything, preparation is key. Understanding what you are building, the materials you will use, the steps to take, and any other information will help ensure that the job goes smoothly.
Before you do anything, even before you look into the materials and tools that you will need, is an idea of what you are building. This means looking up any building restrictions, some places might have restrictions on size, which will affect the overall build, some places may require you to get planning permission, so you need to look into all the legal requirements.
You also need to have a vague idea of how big you want it to be, what kind of timber you want to use, and where you are going to build it.
Check to see if you need planning permission
Most of the time, sheds don’t need planning permission, but it does depend on where you live and the type of shed you want to build. There are some rules and regulations around building sheds, garages, and greenhouses on your property.
- A shed should not be built in front of walls at the front of your property.
- It should not occupy a space of more than 15 meters square.
- The finish should conform to that of your house.
- The height mustn’t exceed 3 meters unless you have dual pitched roofs, in which case it can be 4 meters.
- The shed shouldn’t exceed 2.5 meters if it is within 2 meters of your property boundary.
- Your shed should not occupy more than 50% of the land around your home.
- The shed should not have a negative effect on spaces of outstanding natural beauty, conservation, or protected lands
- No verandas, balconies, or raised platforms.
These rules are a general idea of what some planning permissions will ask for, check with the local building authority and apply for a building permit. Yes, even though it is your land.
Tools and building materials
To start building your shed, you will need to gather a few things. Tools and building materials are a must-have for any DIY construction project. Even if you do not use all the materials, it is good to have them just in case you do need them. And if you do not use them, you can then store them in your new shed afterward!
What do you need?
- Building sand and hardcore.
- Concrete.
- Hammer, nails, screws, bolts, and a screwdriver.
- Pegs, string, and tape.
- Roof felt.
- Shed kit.
- Shed plans.
- Timber for the framework of the base.
- Timber for the shed floor.
- Work gloves.
Where are you placing the shed?
You also need to consider where the shed will go. Think about this hard, because once the shed is built, it is there for life.
Consider things such as the purpose and function of the shed, the accessibility, the appearance, lighting, and local ordinances. You want to consider where in your garden will be the most convenient location, if you will be storing gardening supplies, you will want it in a place easily accessible for this purpose. Access that is easy and away from obstructive trees or bushes is also important. You will also want it to be somewhere where it looks naturally like part of the property as well, without it getting in the way.
Similarly, if your shed will be a greenhouse or summerhouse you will want the sun to be in a direct view of your shed, however if you do this, you want to also consider how hot the shed will get. Finally, consider where local ordinances will allow you to have the shed.
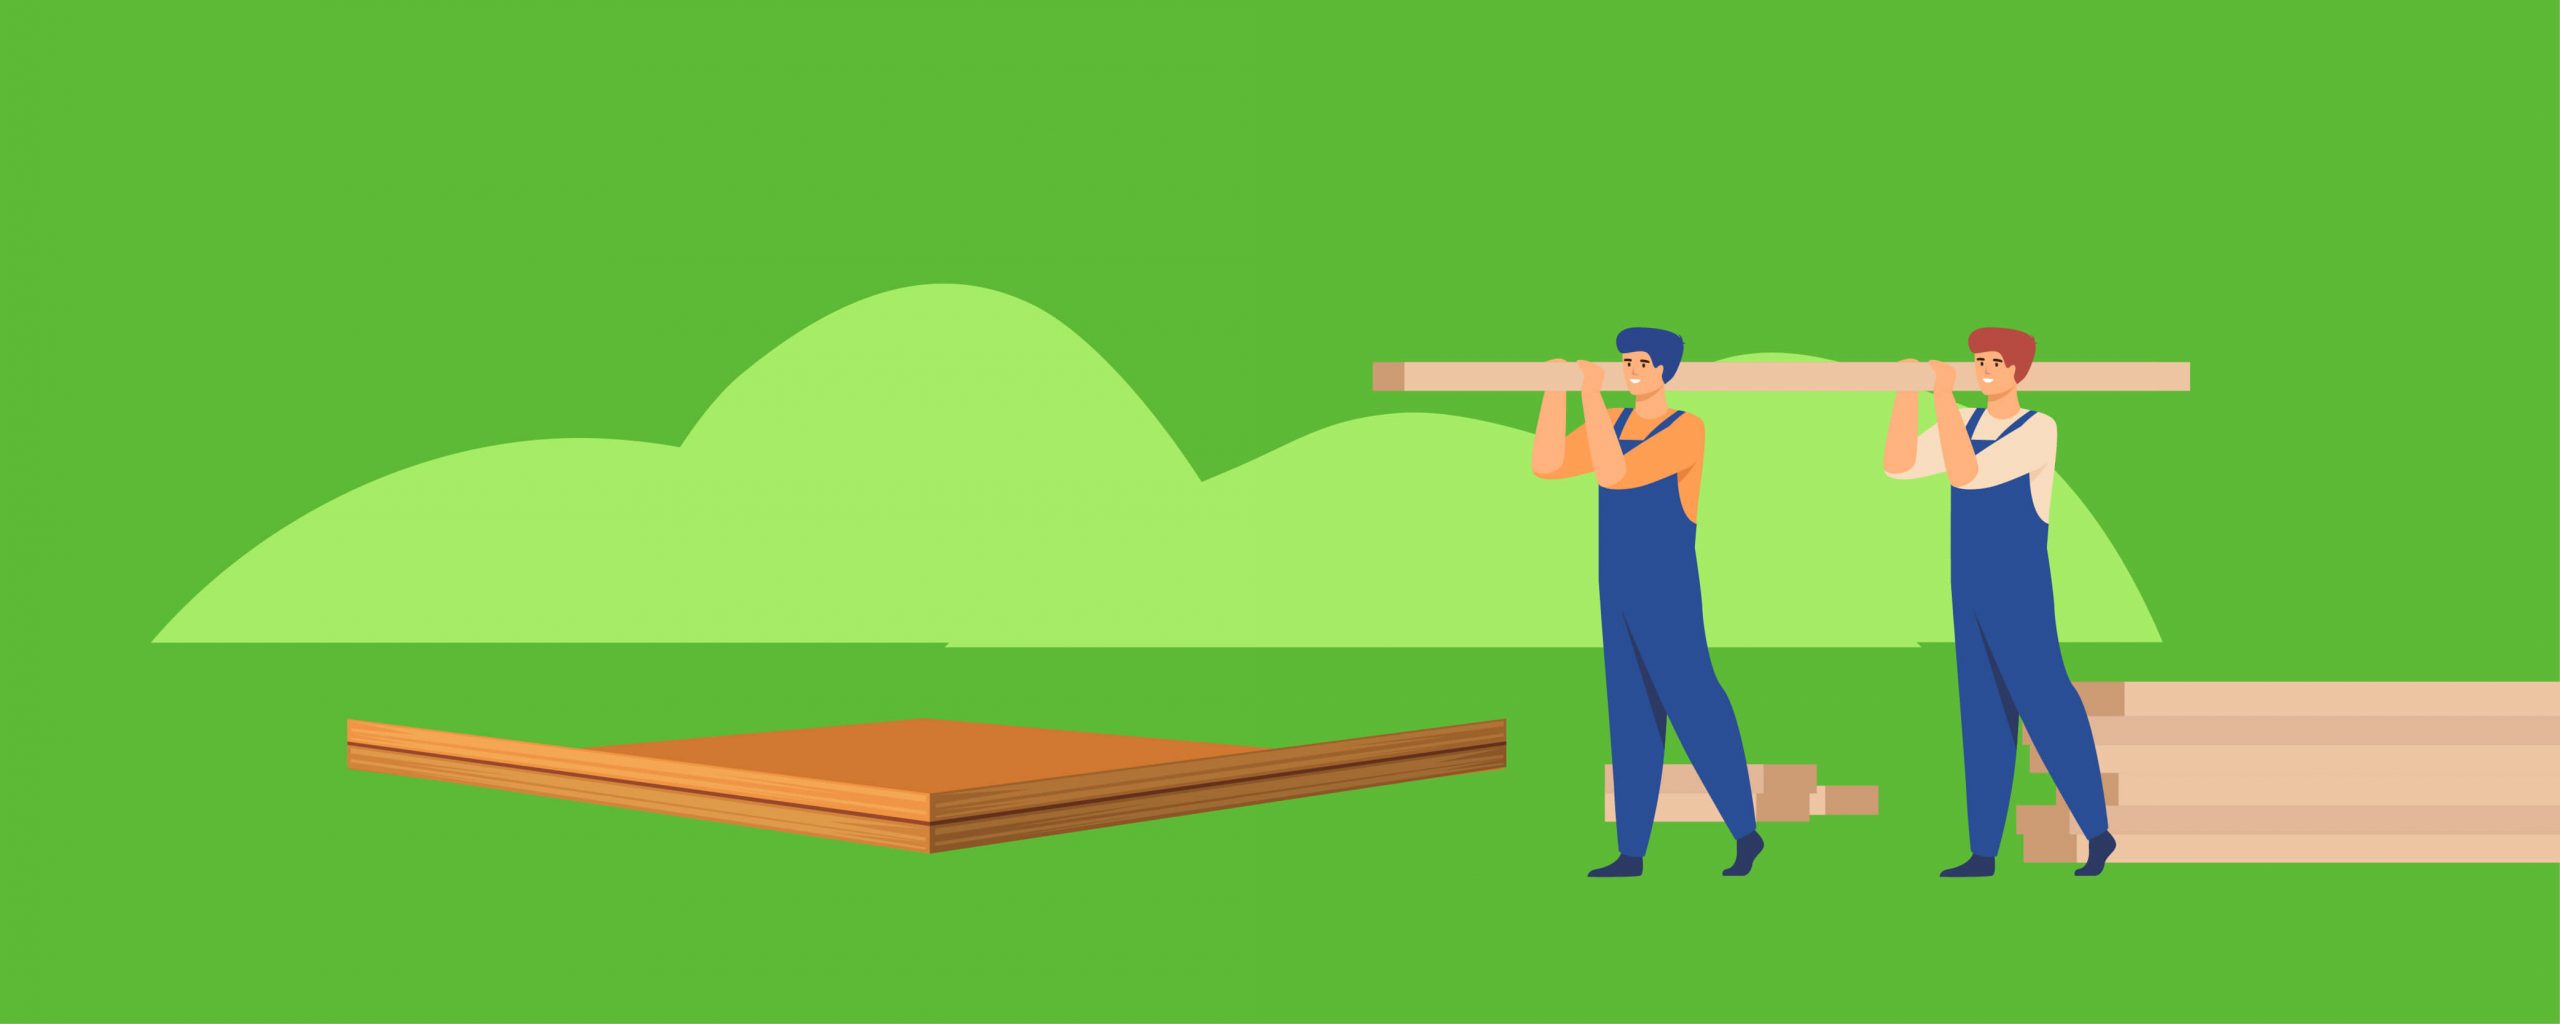
Ask a family member or friend to help out
This will be a complex and difficult job, so do not be afraid to ask family members or friends for help. Having an extra set of hands will make the job easier, especially as you get into the more intense construction.
As you start planning for the build of your shed, ask around to family and friends and see if one of them doesn’t mind lending you a pair of extra hands to get the job done easier and quicker.
Safety tips and safety equipment
Building a shed is great, but like any construction project, there are plenty of things that can go wrong, and you can always end up injuring yourself, so before you go zipping off to start your shed construction project, think about your safety, and getting some extra safety equipment to prevent any bumps, splinters, falls, or worse.
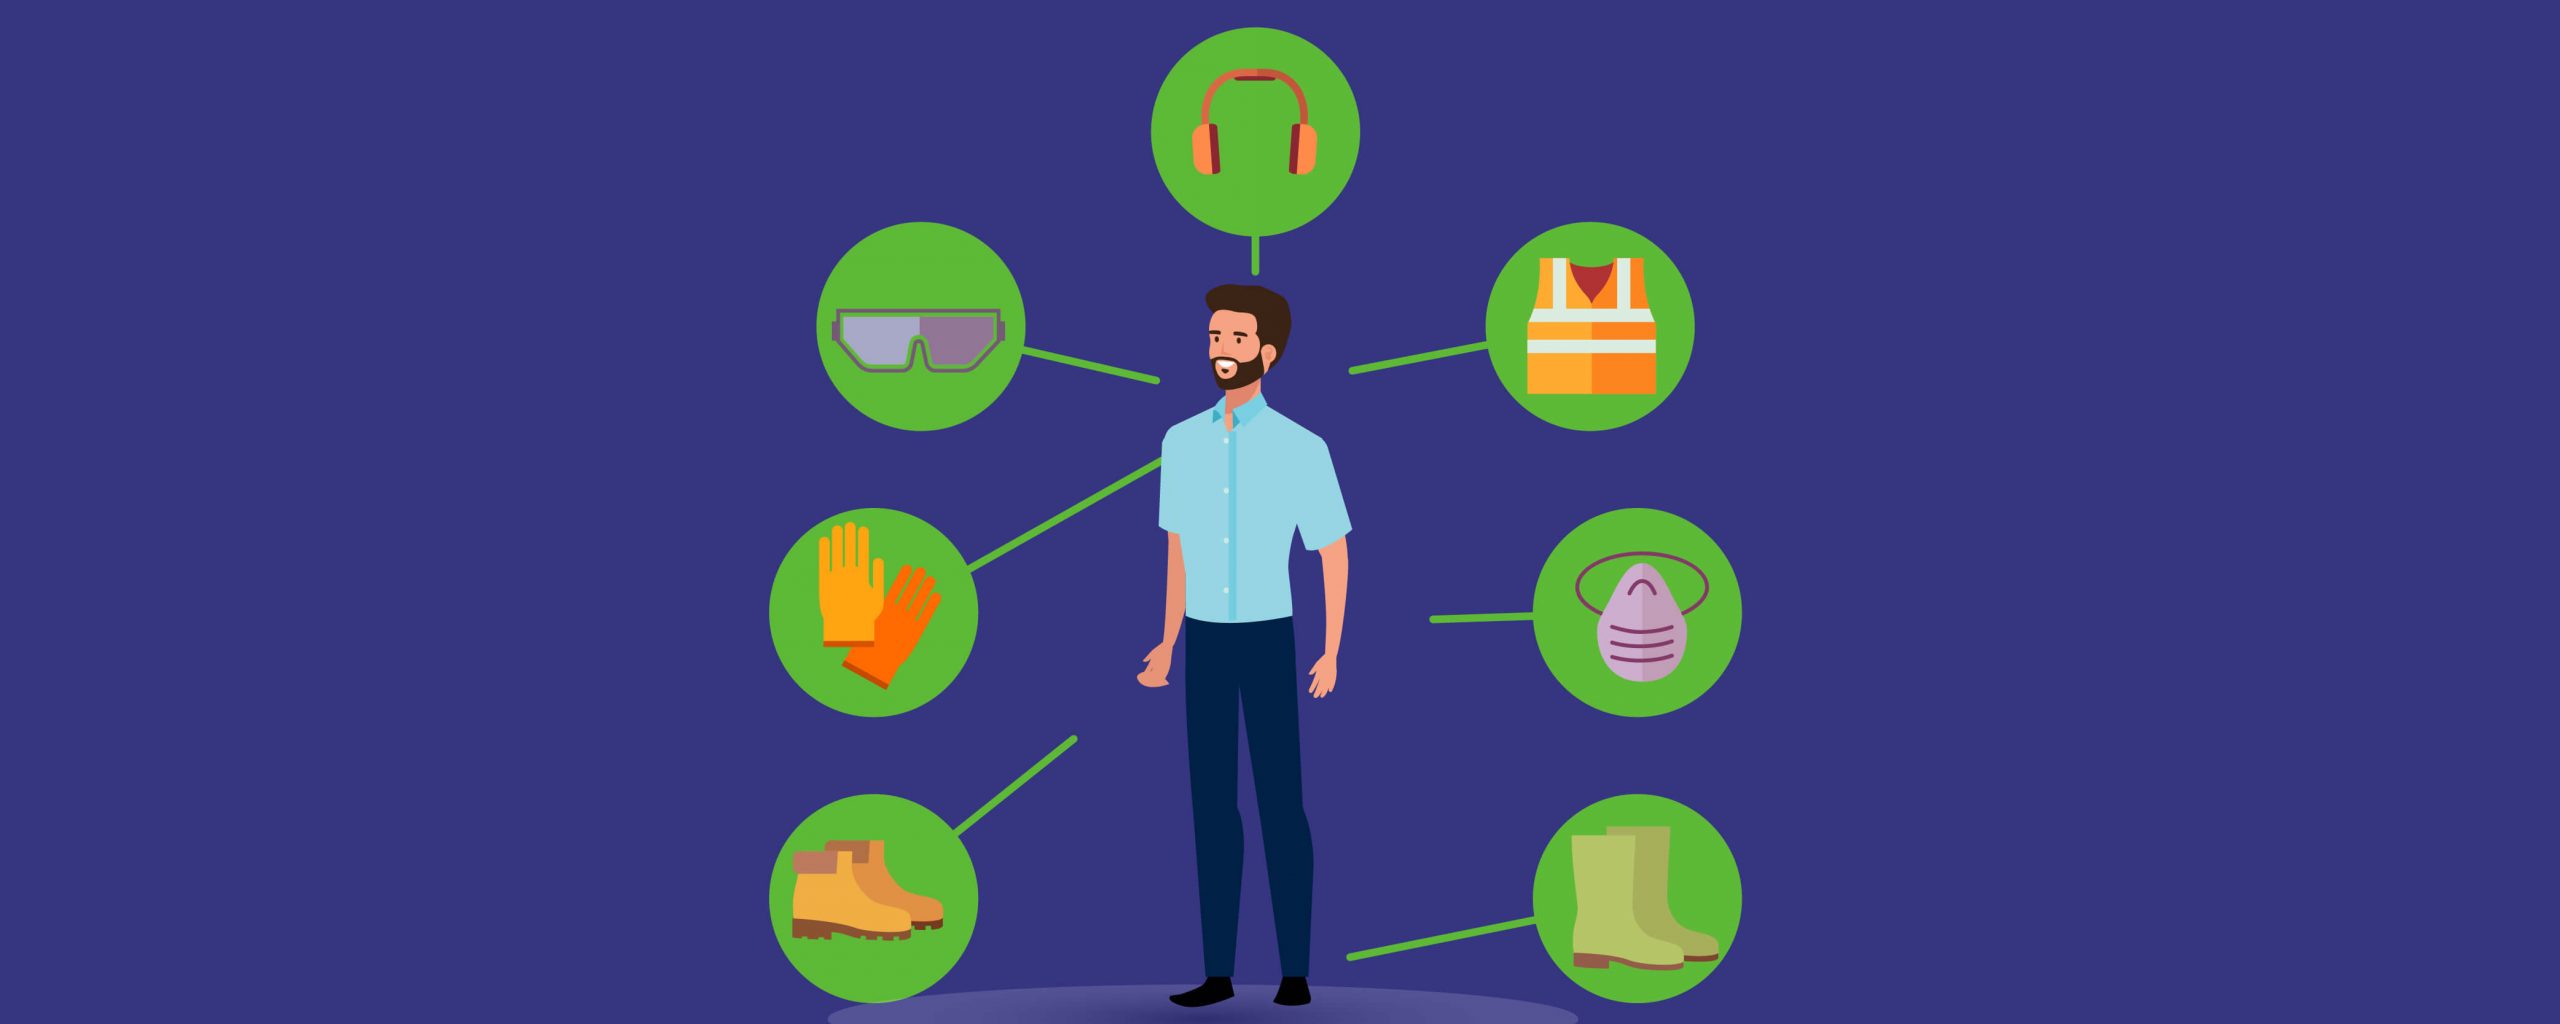
Wear PPE
Even if your shed building project is fairly small, you need to wear personal protective equipment and gear. This will prevent you from any injuries that may happen while you are building your shed. Protective glasses for your eyes to prevent any damaging materials getting into your eyes, a hat to protect you from any falling objects or you from falling, protective clothing to protect your arms and legs, and leather gloves to protect your hands and lingers. All are necessary when building a shed.
Handling of materials
Most careful handling is common sense, wearing leather gloves to prevent any cuts to your hands, a protective outfit to prevent scratches to your arms and legs, and asking for help lifting heaving objects to prevent any potential damage to your back.
Keep the working area clear
Keeping the working area clear and clean is important, it will help to reduce any chances of falls, things falling off, or painful accidents. Organize sheeting, wood, and materials in order, and keep them neat. It is not only safer, but it is also easier as well.
Caution around hand tools
While power tools are more dangerous, hand tools can also harm you as well. Be careful when you operate them, as you don’t want to lose a finger just because you weren’t cautious enough with your hand saws. Even just hammering in a nail can have painful repercussions if not used in caution.
Power tool safety
Follow safety instructions for any power tool, and wear all safety gear when operating. Do not mess around with power tools, and some can easily cause serious damage to yourself and others. Ensure that before you use a power tool on any sheeting or lumber, that your materials are supported and solid. Be cautious of chips or pieces of wood or metal that can fly around (this is why we wear protective gear). Stay focused, you can damage your work and yourself if you do not pay proper attention.
Build the shed floor
Now that you have prepared, it is time to start measuring and clearing the space that you are going to use for your shed. Mark the side on the ground using a measuring tape, and you can hammer some pegs into the ground and tie some string around it to the border to work space tight. This will also help you as you start building the shed, as you can ensure the frames are perfectly placed. You need to clear the space also, and ensure that the surface is leveled, you can use sand to level it until you are happy with how flat the area is.
To build the shed, use paving slabs as a primary support, you can also use concrete blocks. Place the slabs or blocks by digging a square hole in the ground and fill them in with hardcore, sand and then cement. Ensure the holes are large enough to accept the slabs, then place the slabs on top.
Once the concrete has set, you can then progress to adding layers on top of the slabs or blocks. Mudsill is a great thing to use for this. Cut and measure the boards and slowly start by framing the base of your shed.
Determine the correct spacing between the joists and lay them in place as needed. It is a wise idea to also lay smaller studs between each joist so that you can connect them, thus strengthening the base of your shed.
One every joist is fixed in place, by using nails and hangers, you can now add the floor sheet on top of them all. Carefully construct your floor piece, and nail it all in place before you start on the next step. You can also consider adding in 2-3 small wooden braces on each side, doing so will help to secure your shed base.
How you design and model your shed base is up to you, you can make it as unique and individual as you want, but the process for the base is the same, even if you make a square shed, an octagonal shed, whatever you want. Laying down this foundation will keep it secure and safe, and this is what you want to prevent any issues in the future. Similarly, you don’t actually need a wooden shed floor, the floor type is up to you depending on what you will use the shed for.
Build the shed walls
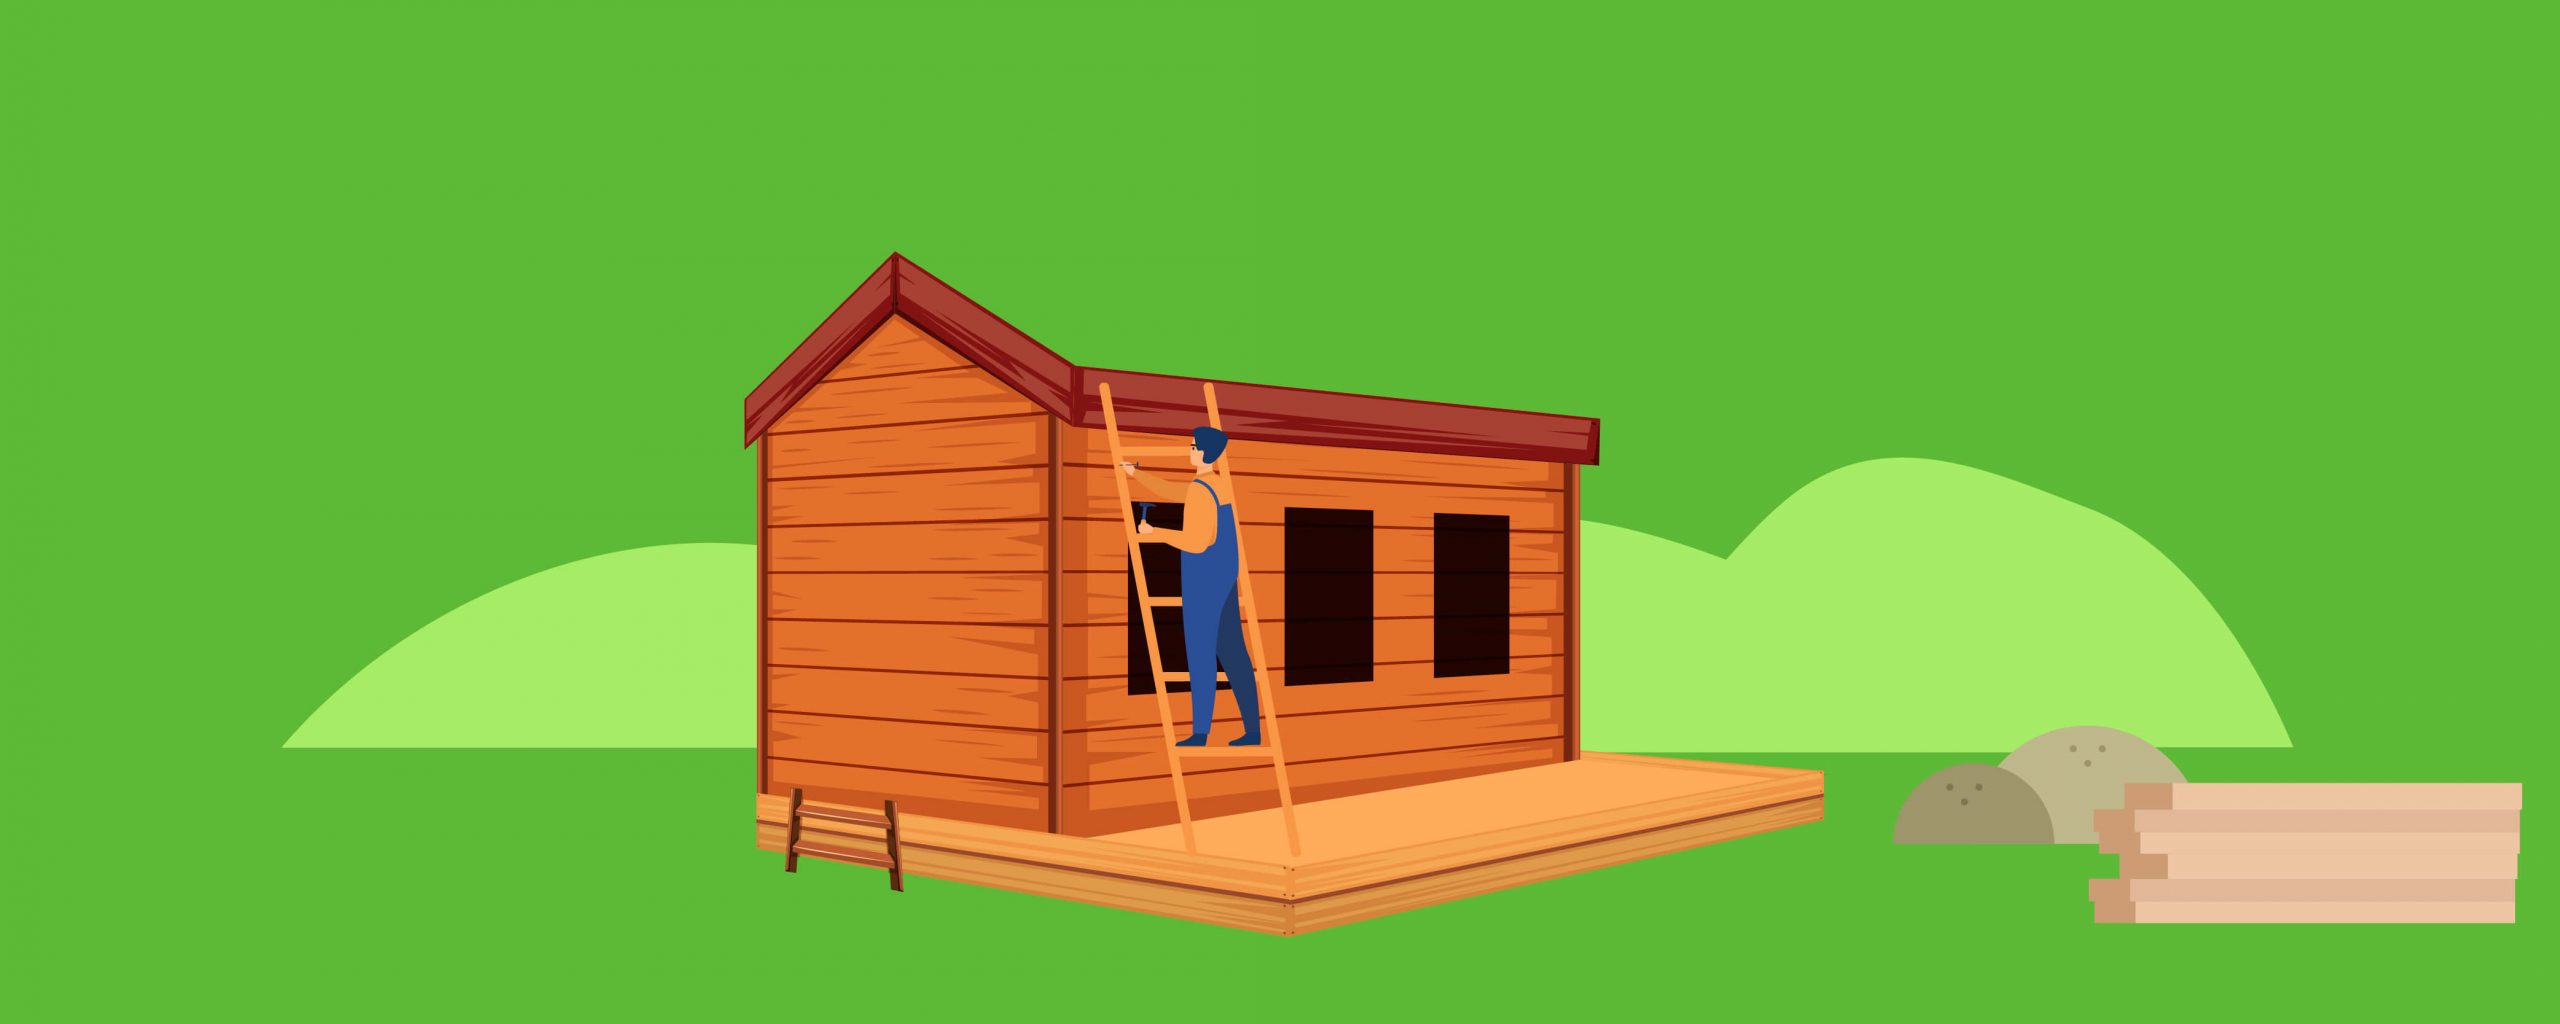
Once your shed floor is all set and solid in place, the next thing that you need to tackle is the shed walls. If you have a shed plan that shows you how to build a shed from scratch, then follow this plan. Frames are generally constructed in a specific order; back walls first, then the front wall, and then the sidewalls. It is ideal to build up the framework from the floor and up in this order.
If you have purchased a shed kit then you will probably have ready-made walls available, this should consist of four wall sections, and these sections should fit together rather easily. If this is how you are building your shed, then start by standing one of the long sections and one of the shorter sections next to one another on the shed floor and use bolts and screws to fix them together. Then add in the other two sides. Once all four sides of the shed are up, ensure that they look straight and are level before you attach them to the floor of your shed. This is the easier option. However, some people may opt to make their shed walls entirely from scratch.
The basics of how you can make shed walls from scratch is to simply start off by making a wall frame that supports the wall cladding. Space the studs of this support equally inside the framing. Then to ensure that you get enough light into your shed, you can also consider screwing in some acrylic windows as well, if you wish to do this, ensure you fix a few horizontal wood places accordingly and then insert your windows. You can repeat this procedure for each wall, except for the front, which will need extra attention as you will need to fit a door in.
From a step-by-step perspective, here is how you can build your walls.
- Start off building the framework for all your walls, accounting for the fact that all the walls are different from each other, especially the front due to the door, each wall needs to be tackled differently. Start with the back as it is likely to be the simplest construction, then do the front, and finally the sides.
- For each of these, make a top and bottom beam the same length as the floor they will sit on. Keeping things simple, try to make the spacing between the vertical studs about the same as the spacing between your floor joists. If you want to avoid any issues with rain, try to make the back wall lower, so that rain will slope away from the door.
- Next tackle the front wall, it should be the same as the back, but perhaps taller and with a door frame so that you can attach a door in later. If you already have a door, use measurements to make it so that the frame will fit.
- To assemble the sides, the bottom plate of each side should be the same distance between the front and back walls. The top plate should be angled slightly so that rain slopes to the back away from the door (if this is something you want). Calculate the height of each stud based on the sloping effect between the front and back walls. Then attach the side walls, front and back walls by nailing them to the underlying support from the bottom and up.
- You can either cover the walls before or after you build the roof, this depends on the look that you are going for. If you are covering the walls before, use whatever siding you wish, measure and size it so that it fits the walls well. You can use any lumber, or even metals if you want to do this.
Build the shed roof
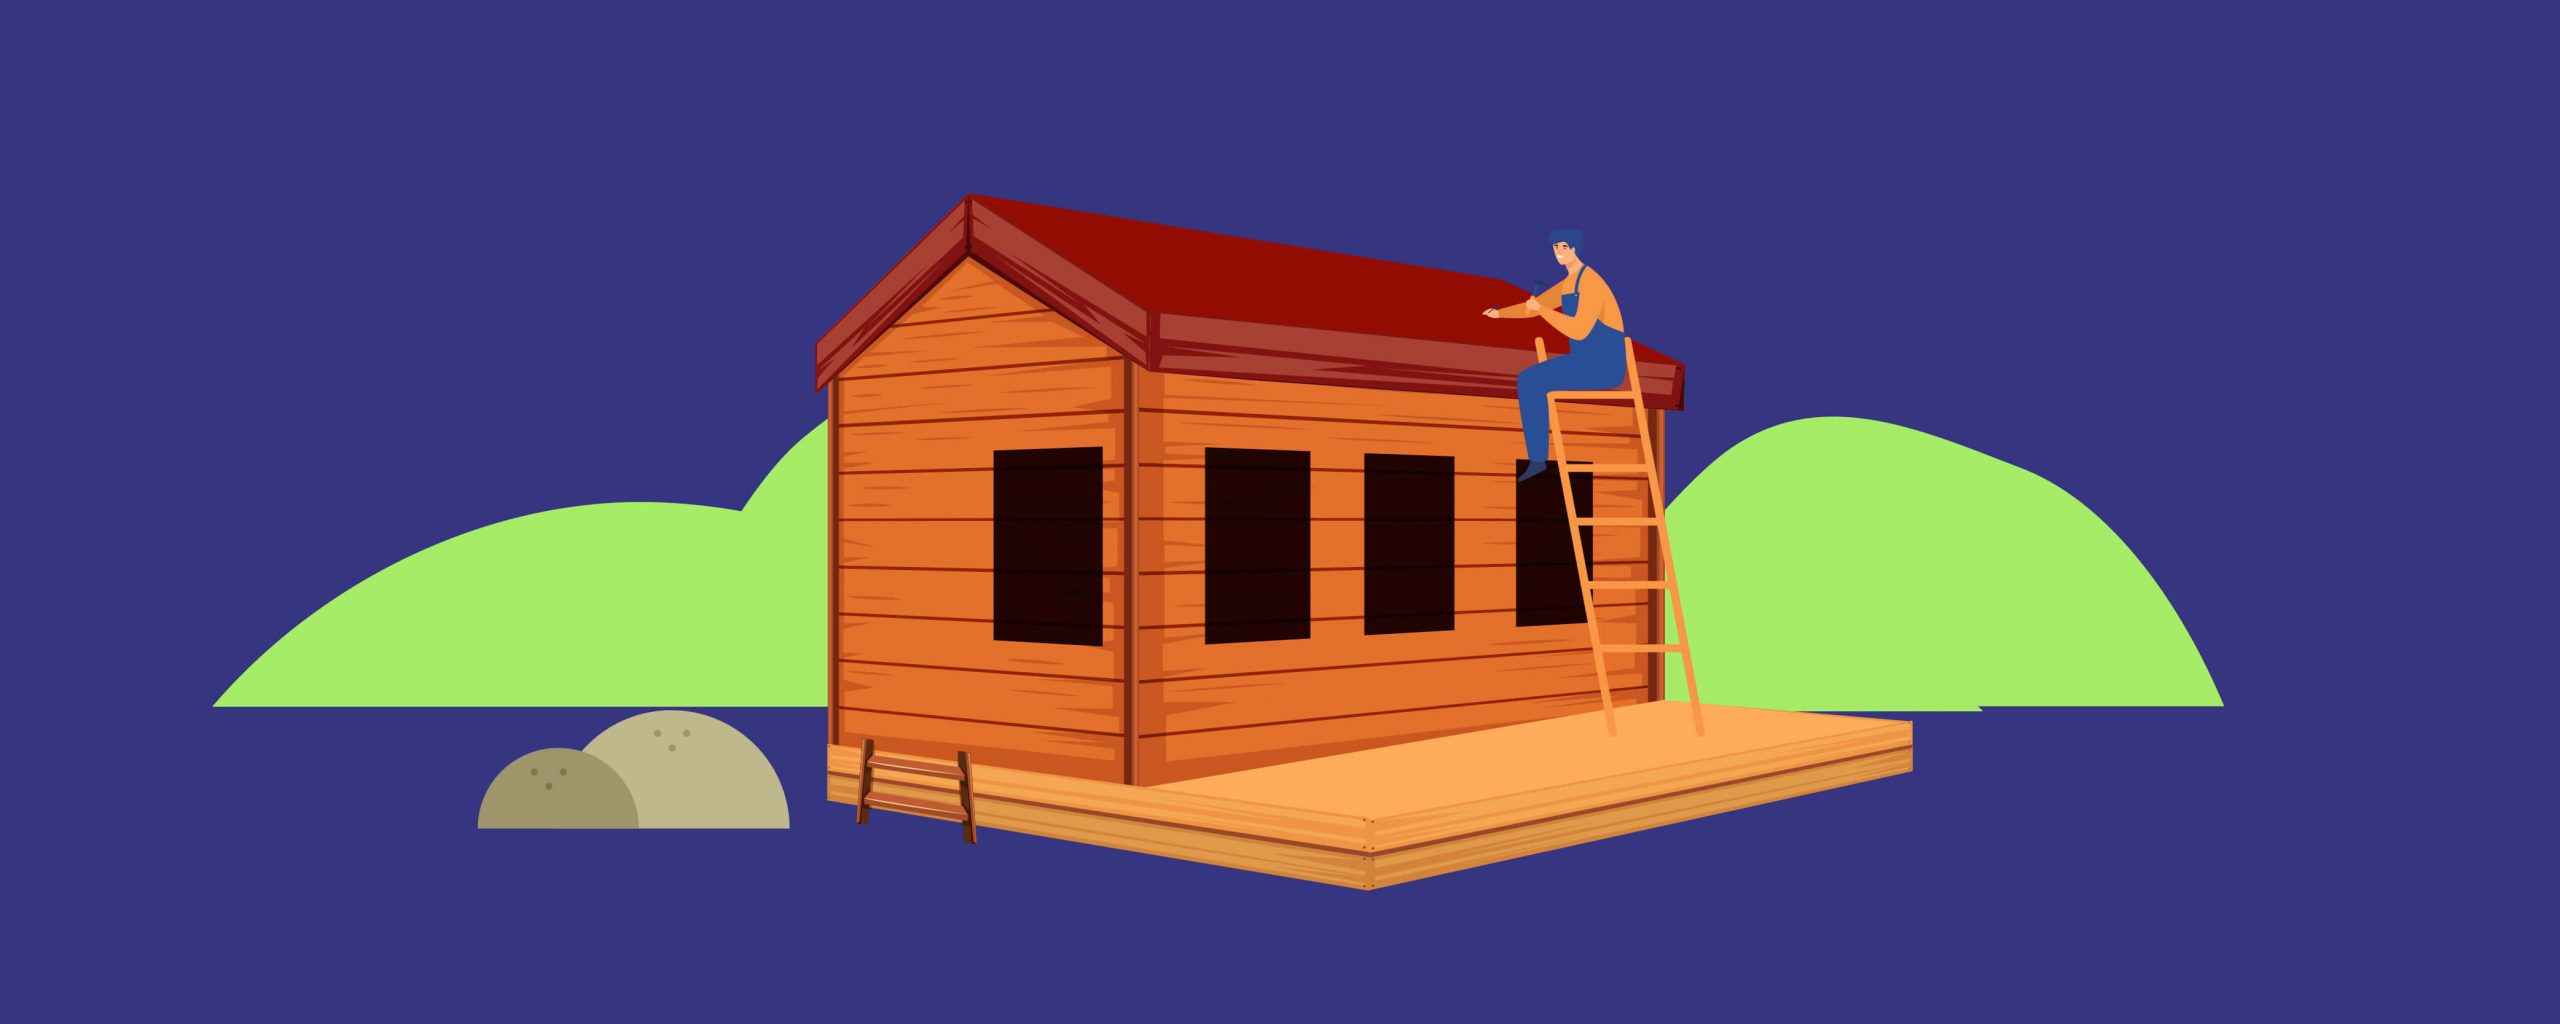
Now it is time to build your shed roof. If you are following a shed plan, then framing the roof is one of the more important jobs in this build. You need to have a strong and sturdy roof to last through harsh weather, so you cannot rush this part of the build. Work slowly and precisely through this. Follow directions with absolute precision.
If you have a shed kit, then fit one section at a time before you screw the two sections together, then you need to add in the felt which will help in protecting it from the elements. This needs to be pulled tightly before you nail it onto your roof.
Depending on the type of roof you want, you can have a wooden roof, or you can also make a metal roof. If you want a metal roof, the easiest thing to do is to order cut-to-length steel roof panels. Sure, you could do it yourself with a circular saw and a carbide blade, but ordering the panels to the right length will save you loads of time, you will also get a better colour selection ordering them as well. With solid plans in place, pre-order steel panels, as they will usually take a few weeks to arrive.
It is also worth adding overhangs on the roof to protect the siding of the shed. They are more work, and they will require extra material, but they will provide protection from rain and snow, which will mean that you will have to do less maintenance work on your shed in the long run. If you do not want a shed with a sliding roof, overhangs are your answer.
To put in a roof step by step, do the following;
- First, build some rafters, if you have a sloping roof these should overhang the walls of your roof at the front and back slightly for weather protection. If you are adding in overhangs, you can incorporate these now. Be specific with your measurements, this will also be greatly simplified if you use the same spacing as you did for the floor joists. Then attach blocking pieces between each pair of rafters along these top plates.
- Now nail on your roofing material, whether it is metal sheeting or a wooden sheeting like plywood. If you are using wood, you will want to add a protective layer such as felt or tar paper, start this from the back to the front and ensure that each layer overlaps the last to prevent any rainwater from seeping through the cracks. If you want, you could even use shingles or any other material, as long as it is waterproof.
Finishing touches
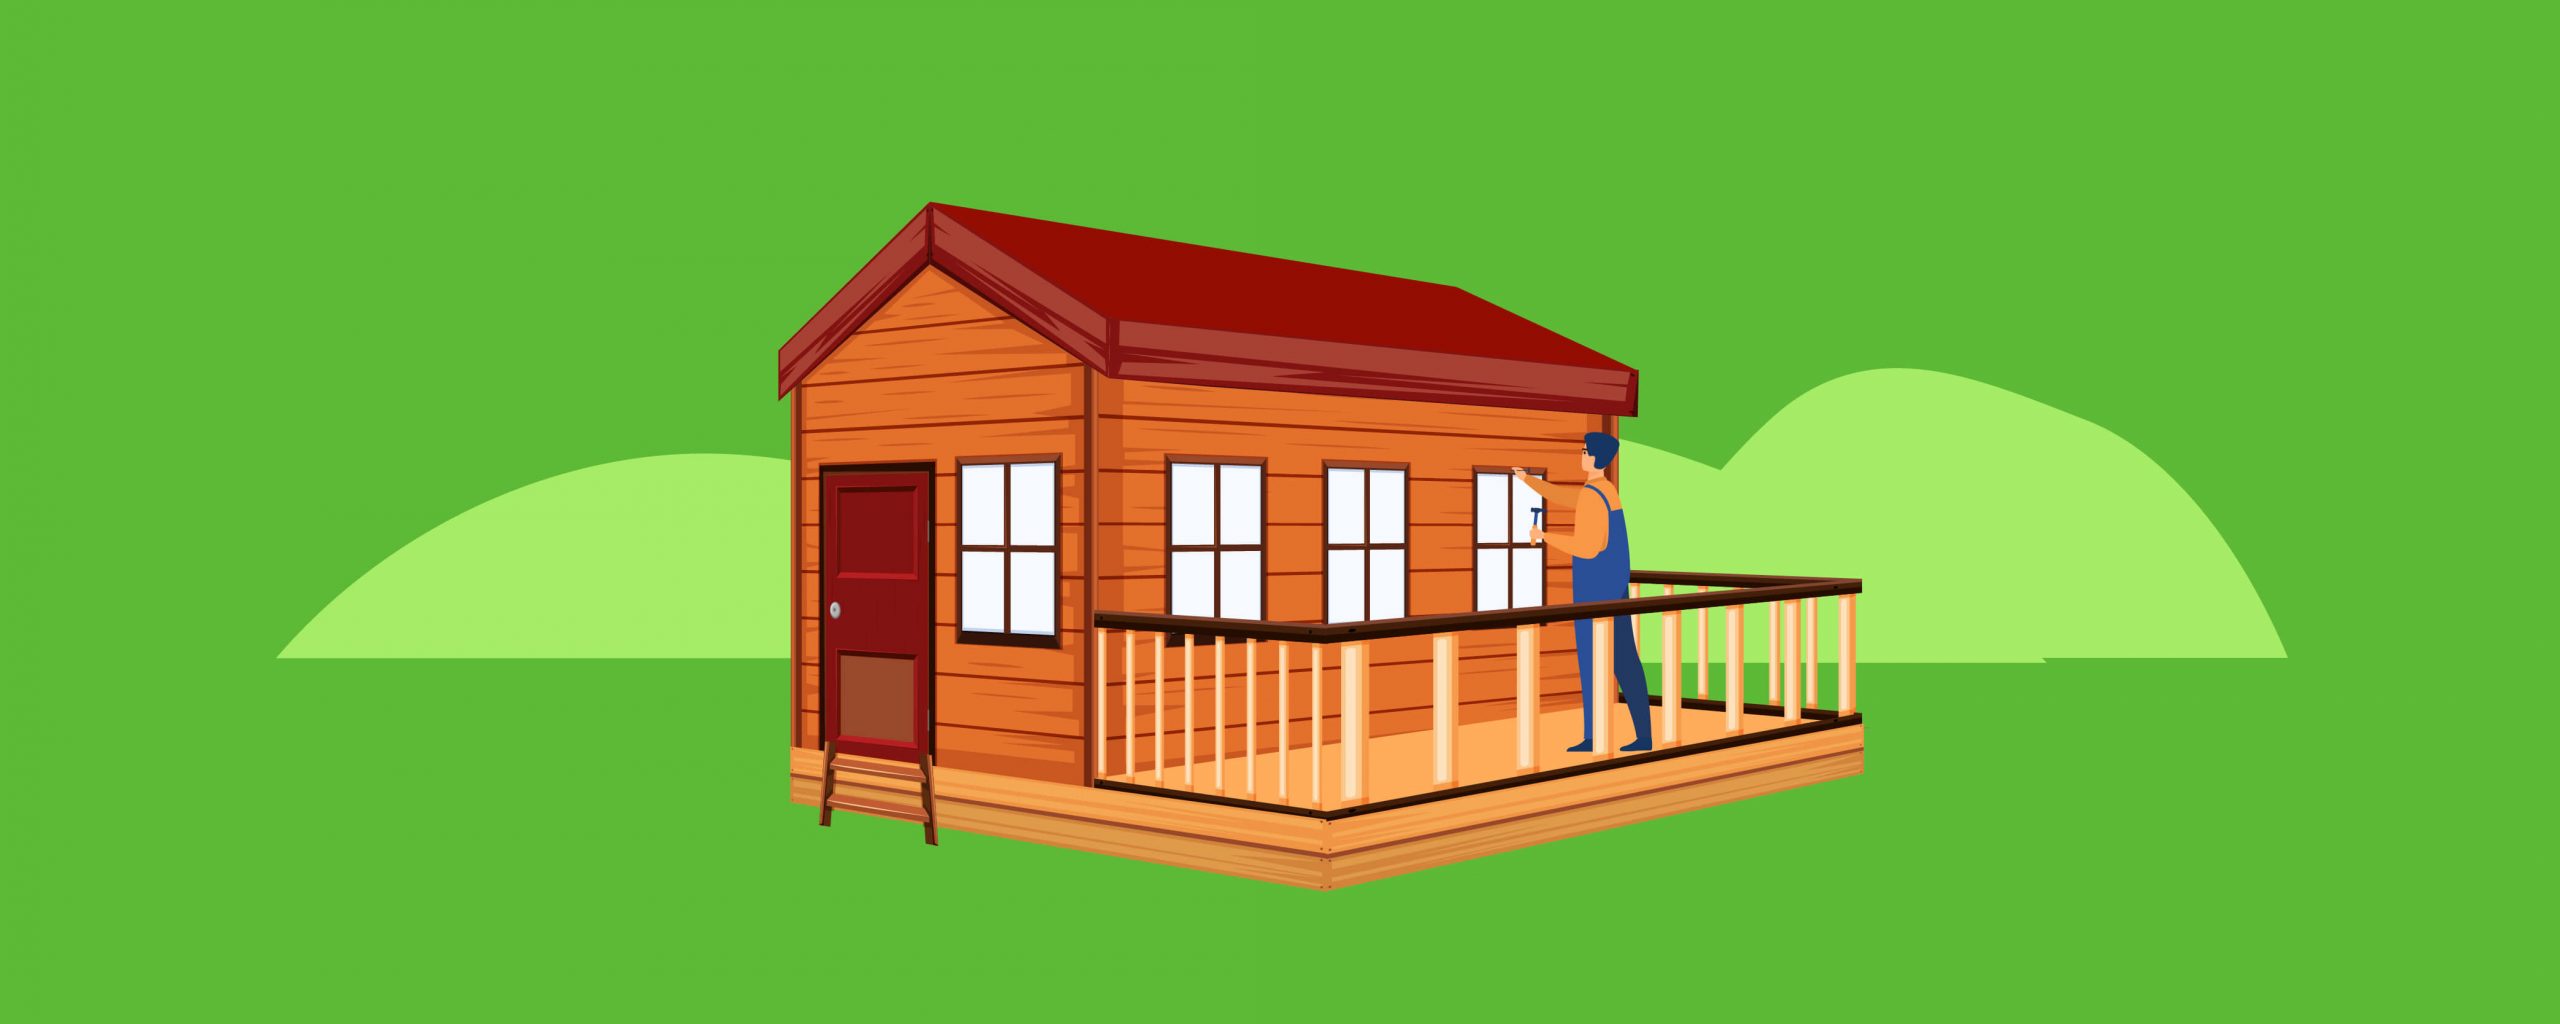
Once your walls are up, your roofing is on, and your shed is starting to look like a complete piece of work, with windows and a door fitted you may want to add in some extras, perhaps any trim like window ledges. Guttering is also a good idea, especially if you do not have any other measures in place for the collection and dispersal of rainwater. Doing so will avoid any water damage on the shed walls, you can also consider painting the shed to protect it even further from the elements. Painting will also give it a unique appeal, and an individuality. You can paint it to match your house, or just do something unique with it that resonates with you.
When it comes to painting your shed, you can stain it for a natural finish, or you can also opt for outdoor latex paint which will give it a more colorful finish. Remember that when you are painting wood that you should paint in the direction of the wood grain to get the best results.
Adding guttering will help to protect your shed from run-off water, you can add guttering and downspouts to the shed roof, it will prevent the wood on your shed from rotting, and you can also recycle the rainwater at the same too. This is not a must-have, but it is recommended.
If you want to paint the trim of your shed avoid using real wood, some other materials will hold paint better and will not rot. So, for painted trim we recommend alternatives such as PVC which works well as trim painted or unpainted, this can be shaped with a router much like wood. You could also use fiber cement, which is less expensive, but it needs extra precautions when it comes to protection against moisture. Finally, you can use engineered wood fiber trim.
If you are painting your whole shed, you want to consider both the color and the kind of paint. You cannot just use any old paint on a shed, leftovers from when you renovated the kitchen will not work as well, and you need proper outdoor paint for this job. The paint should be mildew resistant, fade resistant, durable, and cover the material easily.
You also want a paint and primer mix if possible. Not all wood is pre-primed, so a paint and primer mix will ensure that the paint sits well on the wood. For siding, a paint primer mix is ideal. And if you have any wood trim, one of the best paints to use is an exterior stain that is an oil latex hybrid mix, these are usually designed for decks, fences, and sheds, so this is ideal.
When choosing a color, ensure that it compliments your yard and the surroundings. Many people will want their shed to match their house, or sometimes their fencing, or other items in their garden. Greens, browns, grays, blues, pinks, whites, and reds are all popular choices for shed color. There is no right or wrong choice for color, just make sure that you are happy with the color you have chosen.
Think about adding insulation
You may want to insulate your shed, if you just use it for storage it is not so important, but if you want to use it for more than just storage, having insulation can be extremely beneficial during the winter months. You could use fiberglass roll, cellulose, polystyrene or foam, breathable membranes, and more. If you want to be inventive, you could save up all the bubble wrap you get with parcels and postage and use this. It is the least expensive option, however, this also means that it is probably the least effective solution. If you pair it with something like an OSB board, though, you have some good insulation.
If you have a bigger budget you can also use plasterboard insulation, it is mostly used as an inexpensive way to increase the thermal performance of your shed walls without reducing too much internal space that is available, you can put this in while you are building your shed, and it can be easily fitted with screws, nails, or just glue.
It is not quite as cheap as bubble wrap, but it is still a cheap option, and it is practical too. It does offer a contemporary feel, so if that is what you are looking for, then this will work well as insulation. However, if you use your shed as a summer house, you might want to use something else instead.
Hardwood also works well for insulation, it is a bit more robust so typically lasts longer than plasterboard, however, plasterboard is usually more water resistant, so it really depends on what features you are looking for. This is also inexpensive.
Summary
If you have the DIY skills to build your own shed then there is no reason you shouldn’t go for it, however, if you do, consider the time and skill it will take to make it. Be aware of safety measures and be cautious when using hand tools and power tools, ask for help from friends and family because building a shed is hardly a one-man-job.
Planning permission is the first big step into building your shed, then you just need to settle on your design and get your materials in. Building a shed can be fun, as long as you practice safety and plan out how and what you are going to do to make your shed.
The biggest things to consider when you build your shed is the end result, how it will look and function, and additional features such as paint, trim, roofing materials, and water-protection such as roofing material, guttering, and water-resistant paints and insulation.
Remember, if you do not feel that you have the time and skills needed to build your own shed from scratch, you can get a shed kit that will provide you with everything you need if you do not have the skills to build it from scratch. And if you simply cannot do this, and do not have the time, you can always just buy a ready-made shed, there is no shame in that.


I've been building, renovating and restoring homes for years. Learn how I can help you with your next project. I love to create beautiful and functional products out of wood. My signature style is rustic and natural. I am also available to build custom pieces.