Contents
The outside of your home is more than the four walls that keep you safe from the weather. It is also a reflection of your life and who you are as a person.
If your home has faded paint, bird droppings, or cracked edges, you are telling everyone in view that you don’t bother with upkeep.
You might think that hiring a professional is too expensive, but there is another way. There are so many tools and tips to help you paint your house yourself, and we will help you.
The results will look crisp and sleek, and your house will have a new lease of life! Let’s get into it!
Do You Need Permission to Paint Outside?

In general, you won’t need permission to paint the outside of your home unless it falls under three categories.
The first category is around leasing. If you are renting or leasing the property, then you will need to have permission from the owner. They will likely say that as long as the building goes back to its original condition when you leave, you can do what you like. However, every landlord is different. To be safe, ask for their consent in writing.
The second category is for historic or listed buildings. If your property has historical or architectural value, you could diminish its cultural worth by painting it. As cultural significance is shared among a community, you will not have permission regardless of your ownership.
Most people are already aware of their home’s cultural importance before they attempt to give it a makeover, however, if you’re not sure, ask your local authority about your home’s heritage.
The third category is more to do with the local authority, neighborhoods, and contrasting values. If you paint your home a wild color or even simply go against the grain of the area, your local authorities could hit you with a fine for upsetting the community’s aesthetic.
Unfortunately, because this issue comes down to taste, what you consider a mild decoration could aggravate the authorities.
Because of this, it is always best to ask for permission before painting your home. That way, you will not be caught out by an unexpected ruling.
Painting Your House Step-By-Step
Generally speaking, the best order to paint your house is from top to bottom. If you start with the soffits and barge boards (the parts that are attached to your gutting system), you can clear out any gunk that might have collected over the years, spruce up the outline of your home, and then work down the exterior walls.
Once the walls are done, you can move onto windows and doors, again, starting from the top and working down.
Keep this in mind as we work through our step-by-step process.
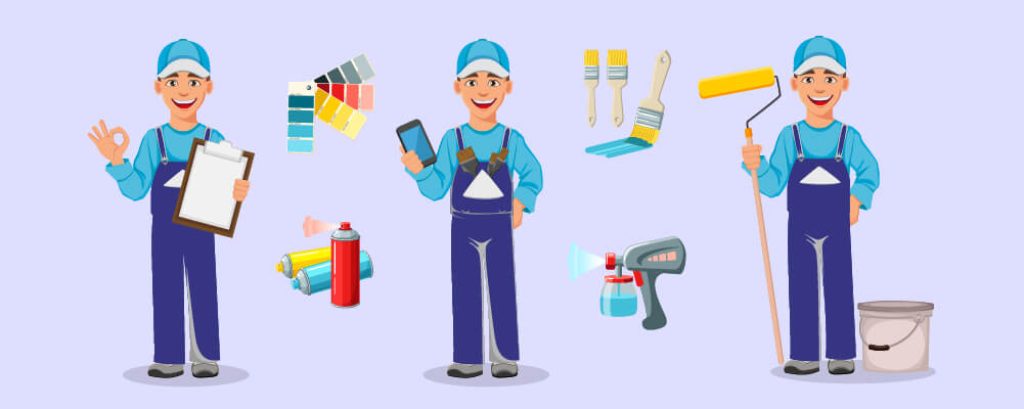
1. Pick The Right Paint And Tools
The first thing you need to do is pick up the right tools for the job. At this point, we want to remind every reader about ladder safety.
The ladder should be high enough to reach the very top of the area you wish to paint. This way, you won’t be overstretching and putting your weight at an unsafe balance. If you want to reach a place that is further away than a loosely extended arm, you should move the ladder instead of leaning on it.
Next, your ladder should be sturdy and placed firmly on level ground. You should always have someone with you to hold the ladder in case you lose your balance.
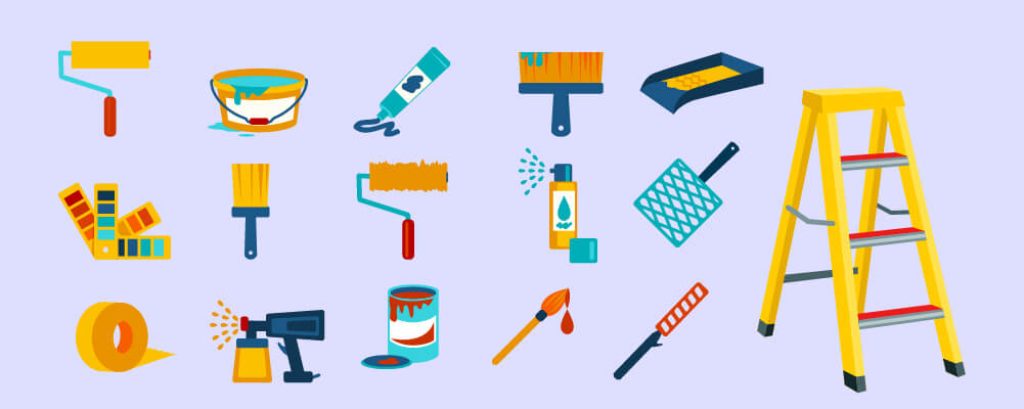
Here is your list of equipment:
- A ladder as tall as the area you wish to paint
- Masking tape
- Stiff bristled hand brush (if you are painting a pebbledash building) – Hand scraper or soft brush (for a brick building)
- Caulk
- Household detergent and cloth
- Ready-mix mortar patch
- Filler and filling knife
- Pressure washer
- Sealant (or masonry primer for brick homes)
- Protective sheets and paper
- A wide selection of painting rollers and masonry paint brushes
- Paint kettle
- Exterior masonry paint (color of your choice)
- Medium grade sandpaper
If you want more information on the best tools, scroll down to the next subheading.
2. Clean And Prepare Exterior Walls For Painting
Before everything has been cleaned, you should cover the rainwater pipes and gutters using masking tape. This is to top any paint or material from clogging up the tubes, which could cause a problem later down the line.
You can use a pressure washer or a bucket and sponge to clean the house.
No matter what type of material your building is made out of, you need to clean and prepare it before you lay down your paint. Stiff bristled brushes are great for removing flaking paint, dirt, and loose stones, which is why we recommend them for wooden and pebbledash buildings.
Hand scrapers can take some time, but they will be better for brick buildings due to the friction quality. If you want to work quicker, we suggest using a pressure washer but keep the hand scraper for the hard-to-reach or delicate places.
Once everything has been cleaned, give it some time to dry out. This could take a couple of days. Remember your covered drain pipes because if the rain comes, they will need to be exposed.
3. Repair Any Cracks
At this point, you should be able to see areas in your exterior that need to be repaired. Before you start, remove any moss, old render, or loose nails. Then make a rough sketch of the building and where you notice holes or cracks.
Using your sketch as a map, start sanding down the areas in need of care. Again you can use the hand scraper for the more tricker areas.
Once everything is smoothed, you can fill in the gaps with the mortar mix. Be aware that premixed mortar can dry very quickly, whereas powdered mortar will take more time.
Once all the cracks have been repaired, you can vacuum or brush the entire area to remove the dust, however, you should wait for it to dry first.
4. Prime Surfaces That Need It
If your home is made of pebbledash materials, you may notice an almost dusty sandy effect at this point, even after you’ve cleaned it.
If that’s the case, you should apply a masonry wall primer to the building. If you are unsure about the material of the wall, then you should use primer on the whole surface, as the only downside would be wasting time and money.
However, if you didn’t use primer when you should have, then the paint could easily fade or be absorbed by the materials. The primer gives the paint something to cling onto.
5. Start Painting From The Top
When starting with the guttering, you should use the filler to patch up any holes and seal the area with caulk or sealant. Once it has dried and it is ready to paint, you should delicately brush the roof shingles in both directions.
Once you have made a couple of coats connecting the guttering to the house, you can move on to a roller to smooth the paint out.
6. Continue Painting The Exterior Walls
Depending on your home’s exterior materials, you will need a different method to paint the walls. We are going to cover the most common materials below.
Pebbledash
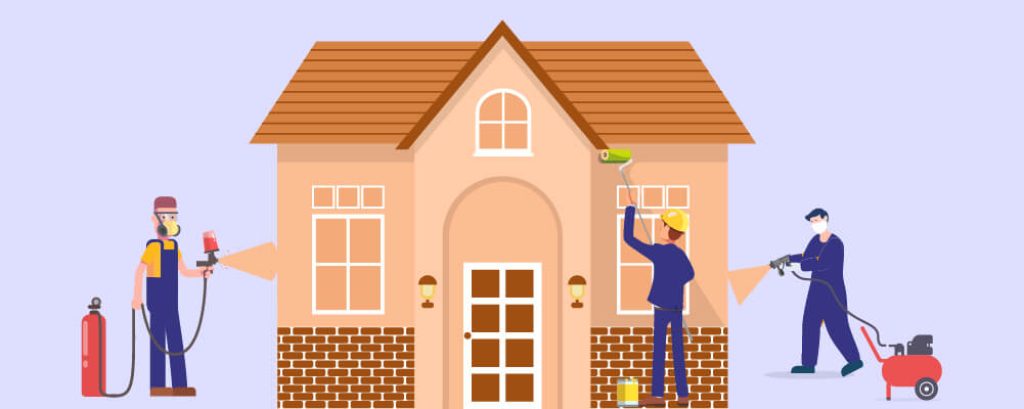
Pebbledash or roughcast buildings are beautiful, but their uneven surface makes them very hard to paint. Professionals often use spray painting techniques to make sure the whole area is evenly covered. However, spraying tanks often costs a lot of money. Some shops will allow you to rent these tools, so you may want to look into that option.
After spray painting, the second option is to render the building by hand. This will take a long time, and you will need to use a masonry brush to reach all the nooks and crannies.
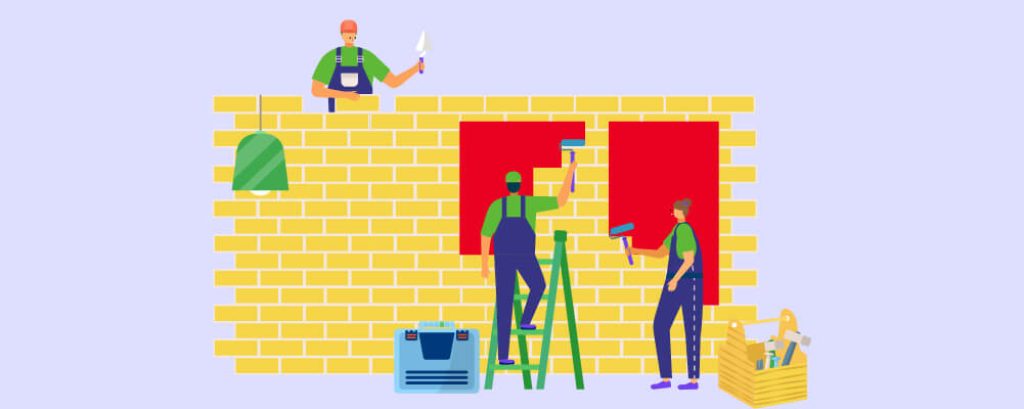
Brick
Bricks can hold a lot of moisture, which means that they can breed a lot of damp. To ensure you don’t cause a mold problem from the paint job, you should use primer on your walls before going any further.
Once primed, you will need to use a masonry paintbrush to cover your whole home. It might be tempting to use a spray painter, however that process will take just as long due to the amount of coating you will need.
Timber
Be careful with timber, as some designers will not have used a primer when building the property. This is because aged wood often has a wonderful aesthetic all on its own. To ensure you don’t assume the previous worker had primed the materials, you should go over it again. The primer will stop the wood from absorbing the paint and will prevent sap and stains from peaking through your new coat of paint.
Then you can use either a spray painting machine or a large roller.
7. Paint Any Tired-Looking Windows And Doors
Windows and doors can be the tell-tale sign that your home hasn’t been looked after in a while.
Treat the doors and windows of your home the same way as the walls. Sand down any flaking paint, repair any damages, prime the materials, and then paint them.
8. Clean & Tidy Up
Before you pat yourself on the back, take a couple of days to inspect the property before packing your tools away. You may notice a spot that needs a touch-up or an area that could require more care.
But there you have it, your home has been painted! Well done!
Equipment Needed To Paint Your House
We gave you a quick list of the equipment needed earlier, but you might be wondering why we suggested certain types of tools over others. To guide you through our thought process, we have added a little bit of information about each piece of equipment, so you completely understand why these choices are important.
A Ladder
As we said before, the best ladder for your home will be one that reaches above the height you want to paint. This is to stop you from stretching further than the ladder can handle.
However, finding a ladder that tall can be hard, especially if you are thinking about where to store it afterward. We suggest buying a retractable ladder, which can be shrunk down to a storable size.
To make sure these ladders are safe, you should test every clip before climbing on top of the step. Each clip should securely hold in place and give you a gentle “tick” noise to confirm it has locked.
Masking Tape
Masking tape is also known as painter tape. You can find them at any hardware store, and they can come in various colors and sizes.
In all honesty, they are all the same when it comes to quality, but if you were painting a brick or stone wall, you should avoid “blue” tape. This is because they are designed for plastic materials and so will eventually slip off your stone home.
You should aim to buy Hard-To-Stick masking tape to avoid any issues along these lines.
Stiff Bristle Hand Brush Or Soft Brush
A masonry brush has a wide belly and long, firm bristles. They are designed this way to allow the painter to cover a whole brick while staying in control of their line. The long bristles help the brush reach into the natural uneven texture of a brick or stone wall, while the thick bustles stop the brush from breaking from the rough exterior.
Synthetic or acrylic brushes are normally used for interior finishes. They are softer than masonry brushes but can give you a smoother and crisper finish.
Earlier, we mentioned using soft brushes for brick homes, but that idea is for when you are on your final coat.
Caulk
Caulk is a type of compound or sealant that is designed specifically for filling holes and gaps in a surface. You can get them with caulking guns which make it easier to slowly release the liquid to create a smoother line.
Your caulk should be checked every now and then and replaced once they start to peel away. This is because their protective quality would have faded.
You should always use caulk around your windows, before painting your exterior surface so that your home becomes water-tight. Ideally, you should fill up every crack with the substance and reseal the joints between the doors and windows.
Household Detergent And Cloth
You can use household detergent and cloth to wipe down your walls, but ideally, you should be using a sugar soap instead. This is because detergent can leave residue behind if it isn’t dried properly.
Sugar soap won’t leave a straight pattern behind, however, it can be hard to find. If you look at your local DIY shop, you should hopefully see a couple of bottles.
Ready Mix Mortar Patch
You can use mortar to patch up any natural holes or fallen cracks in your building. Although it might seem daunting, the process is very easy and also rather cheap.
The biggest problem you’ll face is mixing the mortar if you buy the powdered version. It will take a lot of arm power to keep the mortar wet enough to use, which is why we suggest using the ready-mixed version. This way, you don’t have to be a gym buff to work on your home.
Filler And Filling Knife
Filler is another material to help you fill in the gaps in your home. The filling knife might be more useful when repairing your home, as the flat surface can help you smooth out the area, ready for you to paint it.
You can also use it as a scraping tool for any of the flaking paint that is trying to come off. The knife will be soft enough to remove these delicate dustings without harming your home.
Pressure Washer
The idea behind the pressure washer is to quickly and easily clean your house. These powerful machines can pull off moss and dirt that has been attached to the outside of your home. However, they should not be used to strip the paint off the walls.
Most pressure washers are powerful enough to strip in this way, but this could lead you to develop water damage, especially if you don’t have a primer laid down. Instead, you should use either a hand sander or a power sander if you want the job done quickly.
Masonry Primer
As we mentioned before, the primer will allow the paint to stick to your house. Some painters will tell you that if a primer has already been laid, you don’t need to apply a second coat. However, because not using a primer could lead to an ugly or even damaging side effect, we think it’s always best to use a primer.
Brick and Masonry primers tend to be a little thinner than regular primers. This is to help the liquid bind to the loose materials you can paint on the uneven surface.
If you already know which paint you want to use, you can match it to the primer. For example, latex-based paint should be paired with water-based primers, and oil-based paints should be based with oil-based primers.
Protective Sheets And Paper
Protective sheets and paper are an optional measure to protect any outdoor decoration from being splattered with paint. You can put the paper over your paths, and the sheets over your plants or ornaments.
If you put anything over a living creature like a tree or a plant, remember to uncover the foliage when you’ve completed your day’s work. Painting your home shouldn’t upset your flowers after all!
A Wide Selection Of Painting Rollers And Masonry Paint Brushes
Spray painting is normally the easiest method to paint your home, but there will be elements of the building that are hard to reach. To make sure that you have the right equipment for the job, you should buy a handful of different brushes and rollers, so you can find the right-sized handles and brushes for the area in question.
Rollers are normally only used for indoor painting, but depending on your home and its texture, you might prefer it to the spray painting option. They are also much cheaper than the alternatives, although it does take more time.
Paint Kettle
A paint kettle is just a fancy term for a paintbrush holder. Some are simply a bucket with a handle, and others have a gripping function to help you release the paint back into the pot.
Although simplistic, a paint kettle is a basic necessity when trying to cover a whole house, as you can take it around the location with ease and clean or store your brushes as you go.
Exterior Masonry Paint (Color Of Your Choice)
Whichever paint you choose to use, it should be made with the outdoors in mind. Masonry paint is a perfect choice, regardless of the color, because it has been made especially for the exterior of buildings.
This means that the paint will last longer on your property, can give extra protection from weather damage and general wear and tear, and it will look nicer on your home, as it was designed for these materials.
Medium Grade Sandpaper
We suggest using medium-grade sandpaper, as the fine grade will be more effort than it’s worth, making the job last longer than needed, and abrasive grade sheets could take off more than just the old paint. Abrasive grade sheets could wear down your brick house, especially if you use an electric sander on top.
To make sure you don’t harm your home in the process of doing it up, we suggest using medium-grade sandpaper.
Tips For Painting Your House Faster And Easier
To help you get through this painting job as quickly and as painlessly as possible, we have a couple of tips to share with you.
1. Wash Your House Quickly And Painlessly
Even if you think your house is super clean on the inside, that doesn’t mean it’s clean on the outside. A natural layer of grime, dust, and other nonsense will have gathered on your property after a time. This might even be the reason why you’re painting it.
The most efficient way to clean the outside of your home is with a pressure washer. We have said this before, but if buying your own pressure washer is too expensive, some DIY stores will allow you to rent them. Ask around and see what deals you can get.
Ideally, you should spray the house twice. The first time with a soapy water mixture, and the second time with clean water.
From the first go, you will notice the difference this type of machine can have on your cleaning, and it can save you hours.
2. Paint Your House The Same Color Or Darker
Most people repaint their homes to make them look fresh. This means they stick to the same color as before.
If you paint your home a completely new color, it will mean having to add extra layers to the process. Going lighter means you will need to make the house white first, let it dry and then go to your chosen color. This could add days to the job.
If you go for a darker color, you might not need to change to white first, however it depends on the color of your house now and the new color you have chosen. If you go straight to the new darker color, the combination could create a third color you didn’t expect.
To get the fastest and easiest outcome, we suggest going for the same design as before.
3. Prime Only When Needed
Ideally, you should prime the whole of your home. That way, you know that it is completely protected, and the paint will definitely last. However, if you are on a time crunch, you could limit the priming to just the problem areas.
These could be bare wood, rusted areas, areas where the paint has been completely removed, or other exposed spots.
However, because the whole area hasn’t been primed, you may see patches of different colors once everything has dried. This is because one section (the prime section) will have a different undertone to the other section (non-primed areas).
Weigh up whether you think the risk is worth it. You can decide if you really need to save on that much time.
4. Minimize The Paint Scraping
Again, this tip is for those who really need to get the job done quickly. Normally, you should scrape away all the paint in your way before repainting. But this job can get super tiresome super quickly. We all know the saying about “watching paint dry,” but really, it should be “scraping paint away.”
If you notice that the flaked areas are only connected to one spot, but the rest of the exterior seems intact, then you can probably leave the secure areas alone.
When you paint over the affected area, the new layer will seal the secure area, helping to keep it all in place.
This process should only be used if you have a small part of your home that you want to touch up or if you need to finish the job quickly. The reason for this is that you are only completing a patch job, and in a couple of years, you will need to repaint again.
5. Paint Roll Flat Surfaces
If there are flat areas of your exterior, like a wooden beam, it would be easier and cleaner to use a paint roller instead of a paint sprayer.
Sprays are normally the best option, and we will go into more detail about them in a moment, but flat surfaces can come out in a bubbly effect if you only use a spray. Using a roller will give you a smoother finish.
In comparison to a plain brush, the roller can cover more surface area and keep the same level of paintwork in a much more efficient way.
For tall houses, you can use a roller with an extension pole to help you reach the really high areas.
6. Spray Larger Areas
Some people might say that spraying paint takes as much time as rolling paint. The reason comes from the amount of preparation you need to get the machines going. Granted, the process can be fiddly, but if you’re not a gym buff, then you might not want to spend all day in the sun moving your arms as if you’re benching weights.
Spraying the larger areas will allow you to cover more surface areas in a smaller amount of time. This means your arms won’t get tired as quickly, and you don’t have to be on the ladder all day.
Depending on your needs, you might think that putting the spray paint together is more trouble than it’s worth, or you might value the lessened time spent painting. Ultimately, it’s up to you to see what holds more value for time.
7. Don’t Spend too Much Time Cleaning Brushes or Roller Covers
After a long day of painting, you don’t want to spend the next couple of hours trying to get the paint out of the roller. To cut down at this stage, you have two options.
Option 1 is to buy disposable roller covers, which you can chuck out after every painting session. This is a wasteful choice that adds to the amount of landfill garbage you create every day. But some are okay with this level of trash, and the option is available to you.
The second option is to use an empty bucket and a power washer. Using the power washer to jet the paint into the bucket, cleaning the roller in 5 minutes.
Summary
Using all the advice we have given you, you can safely and confidently paint your home! Make sure to take each step slowly so you don’t miss out on any repairs or cracks that are hiding around your home. But, if you do need a quick option, we have you covered for that too!


I've been building, renovating and restoring homes for years. Learn how I can help you with your next project. I love to create beautiful and functional products out of wood. My signature style is rustic and natural. I am also available to build custom pieces.