Contents
The world of DIY is incredibly self-satisfied and comes with a whole host of benefits. Not only is it cheaper, but you feel a sense of accomplishment and can look back and say: “I did that.”
Sometimes though, it can be easier said than done, and there are certain home projects we need a little extra help and guidance with. This is no exception when it comes to installing drawer slides.
So, we’ve created a handy guide below for you to understand how to install drawer slides easily. We hope this helps!
Things To Remember First
Before we go any further, it’s critical that you understand that not every drawer will be the same; therefore, installing the drawer slides will also differ depending on which ones you have. What we’ve done below is give you an overview and give you tips to help you with your project.
Step One: Preparation
This might seem obvious to some of you, but there will be beginners who need to be guided right from the start. So, ensure you have the right tools before you start. Depending on the drawers, you’ll need a screwdriver, a spirit level, a set of screws, a drill, and the drawer parts.
Remember to separate the drawer and the cabinet members. The slides will typically have two components: the cabinet and drawer member. The cabinet member will be placed in a stable area – whereas the drawer member will not, as it attaches to moving components.
Roller slides will likely be separate upon purchase; if not, you can slide the member forward and detach it. However, ball-bearing slides will have an additional slide member and will remain on the cabinet.
Ensuring these members are separated will undoubtedly make installation far easier.
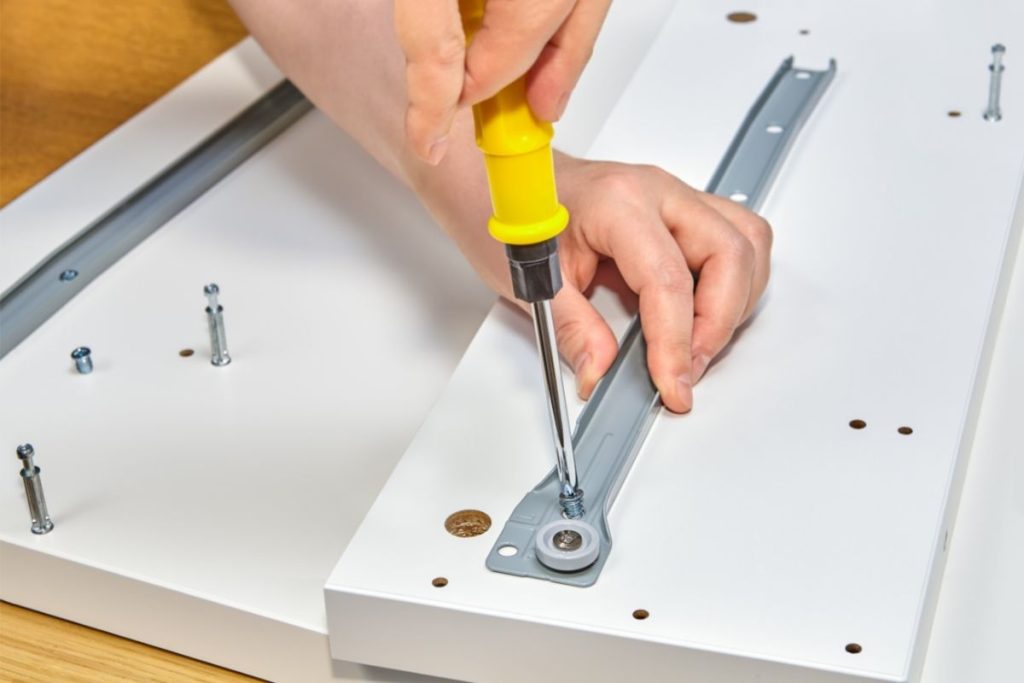
Step Two: Install The Cabinet Member
Whichever kind of drawer slides you have – the first thing to do is install the cabinet member. You’ll want to ensure the cabinet member is aligned inside the cabinet and your drawer slides are parallel – you can use a spirit level for this.
Once these are aligned, use the fasteners and tighten the cabinet to the cabinet member up to the recommended holes, generally about two or three. You may decide to use bolts to keep this fastened, but this will require you to pre-drill the areas for the bolts.
Step Three: Install The Drawer Member
Align the front of the member to the drawer’s front area. As before, you’ll want to keep making sure that the members are aligned and parallel, which you can use a spirit level for. Just as before, you can now fasten the areas.
The holes allow you to adjust as and when you need to – for example, the vertical holes mean you can adjust the height.
Step Four: Put In The Drawers
Now that all your members are installed, you can begin placing the drawers. You’ll need to position them and roll the drawer to the cabinet if they are roller slides. Ball-bearing is a little easier, so you’ll only need to insert the members and shut it closed.
Step Five: Inspect And Adjust
Inspect the drawers and overall unit, check for imperfections, and test to see if it is working, if anything is sticking, etc. If so, you may need to dismantle an area and redo or adjust.
Summary
Installing drawer slides can be confusing and painful, but it requires time and patience. With anything, the more experienced you get – the easier it will be next time.


