Contents
Working with wood can be a wonderful way to create a unique piece of furniture. But there are so many different tools for different woodworking projects.
One of the lesser-known tools is a wood router. These handy devices create cutouts for edges and decorative surface patterns.
Wood routers are ideal to give your wooden furniture an individual look.
This being said, you need to know exactly what you want to achieve with a wood router to ensure the end results look professional.
In this easy guide, we explain what a wood router can do and how to use a router for your woodworking jobs.
What Does A Wood Router Do?
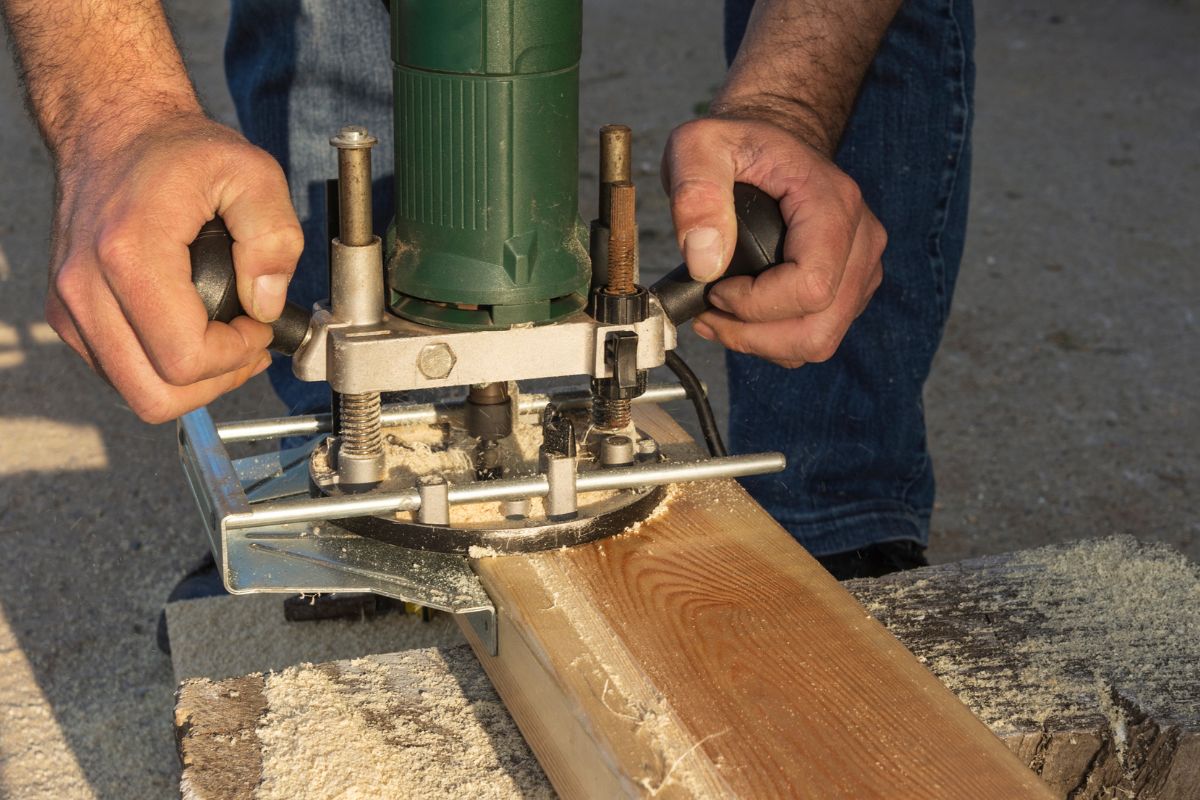
A wood router is a wood-cutting tool used for duplicating patterns, cutting joints and edges as well as cutting decorative designs into wood.
Shaping And Edge Profiles
The most popular application of wood routers is creating a certain type of edge or chamfer. You simply need the right router bit to match your desired edge.
Joinery
Another popular way to use a wood router beyond traditional DIY projects is joinery. A wood router can cut any type of joint in just a few minutes, including rabbets and dadoes.
Flush Trimmings
These type of trims sit closely joined together, so there are no gaps between two pieces of wood.
Wood routers allow you to create neat edges, flush trims, veneer and jigs.
Hinge Mortise
While creating the different cuttings on a door can be labor intensive, hinge mortising becomes a lot easier and faster with a wood router.
Inlays
Similar to door hinge mortises, inlays are also easy to work with a router. Plus, you can be as creative as you like.
Inlays: Like hinge mortises, these can be roughed out quickly with a router to create an impressive showcase for your woodworking skills.
Types Of Wood Routers
There are a few common router types that you can use for varying woodworking DIY projects.
Fixed Base Router
Fixed base routers are the most commonly used type of wood router. As its name suggests, a fixed base route has a fixed cut depth that cannot be moved.
It’s ideal for any woodwork where the depth of cut stays the same, such as edge profiling.
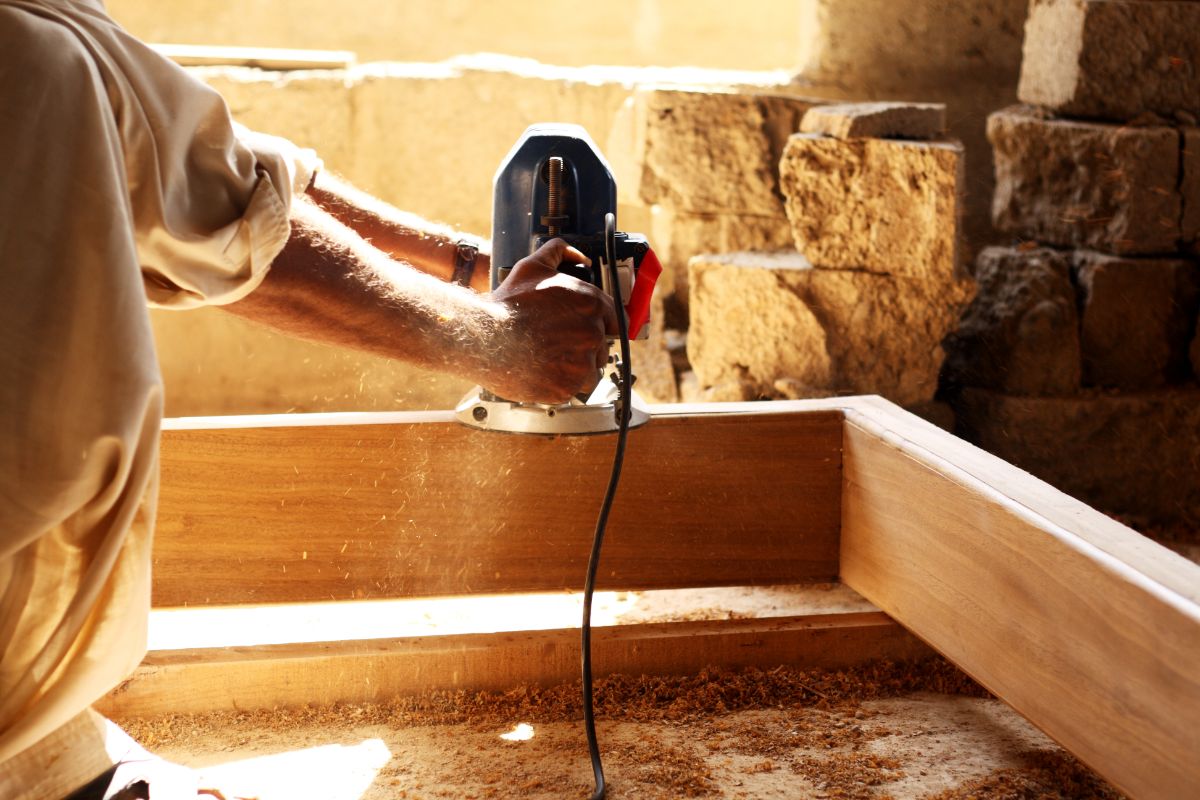
Plunge Base Router
Plunge base routers have the same motor power as fixed base routers but you can change the cut depth. This makes a plunge base router ideal for mortise routing.
You can use this type of router to achieve varying cutting depths. This saves you a lot of time compared to working with a fixed-base router.
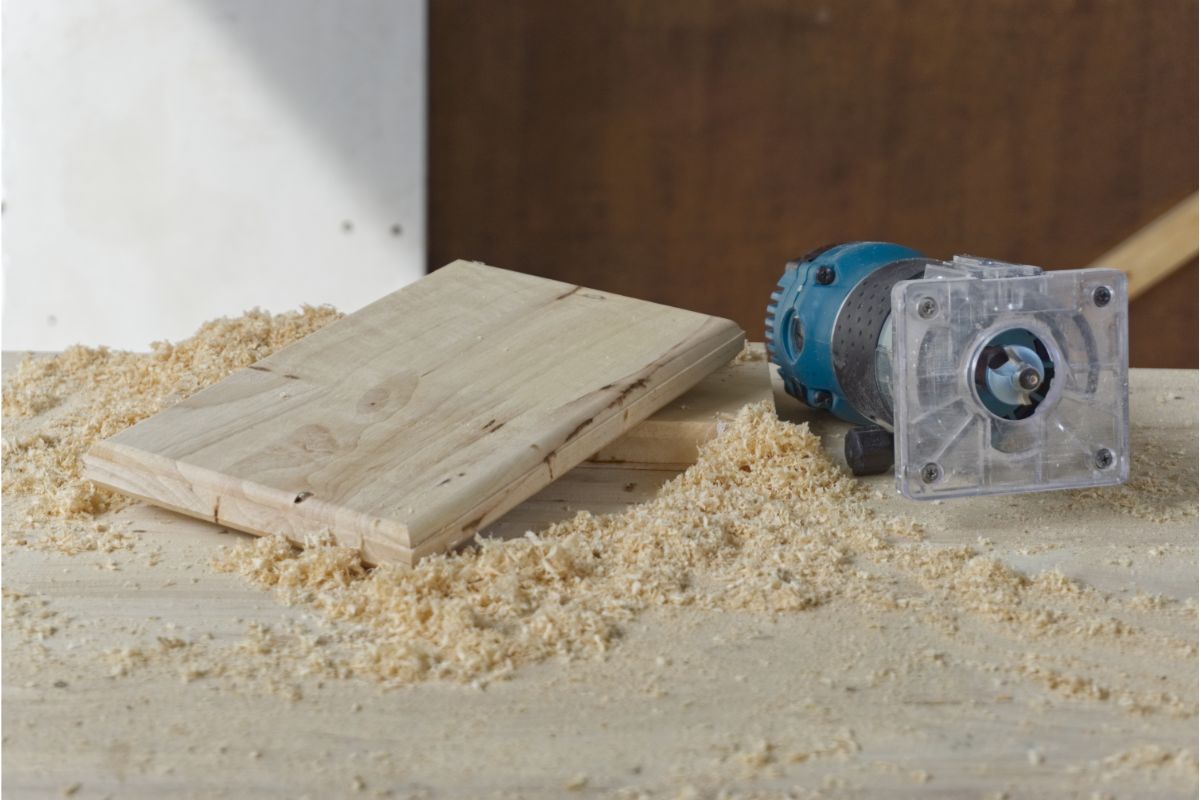
Trim Router
A trim router is a basic fixed-base wood router with a smaller motor. It’s ideal for flush trimmings and veneers.
However, you can also use it for small joinery projects where the smaller size allows you to maneuver easier.
Router Table
All three router types mentioned so far are handheld routers. However, they are not always easy to control.
Plus, it can be difficult to create accurate cuttings with a handheld router. This means that your project might get damaged if your router kicks back or slips.
That’s where a router table can be a lot more practical. Router tables allow you to control the router easier, so you can cut with greater precision.
A router table is simply a router fixed to a table stand. This means you can use it for a variety of cutting jobs, including cutting rabbets and shaping trims.
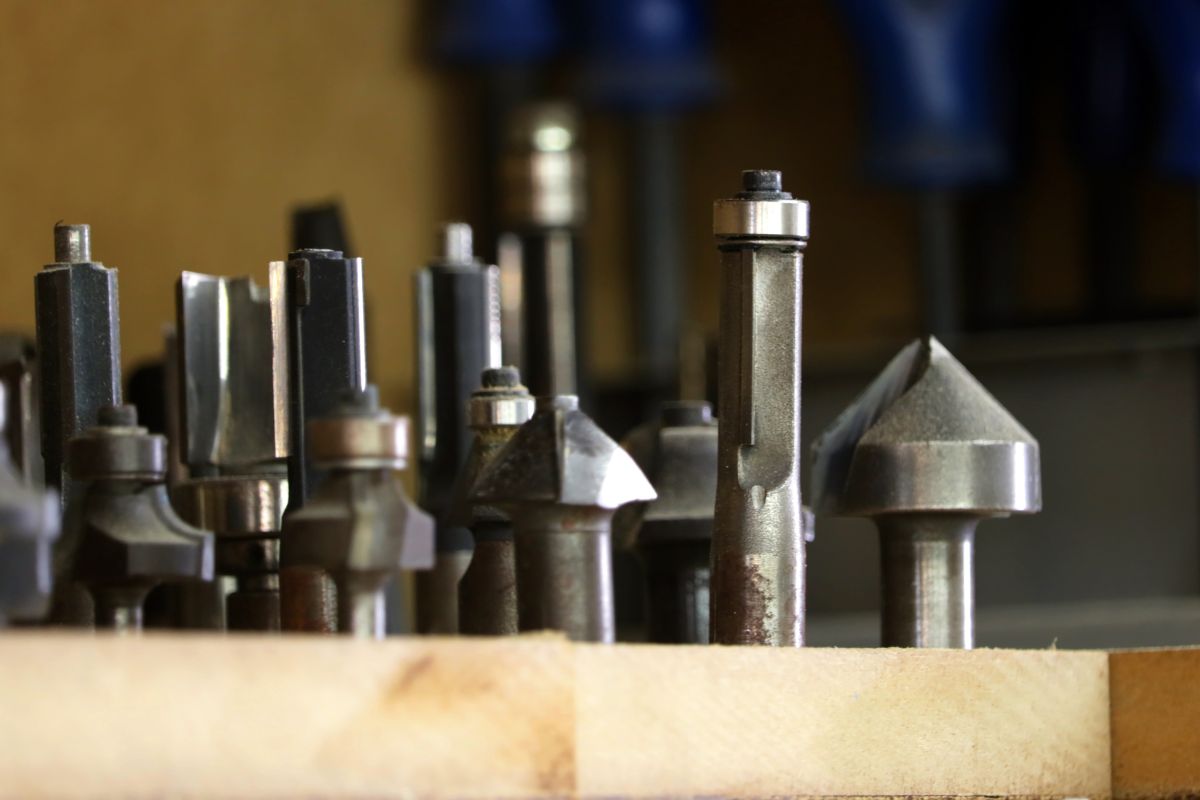
Most Common Router Bits
There are a variety of wood routers with individual router bits. Each bit has a specific shape that matches the wood cut you want to make.
Let’s take a look at some of the most commonly used router bits and wood router profiles.
Straight Router Bits
Straight router bits are some of the most popular bits used for routers and other woodworking tools.
These bits cut a straight edge into wood and other material, forming a dado or groove. You can even use a straight router bit to cut an inlay or mortise.
Joinery Router Bits
Joinery router bits can help you create a neat joint between two and more woodworking pieces.
You can usually find joinery bits of varying sizes and quality. Make sure that you choose a router bit that works for your joinery project.
Flush-Trim Router Bits
These router bits are ideal for creating tightly trimmed edges that fit closely together. This being said, you can also use a flush-trim router bit to cut out patterns.
Edge Forming Router Bits
Edge former router bits are another common type of router attachment. These bits allow you to create decorative edges for your woodwork.
There are a few different types of edge forming bits, including cove router bits, chamfer router bits and roundover router bits.
Depending on what type of edge you want to shape, there is usually a router bit to match.
These bits typically come with a pilot bearing that allows you to create neat patterns and designs.
Specialty Router Bits
In addition to the four router bits already mentioned, there are a great variety of other wood router bits for specific tasks.
For example, dish carving bits, raised panel bits and sign-making router bits.
How To Choose The Right Wood Router For Your Project
With the many different routers and router bits to choose from, it can be challenging to find the right one for your project.
Here are a few things to consider when buying a router and matching router bits.
Consider Your Wood Project
Before you purchase a wood router, you will need to have a good understanding of your woodworking project.
Make a note of what type of edging, trimming or shaping you want to do with a router.
Plus, you will also need the dimensions of your project to determine what size and type of router you need to buy.
Think About Your Work Style
When it comes to DIY projects, everyone works in a slightly different way. But choosing the right tool for the job is also a question of what brings you joy.
If you love small projects with a lot of detail, then a trim router is the best option.
On the other hand, if you prefer working on big wood furniture, such as tables or chairs, then get a plunge router.
While many router types can do a variety of cuts, you need to make sure that you buy the tool that feels right for you and your project.
Buy The Right Type Of Router Bit
The right router bit should match the shape and edge you are trying to achieve with your project.
You can also get wood router bits in various different lengths. Depending on your expected edge, you may need several different types of router bits.
Well-made router bits also reduce any material kickback while you are working which is great for better workplace safety.
Just keep in mind that the long router bits are often more brittle than the short ones, so keep an eye out for a good-quality bit set.
Choose A Good Quality Router
In addition to high-quality router bits, you will also need a powerful enough wood router that gets the job done.
This depends largely on the material and type of wood you work with. If you want to cut hardwood, then you need a stronger wood router than softwood.
Mounting Or Handheld
With the different handheld and mounted routers, you will also need to consider if you feel comfortable with a handheld wood router or if you prefer the stability of a mounted router.
A router table allows you to work with more accuracy but less flexibility, whereas a handheld router is the best option for more creative projects.
It’s also important to keep in mind that some router bits only work best in table-mounted routers.
Consider Your Working Space
Another essential consideration for your wood router choice is your working space.
If you have only very little space available, then you are restricted as to what type of wood projects you can make.
This also means that you’ll struggle to use and store larger tools, such as a router table.
In comparison, if you have a large garage available for your woodworking DIY jobs, then you likely have enough space to move around easily to get the project done comfortably.
Set A Budget
Lastly, you will also need to consider your overall budget for your project. Tools are often just one cost when it comes to making furniture and other wooden items.
If you continually use your new wood router, then it’s a good idea to invest in a good-quality router from a well-known brand.
On the other hand, if you only need a wood router for a single project, then you may want to consider hiring a router for some time.
This is usually cheaper than buying a brand-new wood router, and you can try the tool before committing to it for longer.
Top Tips For Using A Wood Router
If you have some experience with woodworking tools, then using a wood router shouldn’t be too difficult.
If you are a router rookie, then take a look at this useful beginner’s tutorial on how to use a router.
Plus, here are our top tips on how to use a wood router safely.
Start Slow
If you are new to routing, you may want to jump straight in and cut as much as possible.
However, cutting edges and trimming with a wood router takes a bit of skill and experience. That’s why it’s important to start slow with your cuts.
This being said, beware of router burn that will show when you go over the wood too slowly.
It’s worth starting with a few sample pieces, so you get a feel for the right router speed.
Focus On The Task
Working with a router takes some skill as you will need to listen to the feedback the machine gives you.
The router makes a whining noise when a bolt is loose or it can’t get through the material as easily as expected.
If you feel like something sounds wrong or there is resistance, then stop the cutting and check the results so far.
Keep Your Router Bits Sharp
Dull tools are dangerous because they can kick back and damage your work. A dull tool, including dull router bits, is almost uncontrollable.
For this reason, you should ensure that your router bits are always sharp. If you are not sure that a router bit is still good, then just change it.
Most of the time, it’s obvious that router bits are dull. If you notice a blue or black color, you will need either replace it or sharpen the bit.
Only Cut ⅛ Inch At A Time
For wood routing beginners, it’s a good idea to start off with as little as ⅛ inch cut at a time.
As you start to get more familiar with your router and the routing process, you can work your way up to ¼ inch.
It’s very important to get a feel for the router first before you push it too far as you could otherwise damage your wood project or the router itself.
Keep An Eye On The Feed Direction
Router bits always spin clockwise and it’s easier for beginners to feed the router around the workpiece counter-clockwise.
Once you are more familiar with the workings of your router, you can start to explore more creative feeding techniques.
Final Thoughts
Working with a wood router is a great way to give your wood projects the (literal) edge. You can cut repeating patterns, trim edges and flush joints.
A router is extremely versatile, so you just need to choose the specific type of router you need and start work on your project.
If you are new to routing, then take it slow and only cut a small section at a time. This gives you a chance to get to know your router and how it works.