Contents
Bleaching wood is often overlooked with regards to furnishing as people will usually opt to either stain or paint it. However, this look creates a sleek Scandinavian design that creates a ‘blond’ wooden surface that automatically lightens any living space.
Bleaching wood is also the perfect way to rectify blotched-wood and is the best way to prepare the surface for staining.
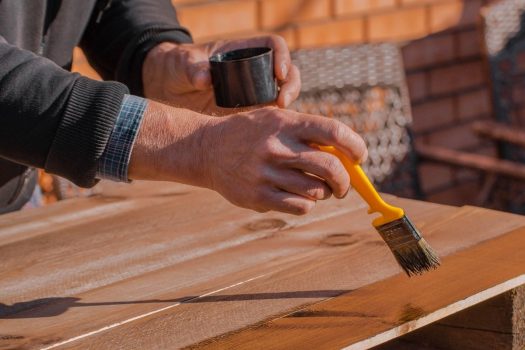
Whilst bleaching is an inexpensive, easy way to DIY, you will be working with hazardous substances and as such, you should ensure that you maintain caution and follow the correct bleaching process.
What To Do When Bleaching Wood
You should have an understanding of the bleach that you’re using as bleaches that are purchased at your local store will have a variety of effects on wooden furniture.
For instance, any laundry bleach will remove any stains from the wood without adding any blond effect to the wood’s color whereas peroxide-based bleaches will alter the color of the wooden furniture entirely as they utilize sodium hydroxide and hydrogen peroxide that cause chemical changes and alterations.
Alternatively, oxalic acid helps to remove any rusting whilst lightening any grading on the wood. However, oxalic acid can cause lung damage and bleeding and it is therefore recommended that you use a peroxide-based bleaching product in order to achieve better results whilst remaining safe.
You should also ensure that you are cleaning your wood with water using a clean cloth prior to bleaching. You should allow your wood to dry for a couple of days before adding any bleach.
You should also ensure that you are bleaching your wood in an open and well-ventilated space as bleach is incredibly toxic and as such, you will need to take the necessary steps in order to protect yourself.
You should ideally use a concrete work surface when bleaching your wood as bleach can damage other surfaces. Make sure that you are wearing rubber gloves and eye goggles when bleaching. Long-sleeved tops should also be worn in order to minimize any contact with your skin.
You should neutralize your wood in between bleaching in order to achieve your desired shade. To do this, you may switch from a peroxide-based bleach to a chlorine based one or vice versa.
However, before switching solutions, you should soak a clean cloth in a 50/50 white vinegar and water concoction before applying it to your wooden surface. Then, wipe the surface again using another cloth and plain water and allow your wood to dry overnight.
After your final application of bleach, you should allow your furniture to dry for four hours and then use the water and white vinegar solution to wipe down your wood. After doing this, wipe it dry with another clean cloth before finally wiping it down using only water.
Allow your wood to dry for 2 days prior to applying a stain or any other form of treatment. It is crucial to fully neutralize your finished furniture prior to applying a stain as otherwise, left-over bleach will react with varnish and any alternative products.
Whilst you should be careful when using bleach on wood, you should also allow yourself to experiment. Bare bleached wood provides a neutral base from which a plethora of designs can be added.
You can add bone or pearl finishes to your wood or even create a blond mahogany piece. Whatever you choose to do to your wood, bleaching it first will ensure that you have the best canvas for your design.
What Not To Do When Bleaching Wood
Do not pour bleach into any metal vessel as bleach easily damages metal. Using glass or ceramic bowls is the best way to ensure that your bleach is safely contained whilst you work.
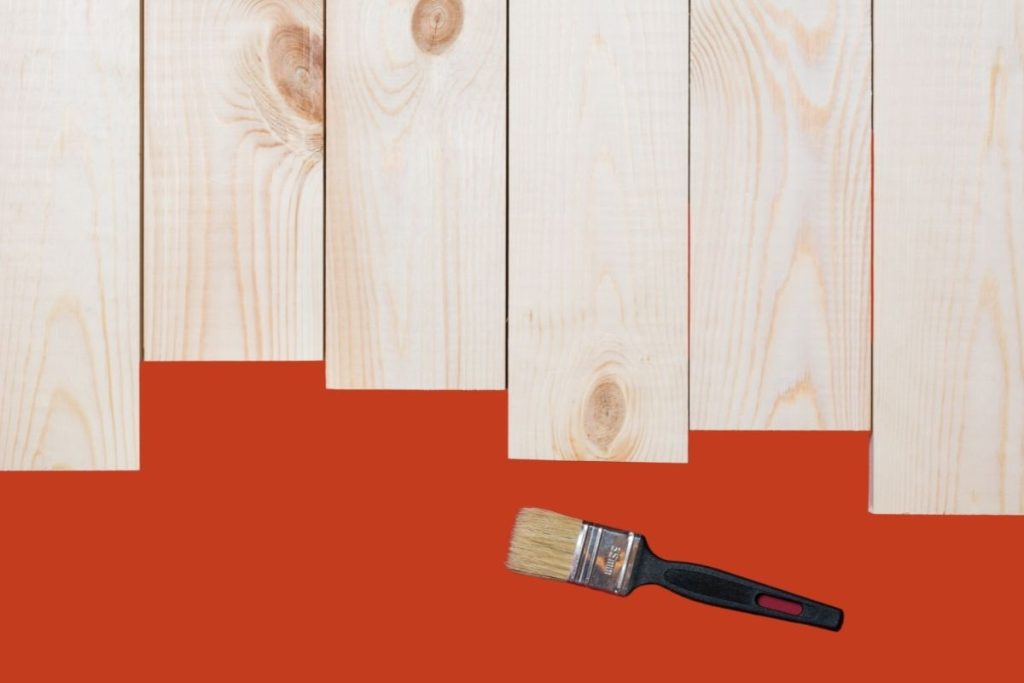
You shouldn’t expect all wood to react in the same way and should also avoid applying bleach to wood that won’t respond well to bleaching.
Pine and poplar wood are already light and thus, removing their color will leave them looking dull. Other forms of wood that don’t react well are redwood, rosewood, cherry and cedar.
Attention to detail is the best way to ensure that you are applying bleach evenly and as such, you should avoid becoming lacklustre or sloppy during the bleaching process.
It is nearly impossible to correct bleaching when it goes wrong and so you should only work on your furniture when you are in the mood to do so. Be mindful of any spillages and remove any excess bleach immediately using a clean and dry cloth.
Avoid mixing your bleach days before using it. This is because as soon as the chemicals have amalgamated, the bleaching power has become active and this power will begin to reduce over time.
Bleach is usually expensive and thus, you should consider working with smaller amounts of bleach at a time to ensure that it remains activated throughout the process.
Above all, do not forget to sand your wood after it has been bleached, neutralized and dried. You’ll discover that the wood has become coarse and thus, you should sand it with a 120 grit sandpaper before finishing it by sanding with a 220 grit paper. Doing this will provide you with a distinctly smooth finish.
Conclusion
To conclude, bleaching wood is an easy way to achieve a Scandinavian-style design. Bleaching your wooden furniture also provides you with a canvas to add other unique features like stains.
However, you should always exercise caution when bleaching wood and have an awareness of the product you are using prior to application. You should also be aware of what type of wood your furniture is made from and if it reacts well with bleach.


