Contents
How much time does it take to build an Adirondack chair?
In a country that is filled with beautiful scenery and great outdoor activities, you need to make sure that you enjoy every moment of it.
If you want to enjoy these amazing places, you should invest some time in building an Adirondack chair to enjoy the views and relax in front of breathtaking views.
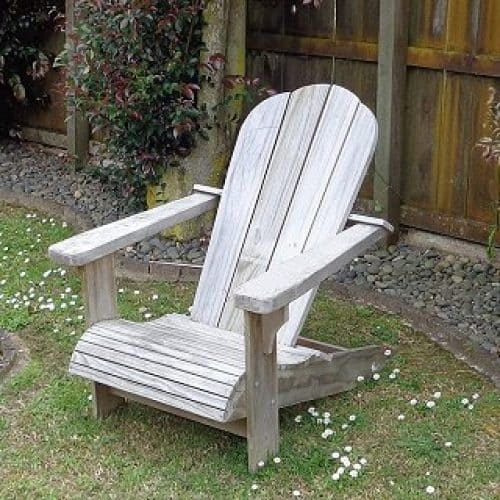
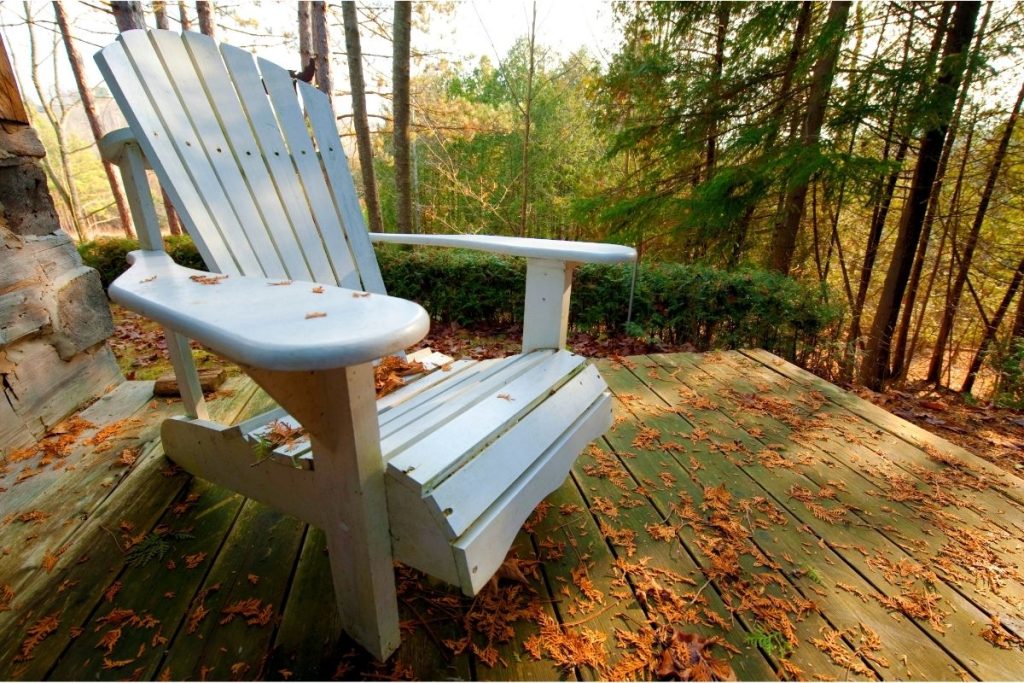
Adirondack chairs are very comfortable and provide a relaxing environment. In addition to being a great place to relax, they also look good in the garden or patio. This article shows you how to build an Adirondack Chair.
Many people choose to build their own furniture as you know how it has been made and you can feel confident that it is secure.
You can also build the chair exactly how you want it and choose from an array of colors to make sure that it is exactly what you dreamt about.
This article will lend you a helping hand in getting started on building your very own Adirondack chair.
We’ve also got detailed plans for a Cape Cod Chair. You might want to check it out !
Cape Cod Chair
$5.00What You Need
Before you begin building your Adirondack chair, you will need to get all of your materials. Precise measurements are important as they will ensure that your chair is supportive and can hold the weight of the person who is using it.
You will need to get 7 6-foot tall pieces of 6-inch pressure-treated decking. The pressure decking is used because it is strong enough to withstand extreme weather conditions while still looking nice.
It is also available at most home improvement stores.
These pieces of decking will be used to make the back slats, seat supports, front crosspiece, and armrests of the Adirondack chair.
The next thing you will need is 2 6-foot tall pieces of 4-inch pressure-treated wood. These pieces of decking will be used to build blocks for the armrests and build the back braces while also making the front legs of the chair.
You will also need 44-inches of 1-inch pressure-treated baluster. This will be used in 22-inch raisers that will help to add support to the back braces of the chair.
To finish the list, you will need 2-inch deck screws and sandpaper to make sure that your chair is safe and secure to use.
How To Make The Base
To begin making the base, you will first make the seat supports out of the 4-inch pressure-treated wood.
The seat supports also double up as the back legs of the Adirondack chair, so make sure that the sides that are being used as the back legs are rounded off to avoid any sharp edges, especially around kids.
The opposite end of the back legs will be used to attach the crosspiece, so make sure that they are cut at an angle on the other end. This will help to secure the crosspiece to make sure that it is straight to securely hold up the chair.
Now that the back legs/seat supports are all cut correctly, you will need to attach them to the crosspiece. Make sure that the crosspiece sits perfectly on the angled end of the seat supports and attach them together with screws.
Once they are secure, attach the front legs to the crosspiece to form the base of your Adirondack chair.
How To Make The Seat
When you are beginning to form your seat, make sure that you cut the slats the same length as the crosspiece. This will make sure that the dimensions of the chair are correct and that the same level of support runs through the whole chair.
The seat will have 5 slats, number 1 being at the front of the chair by the crosspiece, and number 5 being the slat that is closest to the back legs of the chair.
You will need to cut a curve in slat numbers 4 and 5 as this is where the back of the seat will be attached. As it will be reclining, the cut needs to be curved.
Using the jigsaw blade, cut the curve in slat 4 at a 10-degree angle to make sure that you reach the desired curve. In slat number 5, cut a 1 1/3-inch curve, making sure that the back will rest at the correct angle.
Attach the slats to the seat supports with screws.
How To Make The Back Braces
To make the back braces, cut out 2 back braces that have curves to support the recline of the back slats of the chair. Their shape is the same as the rear curved cuts, but they have a 25-degree bevel instead of a 45-degree cut.
The shorter back brace fits into the gap between the seat slats, and the longer back brace goes onto the back legs.
This will form the back brace to make sure that they will support the reclined feature of the chair as the back slats will rest on the back braces.
How To Make The Arms
The front of the arms needs to be rounded while the other can stay pointed to fit securely in position. Once you have rounded the front, attach the arms to the front legs and the back of the chair with screws.
How To Make The Back Slats
The back slats need to have rounded ends that will have the longest slat in the middle and slowly decrease the size of the slats until you have formed the back of the chair in a rounded shape.
Attach the back slats to the chair by screwing them to the back braces.
Final Thoughts
I hope that this tutorial has helped you build an Adirondack chair! It is important that you are happy with your chair, so you can adjust the recline feature for your own comfort.
Making sure that you have the correct equipment to build the chair is important as you need the chair to be secure.
It will be very rewarding once the chair is built, but remember to make sure that you are safe when building it!


