Contents
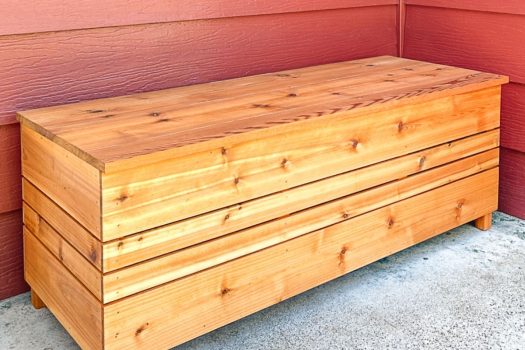
Wooden boxes are one of the handiest types of storage equipment out there.
Besides being super durable, they can be used to store various household appliances, keepsakes, and much more. But, did you also know that wooden boxes can be used for outdoor storage, too?
Wooden boxes are great for gardening supplies, outdoor appliances, and even storing plants.
The only downside is that wood is highly porous, which means that it soaks up moisture from rainfall that can then cause it to expand or even begin to decay. It is also vulnerable to UVA and UVB rays, which can cause damage to the surface.
For these reasons, if you want to use a wooden box for storage outdoors, you first need to make sure that your wooden box has been properly prepared and protected – and this is where we come in.
Below, we will show you how you can waterproof your wooden box and ensure it stays protected from the elements.
Read on!
Supplies You’ll Need
If you don’t make sure that you are equipped with all of the necessary supplies you need, you might not be able to waterproof your wooden box successfully. Let’s take a look at what we recommend using below:
- Protective sealant/varnish (ideally, we recommend using an oil-based formula, as it is best suited for wooden surfaces)
- Brush
- Drill
- Sandpaper
- Caulk
- Disposable gloves
- Your chosen wooden box(s)
How to Build a Waterproof Box out of Wood: Step-by-Step Instructions
Once you have all of your supplies, follow the following steps to waterproof your wooden box successfully:
- Choose a Spacious, Well-ventilated Area
First things first, before you begin, we recommend that you first find a spacious and well-ventilated area where you will be able to waterproof your wooden box in.
As you’re going to be working with sealant and other products, we recommend that you work in a well-lit space with plenty of ventilation, such as a spot next to an open window.
In addition, you’re also going to want to make sure that you have lots of space so that you can move the box around without any restrictions.
- Prepare Your Wooden Box:
Once you have done all of the above, you will need to prepare your wooden box so that it is ready to be waterproofed.
For starters, it is important to note that many wooden boxes contain pressure-treated wood, which is why you’ll need to allow your wooden box to sit for around 14 days before you begin waterproofing it.
By doing this, you will find that there will also be a lower chance of the wood expanding over time, too.
Along with this, we also recommend you take some time to consider what it is you will use your wooden box for.
To give you an example of what we mean by this, if you are planning to use your wooden box to hold flowers, then you will need to drill some drainage holes in the bottom before applying the waterproof treatment.
- Smooth The Wooden Box’s Surface
When you’ve prepared your wooden box, first take a moment to slip on your disposable gloves.
You must remember to do this before you begin waterproofing your wooden box. The last thing you want is to experience irritation from the various products and materials you will use.
When you’re ready, reach for the caulk you have chosen to use (preferably, we recommend that you use silicone caulk) and use this to begin filling in the various cracks, crevices, and imperfections that you can visibly see across the surface of your wooden box.
After doing this, you will need to give the caulk that you have applied enough time to thoroughly dry, which will usually take around 8 hours.
- Treat The Surface With Varnish
Once you have given your caulk enough time to thoroughly dry, you will then be ready to apply the first coat of your varnish of choice.
With your paintbrush, evenly coat the entirety of your wooden box (including the interior) until you can see that the pores across the wood’s surface can no longer absorb the varnish you are applying.
Once you reach this point, allow the varnish to dry for around 20 minutes before wiping off the excess varnish with a clean cloth.
Then, after doing this, you will need to allow the varnish to thoroughly dry and set for around 24 hours.
- Sand The Surface
After you have given the varnish enough time to cure, you will want to sand the surface. Then, apply an additional coat of varnish.
We recommend that you do this around two to three times, remembering that you’ll need to allow 24 hours in-between each coat to allow the varnish to be fully set.
- Begin Using The Waterproofed Wooden Box!
Once you have done all this and given your wooden box enough time to completely dry, you will be ready to begin using your waterproofed wooden box without worrying about it becoming damaged from rainfall or moisture!
Wrapping Up
By following the steps that we have shared with you above, you will be able to successfully waterproof your wooden box so that you will be able to use it for outdoor storage. Thank you for reading!


Thank you! I think I will also add a pond liner to it. I need water to not get inside.
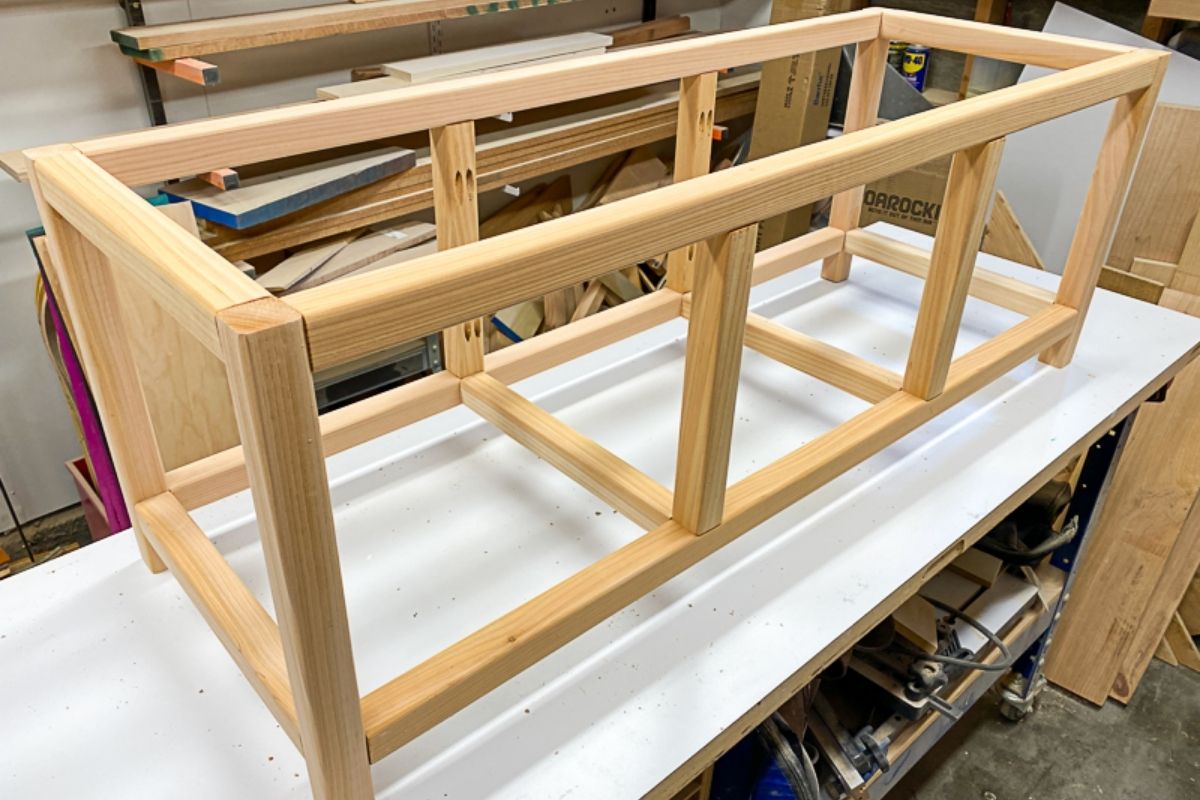
This seems to be more “How to Waterproof a Wooden Box” than “building,” which implies there are raw materials that are made into the box in the process.