Contents
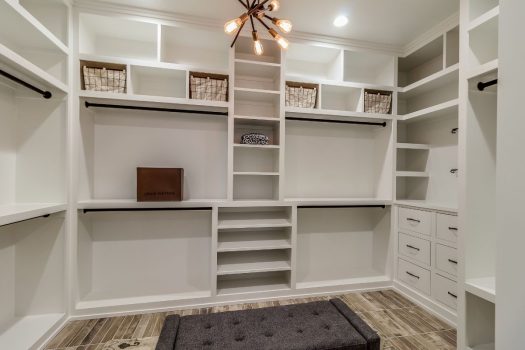
Built-in shelves are excellent space savers, and they look fantastic in any room. Turning a wall into a built-in shelving unit can quickly become a focal point of any room.
We recently built our own built-in shelves around the fireplace in our living room, and it has become the talk of the town.
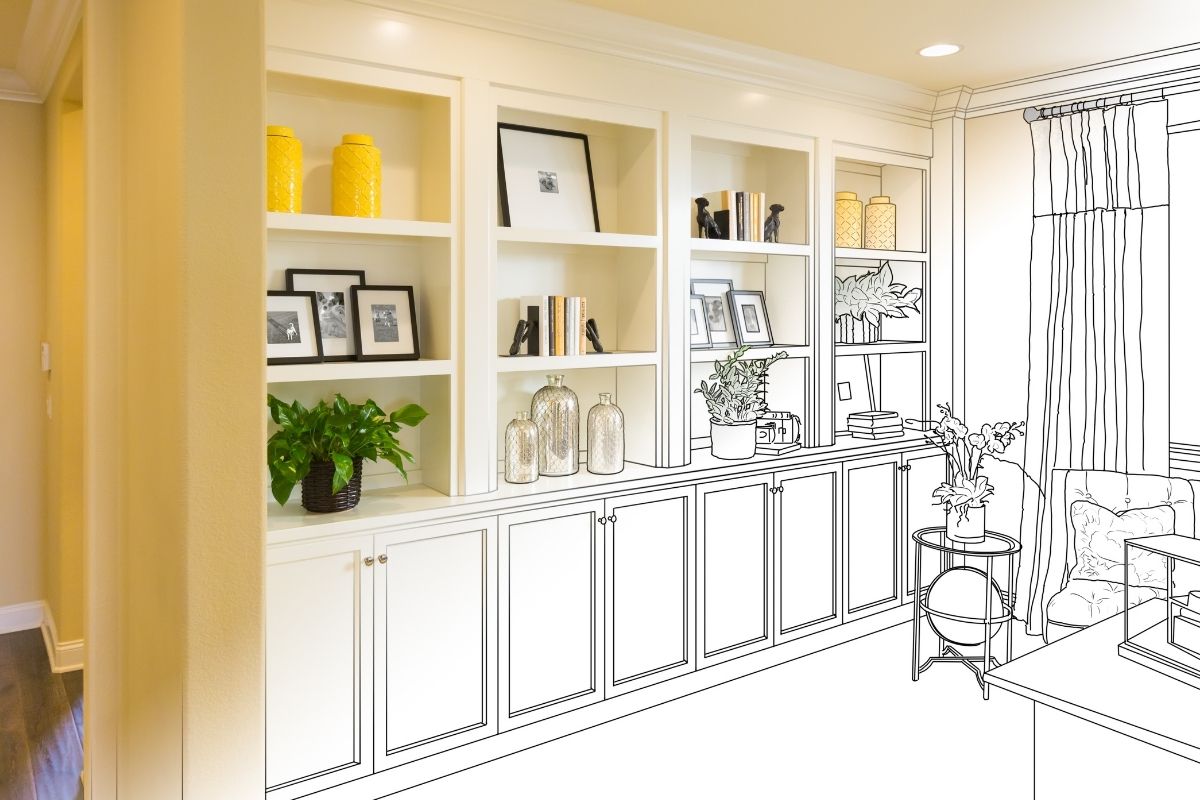
However, it’s no surprise that built-in shelves are expensive to get professionally made, as they have to be made specifically for your space.
When we decided that we wanted built-in shelves, we chose to make them ourselves instead of paying someone else to do it in a bid to reduce the cost.
We have created this short article in the hopes of helping you to create your own built-in shelves for your home.
Make sure that you plan your shelving unit out first to determine how big it will be and how many shelves you will want.
Step One: Measuring
The first step is usually the longest, and this is also true for building shelves! We used ¾-inch plywood, all sized 16 inches wide. Take these and cut them to the size that you need them for the following:
- Sides
- Shelves
- Cabinet dividers.
Now you’re going to need to prepare the ends of the shelves, and the top of each dividing edge, with drilled pocket holes. You’ll need to fill these with glue and plugs.
Saw the plugs down to level and sand them, so you have smooth edges. To make these pockets less noticeable, use wood filler in the gaps.
Step Two: Mark Your Sides
Now that you have all your pieces cut to size, stack your shelving sides. Now measure the height of the shelves to the bottom edge to ensure that you attach your shelves at the exact height you want them.
Draw a line at the height of the shelves all the way along the inside of the cabinet to ensure that your shelves are level when you attach them.
Step Three: Lay Your Unit Out
The best thing to do now is to lay all of your wood out to ensure that you can connect it all properly. You will need a lot of space for this! Lay it on the floor, with the shelves within the sides. Use corner clamps to ensure that all of the wood remains square and level.
Using a corner clamp is easy. All you need to do is apply some wood glue to the end of the wood and position the wood into the clamp so that it is perfectly in place, and tighten.
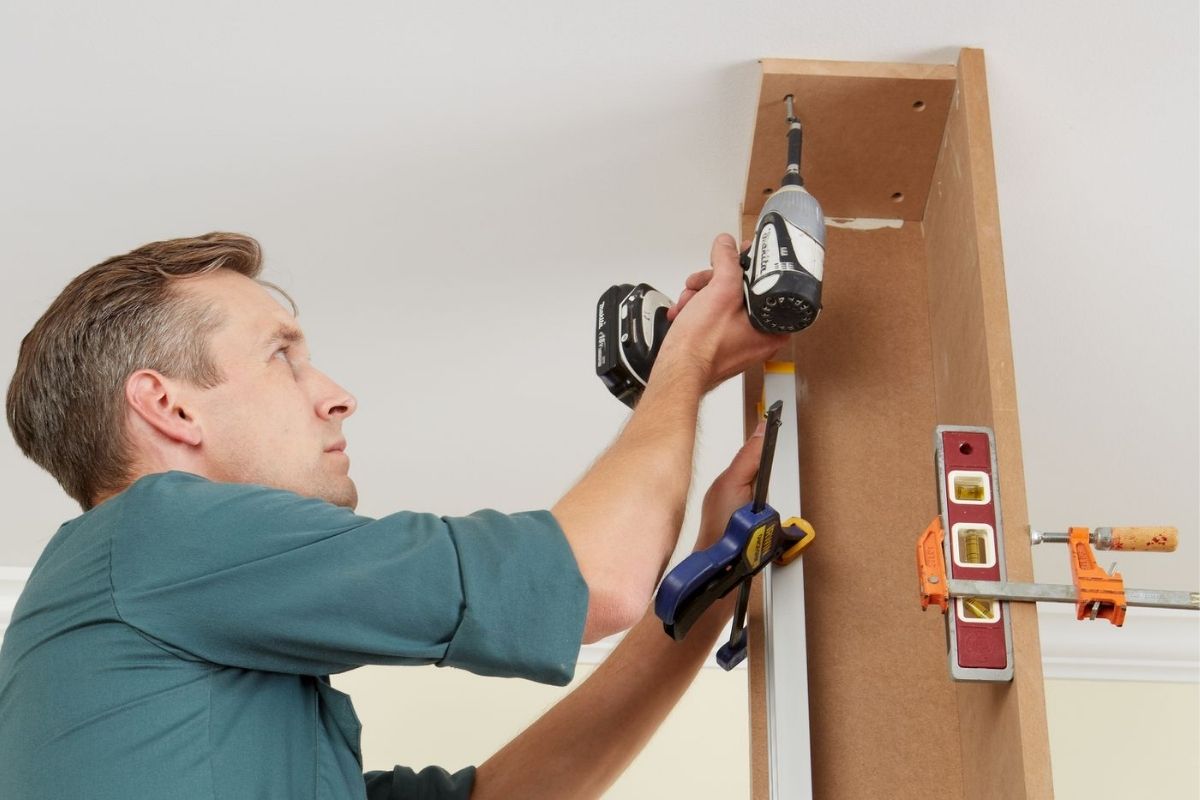
Step Four: Basic Assembly
Now that all your corners are clamped together, you can add some screws wherever you feel would be best for added support.
You don’t necessarily need to use screws if you have used a powerful wood glue, but we used screws anyway for added reinforcement.
Once you’re happy with your basic assembly, you can add supports underneath the bottom shelf. Add nailers to the top of each cabinet as well, as these will later support the crown molding.
Step Five: Adding Your Dividers
We also added vertical dividers to our cabinets to add more storage options. To do this, we measured where we wanted them to go to ensure that we would attach them level and added the wood in place.
We used the pocket holes at the top edge of the divider to attach them to the shelving unit—Mark where these are, and then screw through the bottom of the cabinet to secure the divider.
Using the bottom edge will hide the screws when it’s finished.
Step Six: Attach The Supports
If you’re making a built-in wide shelf, we recommend using a 1×2 on each bottom edge of the shelf to support the weight of your belongings. We also attached these supports to the studs in the walls for even more support.
These supports, along with the face frames on the front of the shelves, will help to ensure that the weight is evenly distributed throughout the center of the shelves.
Step Seven: Install Your Back Panel
Some people choose not to use a back panel, using the existing wall instead. However, we decided to add our own back panel so that everything would be flush with one piece of plywood.
We used a ¼-inch sheet of plywood and cut it with a jigsaw to size. Once all of the pieces were cut, we marked out where each shelf would hit them and nailed them in place.
Make sure you use enough nails so that the plywood is not coming apart from the shelving unit at any point.
Step Eight: Create The Face Frames
Face frames make everything look more cohesive, in our opinion, so we made sure that these were made with care. We cut our boards to size, added drill pocket holes into each horizontal piece, and glued all of the pieces together.
Once the glue has dried, flip the large piece over and ensure that the face frames fit the shelves before securing them.
Step Nine: Finishing Touches
Now that our built-in shelving unit was assembled entirely, we finished up with a few coats of white paint. Once this had dried and we were happy with the result, we cut out a few holes for where our electrical wires would need to pop through.
Step Ten: Installation
Now you can install your built-in shelving unit onto the wall! Carefully install the main unit, the central panel, and the doors to the cabinets. Once you’re finished with this, there’s nothing else to do but enjoy your new built-in shelves!
Summary
We hope that this article has helped spark some inspiration for you to make your own built-in shelves! You won’t regret it; they are the perfect space-saving storage option that still looks aesthetically pleasing!


