
Contents
If you’re ever working with wood, you will need to learn how to cut it into different shapes and sizes.
Angles and curves can be some of the trickier cuts possible on wood, but you can successfully achieve the perfect cut with the right tools and methods.
You may have heard the term ‘miter’ when referring to cutting an angle on wood.
This is because a miter saw is a tool used specifically to cut wood at certain angles.
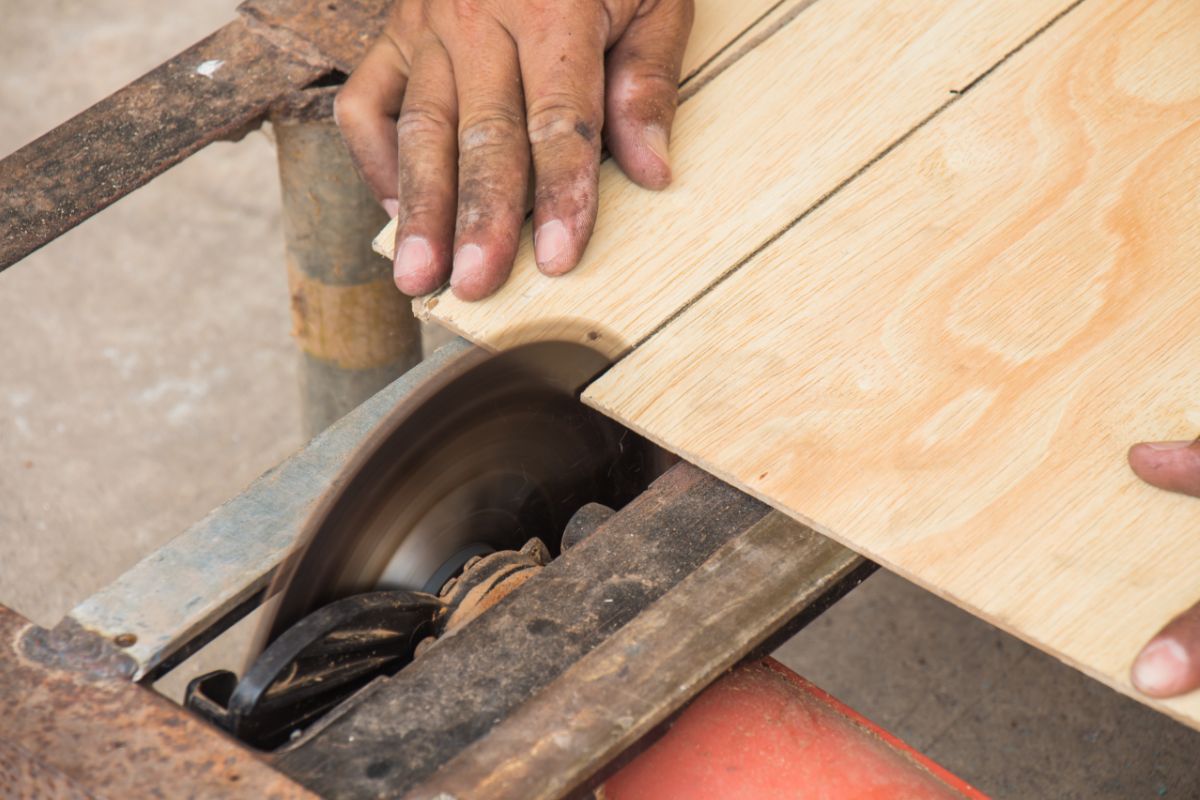
A miter saw is essentially a circular saw that gets mounted onto a frame.
A miter saw can produce very accurate angle cuts from 45 and 90 degrees, from here.
Of course, you can achieve more angles with higher-end, more sophisticated compound miter-saws.
But, these are typically used for cutting bevels (horizontal or vertical slopes).
Although miter saws are usually used for cutting wood, they can be implemented with plastic, too.
And, thanks to their lightweight nature, they are portable so that you can use them around the workplace easily.
If you have a DIY or art project coming up that requires you to cut angles on wood, read on.
Below, we will be guiding you through the process of cutting angles on wood using a miter, as well as by eye, without a guide.
By the end of today’s blog, you will be in a much better position to tackle your project with more confidence!
Ways To Cut Wood At An Angle
To make accurate mitered (angled) cuts and 90-degree square cuts in timber is something you must learn to do if you are constructing certain objects or making joints in furniture.
Just because you may not do DIY ‘religiously,’ there will typically come a time when you need to cut a length of wood accurately at an angle.
Maybe you will need to cut around a doorway or window or mend the skirting boards of your home.
If the time has come for you to cut angled timber, you are probably looking to learn how to do it properly without making a mess and damaging the wood.
There are 3 main ways to cut angled timber. These are:
- Marking and cutting out an angle by eye – This may not be the most accurate cut, as you will not use a guide. However, this method is useful if you don’t need precise measurements or accurate angles.
- Using a miter saw – As we mentioned, this is the most accurate tool for cutting lengths of wood at angles.
- Using a miter box – This tool guides a saw for better, more accurate cuts. Nevertheless, a miter saw only allows for 45 to 90-degree cuts.
Below, we will take a look at how to cut wood by eye and with the use of a miter saw.
Cutting By Eye Without A Guide
This is the most basic method that should only be used when accuracy is not of utmost importance.
Nevertheless, you still need a good eye when following this method, and it takes practice to master this process.
Don’t be surprised if your cuts are crooked if you’re new to this style of cutting.
Here’s how to cut without a guide:
- First, check that the end of your timber is square. Then start by marking the dimensions of your wood. Using a pencil, make a slender line on the timber and hold your measuring tape close to one edge of the wood. Then, mark your desired measurement.
- Next, you need to use a carpenter’s square to mark the timber’s top side. This allows you to create a right-angled mark along the wood. Other options are to use a triangle or an engineer’s square. Start by firmly holding the square’s handle or ‘stock’ against the timber while you mark it. Place the tip of your pencil on the mark made when you measured it and slide the square until it’s up against the tip. Here, mark the square.
- Now, you need to mark the two sides (front and rear) that are vertical.
- Securely hold the wood before cutting it using a hand saw. Ideally, you should use a vice to keep the timber firmly in place while you saw. If you don’t have a vice, you can use your knee, a stool, or a low table. Follow the pencil guides as you cut and maintain a straight saw blade throughout.
Cutting With A Power Miter Saw
Here’s how to cut using a power miter saw:
- For a 45-degree angle, release the lock on the miter saw’s front. Now, grab the handle until you feel a trigger underneath it and compress the lever.
- Swivel the saw to the left or right as you hold the trigger. You will see a gauge just above the handle displaying the degrees. When it reaches 45 degrees, you will notice that the blade settles into its preset position. Here, you need to release the trigger to lock the blade.
- Next, place the timber against the fence found below the blade. The timber’s end should reach just past where the blade will start cutting. Hold the timber against the fence with one hand and take hold of the handle above the blade. Pull the trigger to turn the saw.
- Now, pull down on the saw blade to cut on the board’s end. Allow the blade to spring up again to its initial position. Then, release the trigger.
- If you want to cut any other angles, follow this same process.
And, it’s as simple as that when using a miter saw!
In Summary
If you do carpentry regularly, there is no doubt that you will need to cut angles on wood at some point.
Thankfully, a miter saw means the process is pretty straightforward. But, if you don’t need accurate angles or curves, you can do it by eye without a guide.
As always, be very careful when cutting wood and make sure you take all necessary precautions when doing so.


