
Contents
Making unique items and beautiful personalizations as a hobby have become increasingly popular.
Not only does the process of engraving wood create incredible artwork and one-of-a-kind gifts for people, but it can also be a great way to make some extra money on the side.
However, when you are just starting out, it can be a little overwhelming trying to understand all of the different techniques and work out what will work best for you.
In this article, we will look at some of the most common ways to engrave wood to help you work out which method will work best for you.
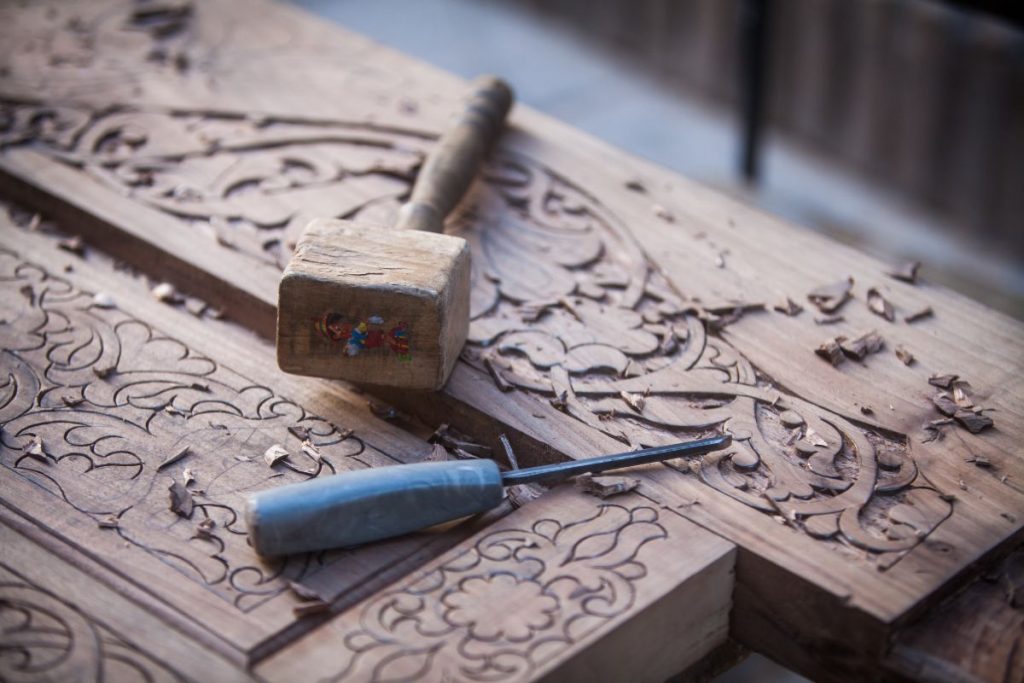
How To Engrave Wood With A Knife
Engraving wood with a knife requires the least amount of specialist equipment, however, it is perhaps one of the scariest techniques to engrave wood.
Although many people may be understandably nervous to try engraving with a knife, it is actually a lot easier than you might think.
When attempting this type of engraving, you should use soft wood such as balsa to get the best results. You will also need a sharp knife and a piece of paper to practice drawing your design.
If something in your design doesn’t look quite right on paper, chances are, it won’t look quite right on the wood either. You should use the paper to perfect your design before starting on the wood.
When you do apply the knife to the wood, be sure to carve away as much material as possible without going all the way through the piece of wood or removing too much from a certain area.
If you don’t go deep enough into the wood, your design may look sloppy or unclear. When you are carving, make sure to take your time. If you rush, you are more likely to make mistakes and it can be difficult to rectify these.
If you want to engrave a design that has multiple layers in it, you should begin with the top layer first. Carve the entirety of the top layer to help lift the surface, then carve the subsequent layers underneath.
Carving wood with a knife can be dangerous and the risk of cutting yourself is highly likely. It is important to have some band-aids nearby when you are working.
How To Engrave Wood With A Router
If you want to invest in some specialist equipment for your engraving, a router can be a great place to start.
This is a power tool so it is important to take the proper precautions to protect yourself such as wearing goggles to protect your eyes from the sawdust that will be thrown up from the wood.
When using a router to engrave a piece of wood, it is important to make sure that the wood that you are using is at least 6 inches thick. This is to ensure that the tool doesn’t cut all the way through.
When choosing a design you should choose something that is simple with basic shapes to carve out. When creating your design you will also need to think about the depth and width of the lines that you are going to cut into the wood.
When you get round to engraving the wood, you should use one router bit at a time and complete all of the lines necessary with the bit before swapping to a different one.
This will help ensure that your lines are clean and crisp. It is important to make slow and steady movements with the router to ensure that you don’t damage your piece of wood or the router.
Once you have finished engraving your pattern into the wood, sand down the rough edges and any rough patches in the design. Once you are happy with the appearance of the design you can use a wood preserver to help protect your work from the elements.
How To Engrave Wood With A Dremel
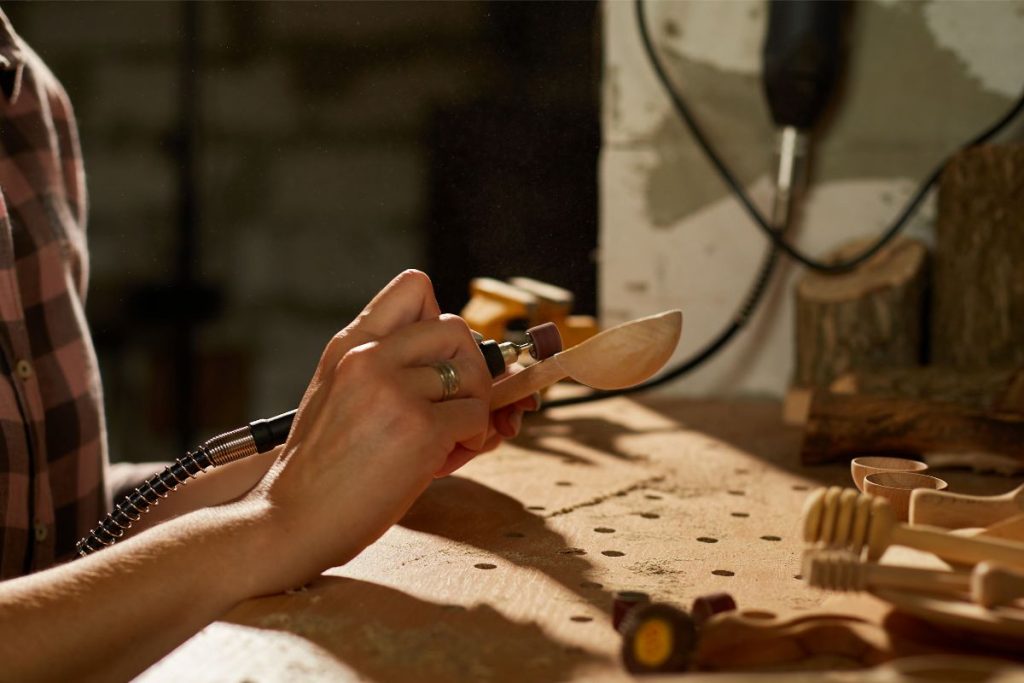
As with all of the other methods, the first step in engraving wood with a Dremel is to select a soft, flat piece of wood such as Balsa and trace your design onto the wood. Once you are happy with your penciled design, you can begin working with the Dremel.
If it is your first time using a Dremel you might want to make some practice cuts on a scrap piece of wood that is the same type as the wood you will be engraving.
This will help you get a feel for the technique that will be required and the appearance of your cuts. You should then lubricate the cutting bit with water or a special lubricant, afterward, you should retest the Dremel to ensure that it is cutting straight and consistently.
If you have opted to use a stone or needlepoint Dremel bit, you should apply pressure to the tool until it begins to cut the wood.
You should then maintain consistent contact between the wood and the bit by holding the Dremel in one spot and then pushing it forward against resistance. The technique is similar to how a pencil is used on paper. Holding the Dremel like a pencil can help.
How To Engrave Wood With A Soldering Iron
When engraving with a soldering iron, you should sketch your design onto the piece of wood with a pencil that contrasts with the wood to ensure that you can see it clearly.
Use a soldering iron that has heated up for at least five minutes. Once it has reached temperature, you can begin to trace your design with the iron.
It is important to make sure that you are not applying too much pressure to the wood as this can result in burnt areas of the design.
Take your time and do a bit of the design at a time to ensure that your edges remain clear and crisp. Keep going until the entire design has been engraved.
Final Thoughts
There are many methods that you can use to engrave wood, all of which produce different aesthetic results.
When undertaking any of these methods it is important to ensure that you are taking the appropriate safety precautions.


