Contents
A wood router might not be an essential piece of equipment when it comes to woodworking, but there are tons of benefits to using one thanks to the versatility of the tool, and you are sure to find that once you learn how to appropriately use one, it will become your go-to woodworking tool.
With this in mind, we are going to be looking at how to use a wood router, as well as take a look at the tool in general to see what it is most often used for. Let’s get started.
What Is A Wood Router?
A wood router is a woodworking tool that is made up of a wood-cutting bit with housing and a motor.
Wood routers were originally hand-powered, but have since evolved into an electric-powered spinning tool that is often seen in modern workshops.
What Is A Wood Router Used For?
There are all sorts of projects that you can use a wood router for, but here are some of the most common applications for the tool.
- Inlays
- Flush Trimming
- Shaping
- Edge Profiling
- Cutting Dadoes
- Hinge Mortising
- Dovetails
- Cutting Rabbets
- Building Drawers
- Building Boxes
What You Will Need Before You Start Using Your Wood Router?
Before we get into how to use your wood router, you first need to know what you will need to get started.
Wood Router
This might seem like an obvious step, but it can be tricky to nail down which router you will need. Pick one that suits your particular project as well as your needs and your budget.
There are two main wood router types that you can get, so let’s take a closer look at them.
Fixed Base Wood Router
These routers can be adjusted by sliding them up and down the base, but they cannot be adjusted in between cuts. This makes it easier to work with in terms of stability as well as when it comes to edging shapes and making changes that are finer.
Plunge Wood Router
These routers can change their depth in between different cuts. All you need to do is either adjust the depth of the bit or push it down without switching off the router.
Plunge routers are similar to handheld routers as the movement is much more controlled.
Router Table
If your router is large, then you may have to have a specific workbench or table just for woodworking with it. This table will need to have holes in order to clamp the router to the table to prevent any accidents.
Router Bits
There are all sorts of different bits that are available for wood routers, ranging from complex bits for more intricate projects to simple, rounded bits that can be used for basic woodworking.
Wood router bits are also available in different sizes, from half-inch shanks to quarter-inch shanks.
Sandpaper
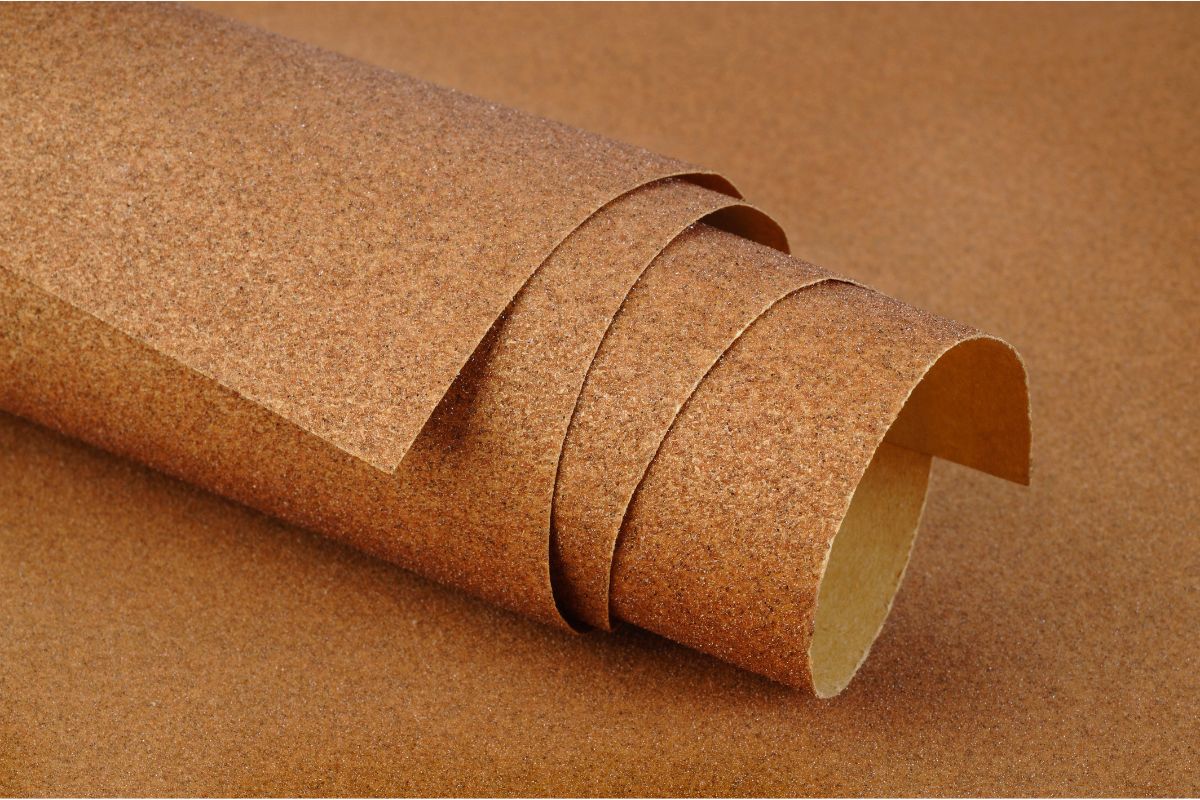
Sandpaper is always a useful tool in woodworking, as not only does it ensure crisp and clean edges with the proper finishing, but it can also prevent any unnecessary splintering.
Collet
A collet is an incredibly important part when it comes to using a wood router, as it is the piece that holds the router bit in place and attaches it to the router. Collets tend to come in two different sizes, those being a quarter inch and a half inch.
Some half-inch collets are able to hold quarter-inch collets too, whilst the quarter inches themselves are known for being a bit tricky to handle though, particularly when it comes to wood router projects for beginners.
Safety Gear
Last but definitely not least, you will need your standard woodworking safety gear such as ear protection- including headphones or earplugs- and safety goggles.
Step-By-Step Guide To Using A Wood Router
Now that we have all the relevant information about wood routers and have everything that we will need to get started on our woodworking, let’s get into the step-by-step guide on how to use the tool.
Step One: Loosen The Collet And Fit The Router Bit
You will first need to attach the collet and the router bit accordingly.
To do this, first make sure that the power cord is disconnected and then turn the router upside down. You will see a spindle lock button, and you need to press it in order to loosen the collet nut.
Once loosened, place the router bit about three-quarters of the way into the collet. Whilst keeping the spindle lock pressed down, tighten the collet nut until you are sure it is firmly attached.
Step Two: Router Depth Adjustment
You will want to make sure that the small rod you see within the depth gauge extends at around 3 mm. Once you are sure it is extended, rotate the turret to the point where the highest position clicks into place directly beneath the depth gauge.
To drop the gauge on the depth stop turret, loosen the knob.
Next, loosen the locking lever and push the tool down so that the router bit connects with the workpiece. To set the router depth to 0mm, tighten the locking lever.
If you need to fix the depth, simply raise the depth gauge to the routing depth that you want and then tighten the knob. Guide the tool back up once you have loosened the locking lever, and you should be able to increase the depth by around 5 to 10mm.
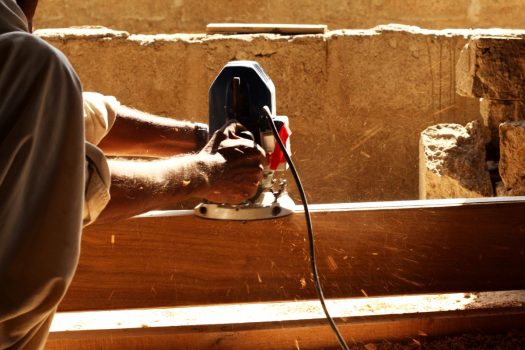
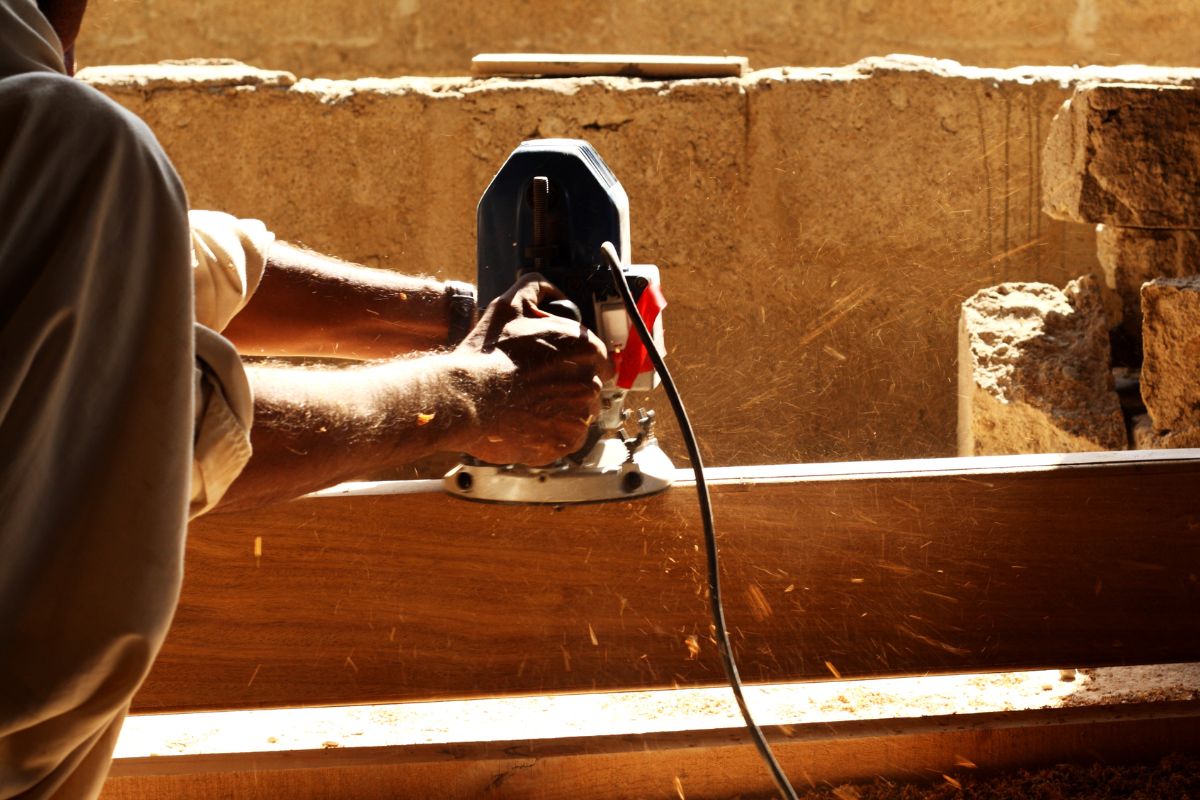
Step Three: Using The Router
Now that you have prepared the depth and the router bit, you are ready to start working.
Firstly, check the instruction manual so that you know the right speed to route at and then connect to a dust port or a vacuum cleaner. Plug in the router and pull on the trigger to turn it on.
To use it, slowly push it down until the depth gauges connect with the depth stop turret. Tighten up the locking lever, and you are ready to start guiding your router on your wood!
Final Thoughts
So there you have all the information that you need to get started with a wood router.
As long as you abide by all the necessary safety precautions, you are sure to be completing a range of different woodworking projects with your router in no time!


