
Contents
Window frames need to be precise, or else you won’t get the support that your window needs.
Framing a window is done before the actual window installation. So, unlike with a mirror, or a wall frame, for example, you don’t simply build an attractive frame around it. It’s a very different scenario, and way more complex.
Build a frame that is too loose, and moisture will get in the walls. Too tight, and the window’s placement won’t be right. If you build framing that somehow contracts as time passes, your window is likely to crack.
If you want to frame a window the right way, just read on! We’ll go through everything you need to know about framing windows.
About Window Frames
Window frames are essential parts of buildings, but how much do you know about them? Let’s take a quick look at some information about window frames before we get into the building process.
What Is A Window Frame?
A window frame is the name given to the collection of studs inside a wall that keep a window in place.
There is support from below, namely the support studs and window still, and from the bottom – the jack/trimmer and king/regular studs. The above support comes from the vertical supports and the header.
What Parts Make Up A Window Frame?
Seven pieces typically make up a window frame. Let’s take a look at them below:
- Window Header – two horizontal two-by-fours (size can vary) that will span the width of a window frame.
- Sole Plates (bottom and top) – a two-by-four that is horizontal and long, that runs at the top and bottom of the building.
- Sill Plate – rests on the support studs at the bottom, and is a horizontal stud that sits between two jack/trimmer studs.
- King/Regular Stud – forms the outer sides of a window, runs between the sole plate and the top plate on both sides.
- Jack/Trimmer Stud – runs from the sole plate up to the window header bottom. The two jack/trimmer studs rest against the regular stud.
- Short Support Studs (top) – these run from the top plate to the window header.
- Short Support Studs (bottom) – these run from the sole plate to the sill plate.
How To Frame A Window
Below, we will take a look at how to frame a window.
The tools you will need:
- Tape measure
- Speed square
- Pencil
- Nail gun or framing hammer
Materials you will need:
- 16d nails
- Two-by-six (x2)
- Two-by-fours (x6)
The Method
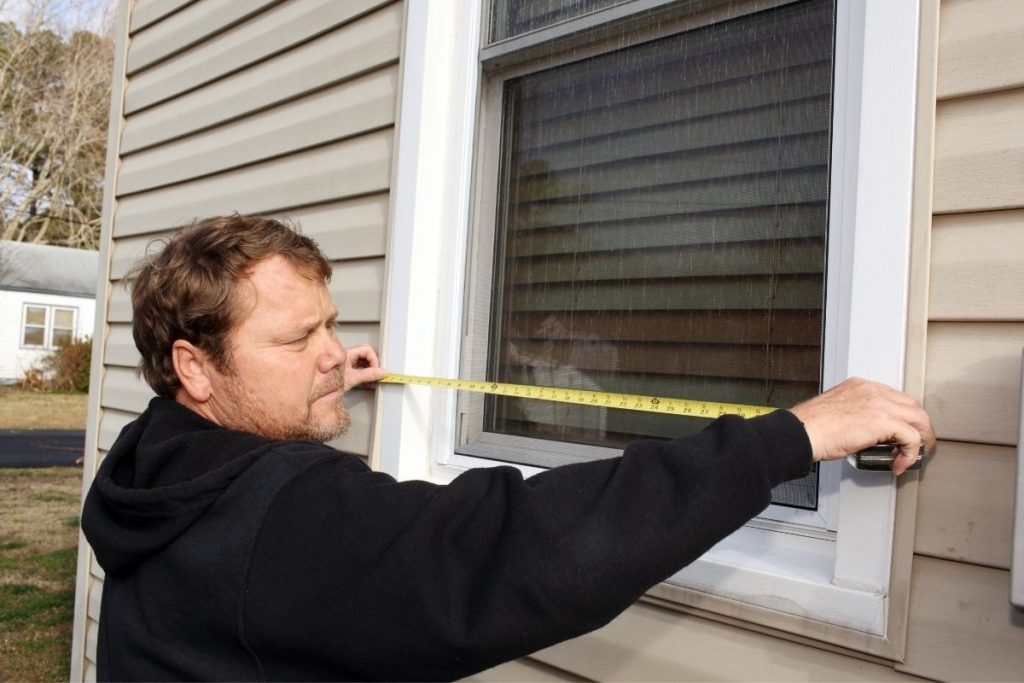
- First off, you will need to measure the window. Use a tape measure to do this, and measure the width and height of the window. You will need to measure the frame of the window, but not the nailing fins. Write down the measurements, and add half an inch to every side. These numbers will be the ones you need for the rough opening.
- Next, you’ll have to create the window header. Do this by cutting x2 two-by-sixes according to the rough-in, and add another three inches. Using two nails for every 16 inches, nail the two pieces together on both sides.
- Cut x1 two-by-four so that it is the same length, then nail it to the rest of the assembly.
- Here, you will need to nail the king studs into place. Do this by using the window header to measure, and establish where the regular studs need to go in the bottom and top places. Nail them in.
- Next, you will need to place the trimmer studs. You will need to dry-fit the header between the studs you just put in place and place it in the intended vertical position. Measure down to get to the area where the trimmer studs need to go. You will then need to cut 2x two-by-fours to the length you just measured. Nail the studs into place, on top of the regular studs. Ensure that these studs touch either the bottom plate or top sole.
- Cutting and installing the bottom vertical supports is the next step. You will need to cut x4 two-by-fours to be used as the bottom vertical supports. These four boards will be three inches shorter than the window sill plate height because you will install a two-by-four sill plate that is doubled up. You will need to nail two of these against the trimmer studs, and the other two on the center part.
- Next, you will need to measure the distance between the trimmer studs and use that number to cut x2 two-by-fours. Then, nail these two-by-fours together to make a double window sill plate. This plate will be nailed on top of the bottom vertical supports.
- Now you will need to nail the window header on the trimmer studs.
- Once the header has been attached, you will need to measure the distance between the sill plate bottom and the window header top. Then, cut x3 two-by-four to the length you just measured.
- Finally, you will need to toenail the pieces you just cut into that section vertically.
- You should not be able to get your window fitted!
Final Thoughts
Framing a window isn’t as hard as you thought, right? While it might be a little more complicated than a beginner-level job, it is very doable.
You might need a little help with the more complicated parts, but you can get it done in two hours if you try!
Hopefully, this post has been helpful, and you now feel a little more ready to frame a window.
Just remember – if you need it, there are always YouTube videos to watch alongside reading these instructions! Surprise yourself and get it done. What’s stopping you?


