Contents
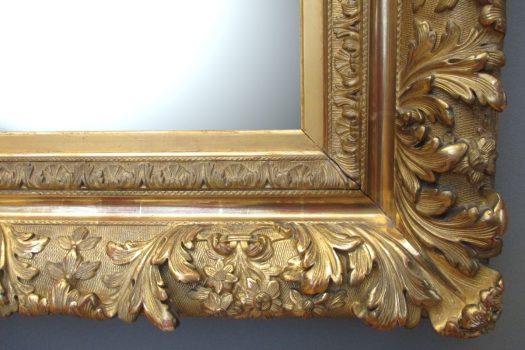
If you have a plain mirror sitting around the house, you’ve probably wondered how much it would cost to get a frame fitted.
Building a frame isn’t super difficult. As long as you have the right tools and materials, you can get it done in no time.
Not to mention, it’s probably a lot less expensive than getting a frame fitted (or buying a whole new mirror). If you want to learn how to build a mirror frame at home, keep reading!
Building A Mirror Frame
Before we get into the nitty-gritty, let’s take a quick look at some common questions below. If you haven’t built a mirror frame before, then you are probably wondering about a few important things.
Is It Expensive?
Building your own mirror frame can be expensive, but that just depends on the materials you choose.
Generally speaking, building a DIY mirror frame, or any frame, is not an expensive process. The materials used are typically pretty basic, but that doesn’t mean it can’t look amazing!
Is It Time-Consuming?
Any kind of DIY project can be a little time-consuming. The time it takes will depend on your experience with the tools and the process, though.
Maybe you have a hidden skill, and you will take everything in really quickly! You never know.
You can expect a mirror frame to take you a couple of hours to build from start to finish.
If you’re going to be working for short periods of time, it might take a few days to get done, but that shouldn’t put you off.
Is It Difficult?
No! Building a mirror frame is considered to be beginner-friendly! That means that anyone can do it, even if you don’t have any experience using the tools or the method.
Of course, the more experience you have, the quicker it’s likely to be, but that doesn’t matter. It’s all about the process and (eventually) getting a result that you are happy with.
How To Build A Mirror Frame
Before you go ham buying supplies, be sure you know what you want the finished product to look like.
There are loads of styles out there, so have a clear picture in mind! This will make it much easier to get through, and you won’t get halfway through and feel lost.
What You Will Need
You will need a few tools and materials to get the job done. We’ll list them all below:
Materials:
- A glass-safe adhesive
- Trim boards (size and shape will depend on the style and finished product you are aiming for)
- Rag
- Painter’s tape
- *Optional – paintable caulk (if you are going to be painting your mirror)
- *Optional – finished supplies (this will vary depending on how you intend your mirror to look once finished)
Equipment:
- Sanding block
- Caulking gun
- Miter box/saw
- Tape measure
- Finishing supplies
- Pencil
The Method
Finally, we come to the method! We will go through each step so that you can easily follow this tutorial at home.
- The first thing you will need to do is measure the mirror you already have. Do this using a tape measure and determine the item’s length, height, and depth. Write these numbers down. Make sure that there is enough space for the gluing to happen, so the inside dimensions need to be a little smaller than the mirror itself.
- Get your trim boards. You will need to get the trim boards that resemble the overall look you intend to go with. For the best results, try to stick with trim that is around 2-4 inches wide.
- Next, you’ll need to get your miter box. On each end, cut 45-degree miters. The length of the mirror will be reflected by the top and bottom, and the height by the side pieces. Use a sanding block to smooth the pieces once they’re cut.
- Use a heavy-duty adhesive to glue the boards to the mirror. It’s easiest to start with the bottom piece. Only apply the glue near the outer part of the piece so that it doesn’t show up on the mirror. You will need to hold the board in place and tape it down using painter’s tape. Be sure to read the glue instructions to see how long it needs to be held down for.
- Glue the top and the sides. To do this, you will use a similar method to the one outlined above. Be sure to glue the side pieces first, and finish with the top. Always wipe away any excess glue!
- Next, you will use caulk to fill in any imperfections of the mirror. You should only do this once the glue has fully dried. You will need to remove the painter’s tape, then use paintable caulk to fill in any holes and imperfections. NOTE – You don’t need to do this if you aren’t going to be painting the wood (e.g., you’re using natural wood).
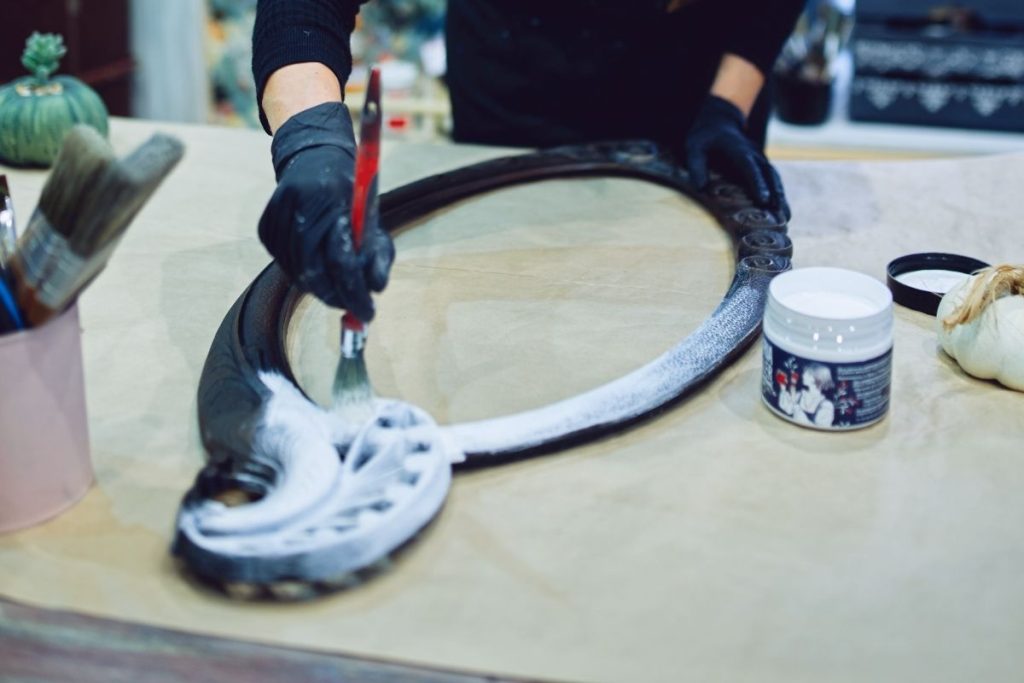
- Finally, you can finish your frame! You might choose to use a stain, or to weather it down with whitewash or latex paint. At this point, you can also glue things like seashells to the frame if you wish to! You can do anything you like at this stage, as long as it doesn’t damage the piece.
- Hang it! Now that your mirror is done, you can use it wherever you like! Now you can look at your hard work every day and be proud of it.
Final Thoughts
That’s all there is to it! Building a frame for a mirror is way easier than you thought, right? All you need is some glue, wood, and a few other pieces.
No nails involved! Hopefully, this has been helpful to you, and you can now build yourself a mirror frame that you deserve – good luck!


