Contents

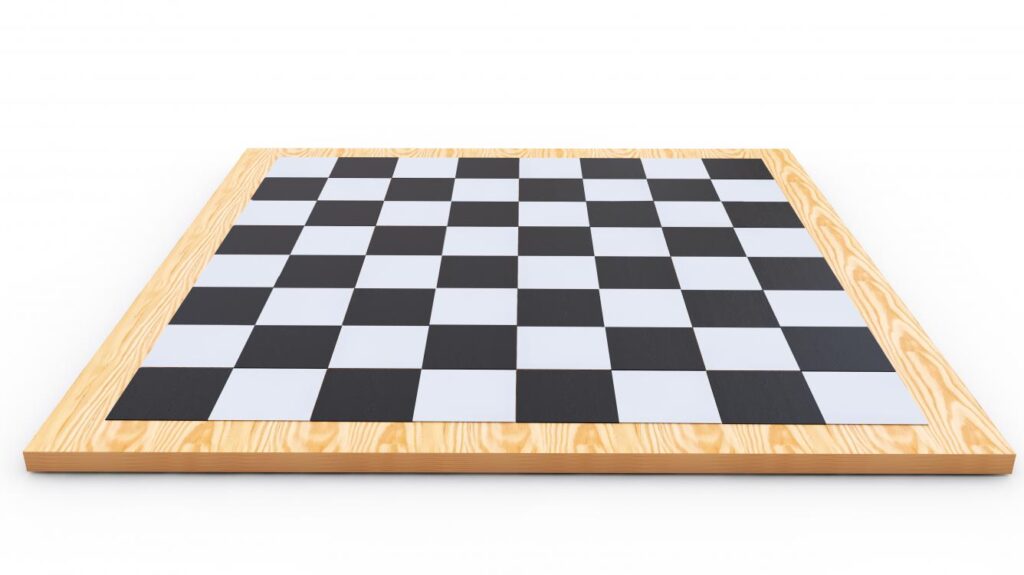
Are you looking for a valuable way to spend your weekends or free time? A game of chess is what you may need. You can now make a chessboard of your own from the comfort of your home. The best part is that the process is extremely cost-effective and a fun DIY project. So, to help you make the board you want, we’ve shared a no-fluff guide on making chess boards.
Tools And Materials
Before you start to make a chessboard, have the essential tools ready.
[su_spoiler title=”Required Tools for this Project:” open=”yes” style=”simple” icon=”plus” anchor=”” class=””]
[su_list icon=”icon: arrow-circle-right” icon_color=”#4f8901″]
[su_row class=””]
[su_column size=”1/2″ center=”no” class=””]
- Safety gear – safety goggles, safety gloves, and hearing protection.
- Light-colored wood board (0.98 inches) such as pine, cedar, maple, or mahogany.
- Dark-colored wood board (0.98 inches) such as pine, cedar, maple, or mahogany.
- A different shade of dark wood board for the border.
- Ruler or measuring tape.
- Pencil.
[/su_column]
[su_column size=”1/2″ center=”no” class=””]
- Circular saw.
- Wood glue.
- Bar clamps.
- Electric sander (optional).
- 80-grit sandpaper.
- 120-grit sandpaper.
- Wood finish.
[/su_column]
[/su_row]
[/su_list]
[/su_spoiler]
Step-By-Step Instructions
As listed above, most tools used in making chess boards are simple and readily available. Different people make chessboards in varying designs. However, several principles such as light and dark-colored boards remain the same. Below, we’ve shared the steps for making a standard chessboard.
Choose and Prep Wood
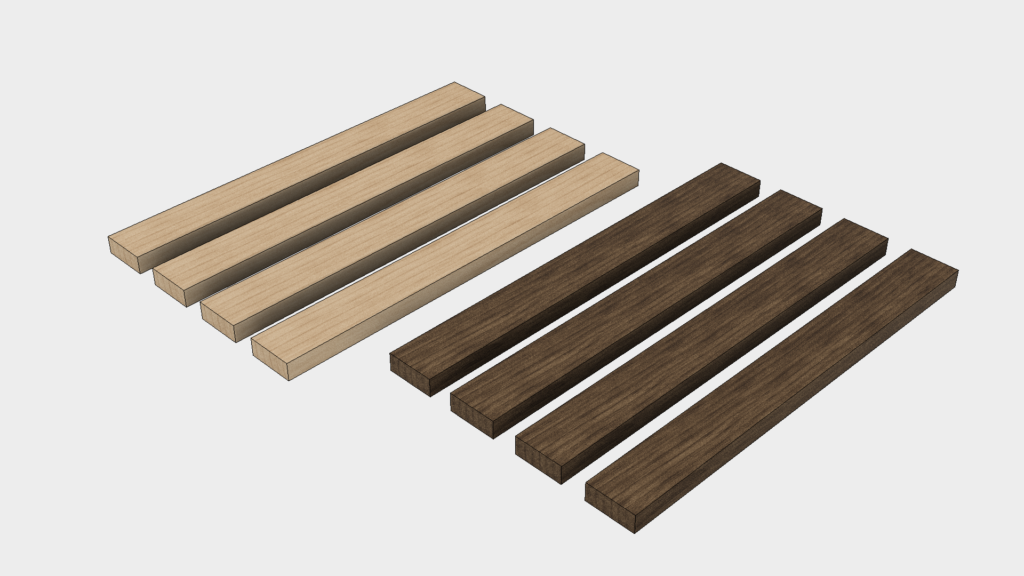
- Pick a plank of light-colored wood and dark-colored wood board with a thickness of about 0.98 inches. The two different colors will help to create the typical chessboard pattern.
- Using a ruler or measuring tape, measure four 18 inch strips and cut them using a circular saw. Make sure you cut into the strip by carefully following the pencil markings.
Start Working On The Chess Board
- Using measuring tape or ruler and a pencil, mark the cut lines and cut them down to even sticks of about 2 inches using a circular saw. This will give you about a total of 8 strips – 4 will be light-colored and 4 will be dark-colored.
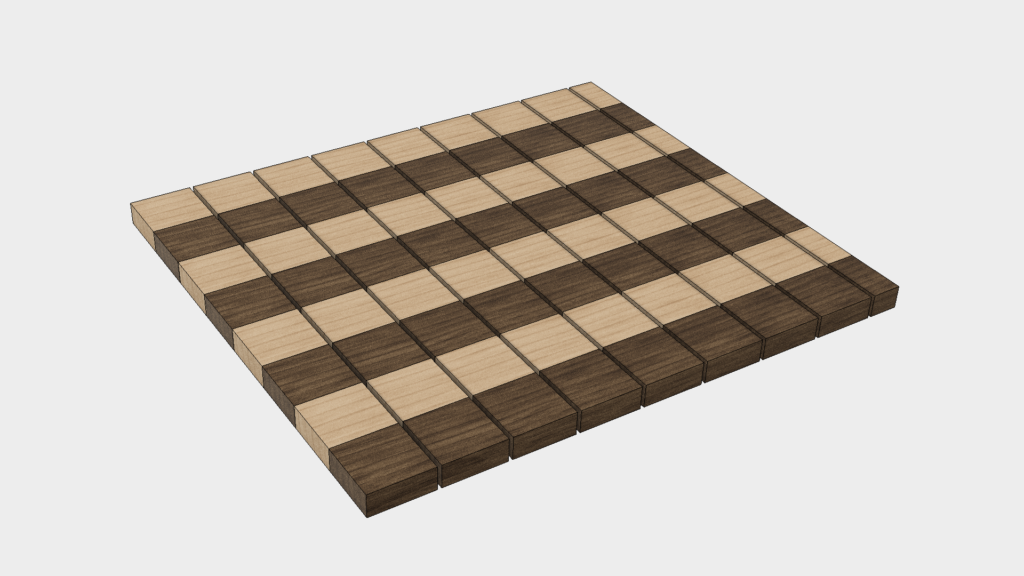
- Arrange the 8 strips evenly in an alternating color pattern (i.e. light, dark, light, dark, etc) on a flat work table and apply wood glue to hold them together along the outer edge of each strip. Spread the glue around the edges for an even layer and press the strips together to hold them and form an even square board. Before the glue dries, if you see any excess oozing out between the strips, wipe it with a cloth.
- Using bar clamps, clamp the edges of the board and let the glue dry. Make sure the clamps are firmly fastened together but, ensure they don’t warp the wood. The glue should dry and harden before continuing with other steps (typically about24 hours).
- Once the board has dried, using a measuring tape or ruler and pencil, make guidelines across the alternating pattern and cut out 2-inch strips using a circular saw. This means that instead of having single-colored strips, you will have 8 alternating patterned strips.
- Arrange the strips on a work table to form a checkerboard pattern and apply wood glue between each strip. Press the strips together until they line up evenly.
- Again, clamp the edges of the board together until the wood glue has thoroughly dried and hardened.
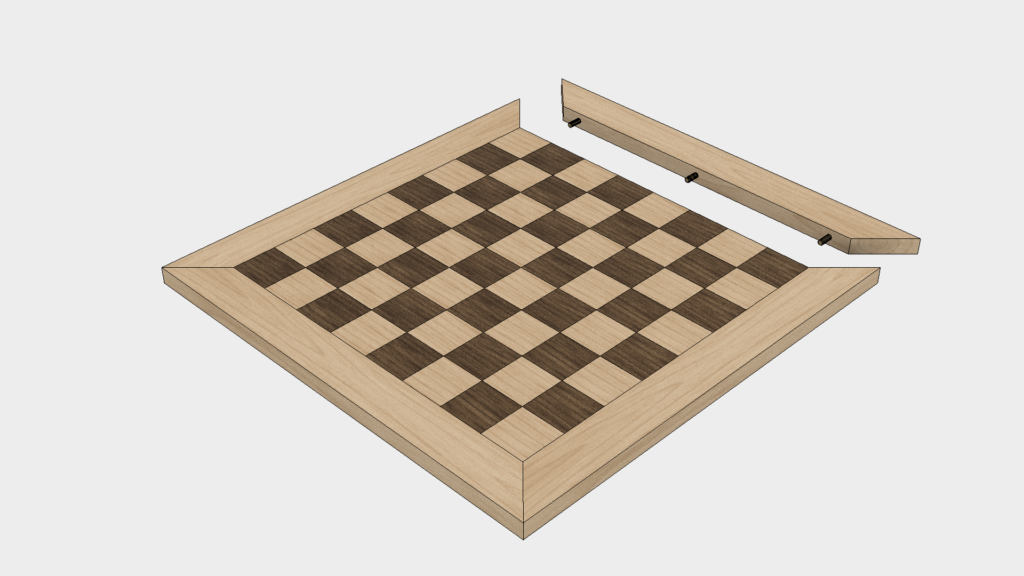
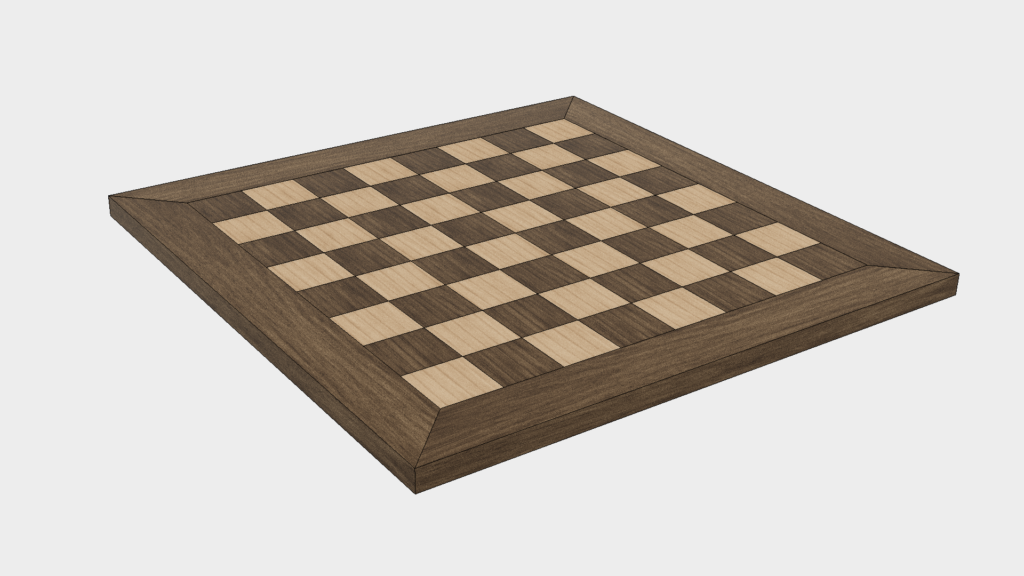
Add A Border
- You can also add a border by lining the board with extra wood on the side.
- Using a tape and pencil, measure and mark a thin layer of wood at about ¾ by 1 inch.
- Use a circular saw to cut four strips with this measurement.
- Spread a thin and even layer of wood glue to the edge of the strips and clamp them into place until the glue dries.
Finish The Wood Board
- When the glue has dried and hardened, use 80-grit paper to sand the surface of the board. Alternatively, you can use an electric sander if you can afford it.
- Continue to sand the surface with a fine 120-grit paper to evenly polish and smooth the surface.
- When you are done, the last step is to finish your board. To do so, apply a thin layer of wood finish on the surface of your board to seal the wood for a more classy and elegant look.
- Let the wood finish dry for at least 24 to 48 hours and you can begin using the chessboard.
Making chess boards literally takes no more than 3 hours to complete. But, remember, this is simply the basics, you can still opt to create different designs. This means even the tools may change based on the direction you want to take design-wise. Some people may even use a router for a cleaner and fancier cut board.