Contents
Because what pieces of furniture don’t look better with a fresh coat of paint?
Whether it be that favorite dressing table you have tucked away or maybe a vintage mirror frame in desperate need of revival, there is no denying that a clean coat of fresh paint applied properly can make a massive difference to any piece of furniture and instantly bring it back to life!
But if you have carried out this task yourself, you’d soon realize that painting and getting the correct finish are much more accessible than they seem!
Fear not, as I’m about to simplify a simple, quick, and easy method you can apply to all of your furniture with no fear of paint runs, imperfections, blemishes, and many other common mistakes a painting newcomer makes.
Many people think that painting is as simple as just applying the paint to whatever surface in question, but this is the first and most common mistake. Over 50% of work, when done correctly, consists of good and thorough cleaning and preparation of the work surface.
Without the correct preparation and cleaning, let me give you some examples.
Thorough sanding of the work surface not only ensures that the surface is smooth and uniform, but also leaves slight abrasions on the surface, allowing the paint to bond and adhere when applied.
But if not cleaned after the sanding process, the sanded debris will mix with the paint on the surface, causing tarnishing of color, uneven finish, and overall dirt on the surface that’s being painted.
As you can see, this is before you even begin to prime and paint!
So let us get down to the simple 7 guidelines to stick to when painting wooden furniture and surfaces.
Cleaning
The first and maybe most important part of painting any piece of furniture is also most commonly overlooked.
With the high probability of old furniture being coated, waxed, or polished at some point in its life, its always best to remove all residue and old coatings of any material, along with general dirt and grease, as all of these can affect the paint adhering to the surface it is being applied on.
Sugar soap is very affordable and acts as an anti-grease and all-all-around cleaner for any piece of furniture. There are also specialist products for this exact task.
It is highly recommended that you let the moisture dry naturally after this stage.
Once dry, proceed to check the surface of your cleaning & painting for any visual damage, as this is the perfect time to fill and repair any if found.
Once done, please do not forget to clean thoroughly to remove all dust from any filler you may have applied after the first cleaning stage.
Sanding
When it comes to sanding, don’t feel that you must spend hours on this task, as a quick rub down covering all surfaces that are to be painted will be enough to ensure the paint is going to adhere and coat exactly how it should.
It’s also an option to use an electric sander to make the process quicker.
All types of sandpaper will suffice for this, but using a lower grit is recommended, as the goal is not to have a smooth surface.
Again once carried out, a thorough clean is advised before advancing to the next step to ensure the primer can adhere correctly.
Priming
Applying a good primer coat after the preparation and before the painting is essential to make sure that the overall finished coat is more durable and resistant to peeling.
This also ensures no stains will be visible through your finished coat of paint, as painting over wood that’s not been primed can tend to bleed and expel unwanted moisture and sap depending on what wood the surface is.
Pre-Paint Sanding
This stage isn’t a crucial part of the process and is often skipped by many.
But if an overall perfect finish is wanted, then this stage is crucial to ensure you remove any little bumps or air that will inevitably be developed.
Using 240 grit sandpaper by hand (not an electric sander) will ensure that the primed surface is perfectly smooth and prepared for the final coat of paint.
This will also ensure that the first coat of paint will have the correct surface to adhere to.
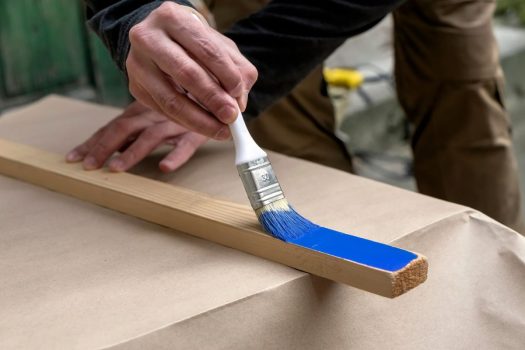
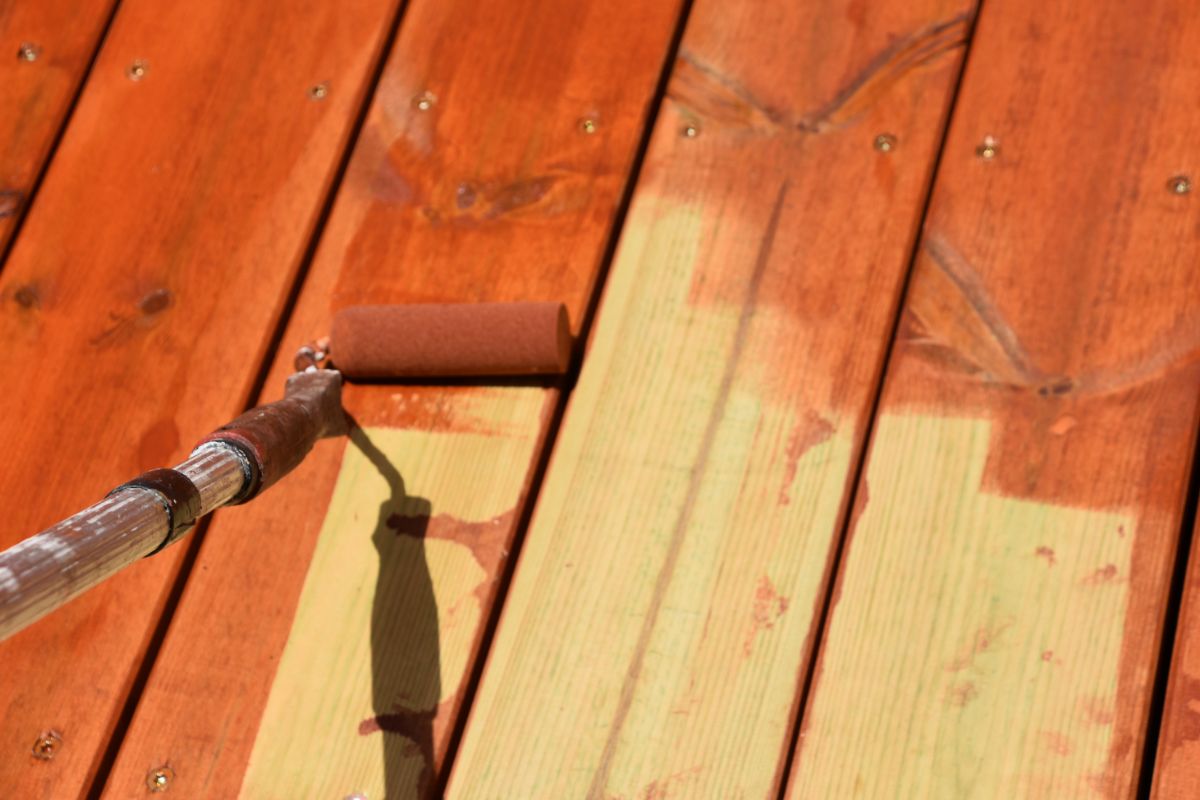
Painting
Now it’s time to prepare for our finishing coat of paint.
A good reliable painting brush set or a good roller is recommended; both tools have pros and cons, so it’s best to find which suits the task you plan to carry out.
Prepare a small rag to keep for any minor spillages, and prepare a suitable work environment and drying space for your item once finished.
Once all your tools and equipment are prepared, proceed to paint your item evenly.
Don’t be fooled into thinking that the more paint, the faster the job, as it’s quite the opposite.
You should apply more coats of thinner consistency to achieve a better overall coat of paint.
Light Sanding
This stage almost seems counterproductive as you’re essentially scratching your freshly coated item but fear not as this is only supposed to be carried out lightly by hand to achieve a perfect base for the finishing coat to be applied to and adhere with no issues leaving the item perfectly painted.
This also allows the paint to spread evenly without leaving run marks or blotched patches of uneven paint on your freshly prepped item.
Paint. Sand, Prep, Repeat
As the title says: paint, sand, prepare, and then repeat! This is almost an optional stage as not all furniture may not need several coats.
Conclusion
As you can see, there is more to painting wood furniture than you may have thought initially.
With the most important steps being the cleaning and preparation of the furniture, it is always key to remember that poorly cleaned & unprepared furniture will always look noticeably different compared to furniture that has not.
Always allow plenty of dry time for all stages, especially the primer and final coat, to ensure the perfect finish on your freshly vitalized piece of furniture.


