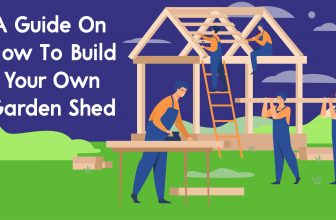
Contents
In this guide you will learn how to start woodworking; from the tools you need, to how to do your very first woodworking project!
Creating something with your own hands is one of the most satisfying feelings there is. Being able to step away from something that was once a piece of wood, but is now something beautiful, can be incredibly satisfying.
Even if the finished product isn’t perfect. The amount of time and energy put into the project will still make you proud of whatever you produce. And it won’t be long before your skills have improved. You will become a proper crafts person in no time.
To get you started, here are the basics that you need to know beforehand. So you can work out exactly how to make those planks of wood into something far more exciting.
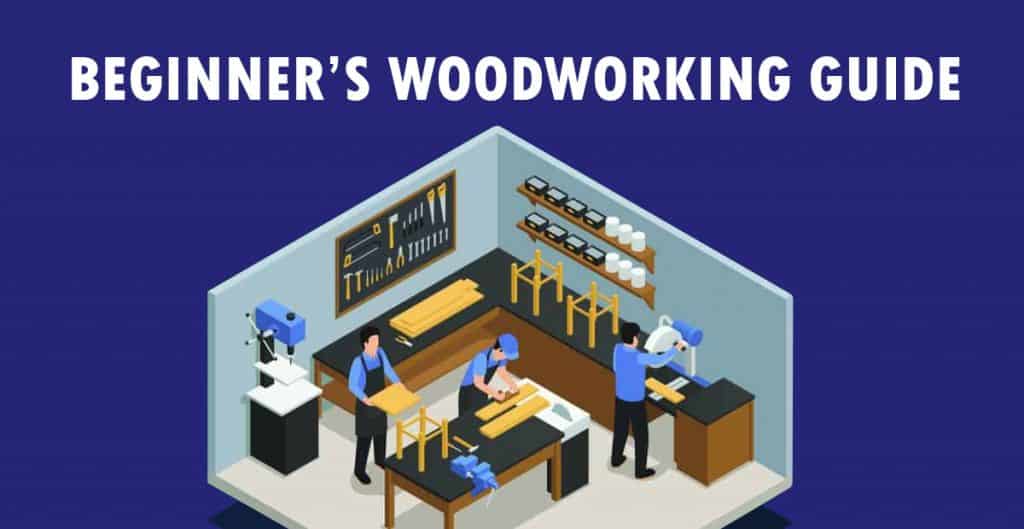
Things To Know Before You Start Woodworking
Starting woodworking can be a little overwhelming. Especially with all the tools and equipment, you will need. But before you even start looking at tools, there are a few jobs to knock off your to-do list.
Set Up A Simple Workplace
Having a dedicated workspace is very useful. Whether this is a permanent one that you can set up in your garage or shed. Or a temporary one on your kitchen table. Make sure to find a space that has a flat, supportive surface. Even if you are sure that you are pretty dexterous, it’s a good idea to use a surface that you won’t mind damaging.
Having a simple workspace free from clutter and unnecessary equipment is also important. You might not be working with anything too industrial. But woodworking can still be a dangerous hobby. So it’s important not to have anything that will crowd you, get in the way, or become a trip hazard. This will also allow you to focus and be less distracted.
Learn How to Use a Tape Measures
This might sound overly basic. But it is important to understand measurements precisely. Especially if you will be making something like a piece of furniture. As the pieces will need to fit together properly. Without an understanding of measurements, you run the risk of cutting the wood incorrectly. And the pieces will not match up and connect properly.
Learning how measurements are depicted on a tape measure is also important. And knowing how best to lay and use a tape measure properly is important as well.
Most tape measures have quite a lot of different lines for different measurements. And these can vary around the world. So make sure you buy a specific US tape measure. The longer black lines will usually be marked with numbers. These will be inches. In between these long lines will be smaller lines indicating, for example, ½ inch or ¼ inch. These will rarely be numbered. So you will need to count them.
Being able to read a tape measure means you will be able to follow instructions. And so use the tape measure to cut the wood to the right lengths and sizes. Without this understanding, things can go very wrong. Only a little math is needed for this. But it’s worth brushing up.
Understanding Wood Dimension & Type Of Woods
You will likely have heard the phrase “two by four” before in relation to wood. This is usually written as 2×4. This refers to the size of a plank of wood. But only to the thickness of the dimensions, rather than the length. So, a plank that is 2×4 is 2 inches wide and 4 inches thick. For reference, this is around 5cm by 10cm.
Understanding how wood measurements are displayed is very important. Especially when you’re buying wood at the hardware store or lumberyard. The vast majority of wood will be measured in feet (‘ or ft.) and inches (“).
However, the measurements are not always exactly accurate. For example, a 2×4 can in reality be smaller than an exact 2 inches by 4 inches. So it’s important to read the labels carefully and understand how measurements can vary.
Learn How To Select A Straight Wood
Finding perfectly straight wood can sometimes be difficult. This will vary depending on the kind of wood you’re working with. But wood will absorb water and warp over time. So the chances of the wood staying straight forever are slim.
Straight wood refers to the straightness of a plank of wood. It’s easy to assume that all planks of wood would be cut straight. But this isn’t always the case. Especially when you consider the shape of the trees it comes from.
The best straight wood is redwood. This is because it has straight wood grain. And also contains a chemical that stops it from warping and absorbing water. Redwood is an expensive wood. So it might not be the best option for a beginner. Other good options include cedar and fir.
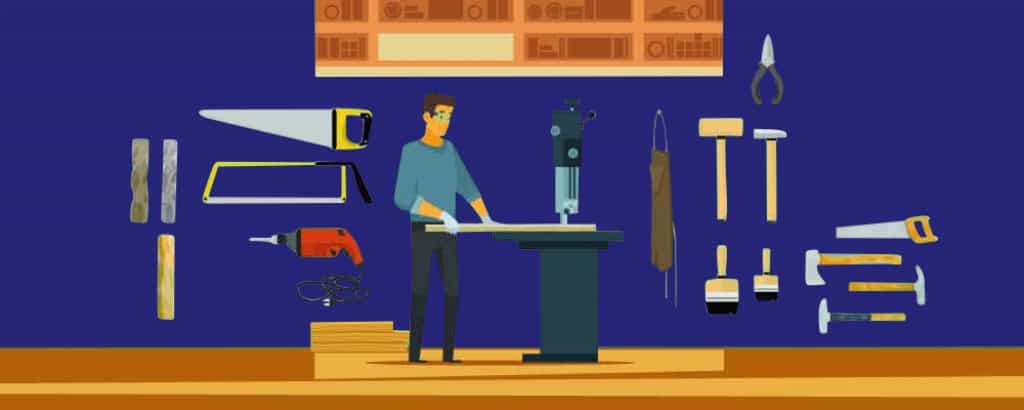
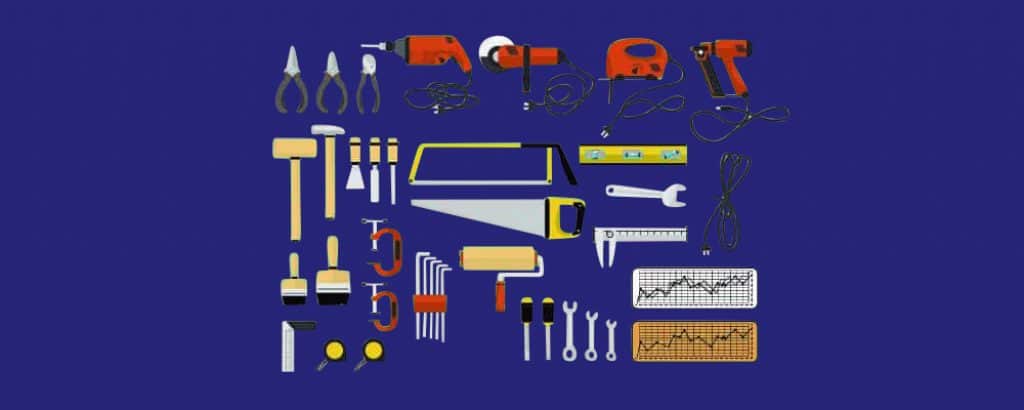
Filing, Planning & Sanding Supplies Used In Woodworking

Beginning woodworking doesn’t mean that you have to go to your local hardware store and buy up all their tools. It’s much better to buy tools as and when you need them. Or even borrow them from neighbors, friends, and family members. This is much more sustainable.
There will be some tools that will be required for only a small section of one project. And then never used again. So, before you get overwhelmed with the number of tools available, here is a breakdown of what each of the main tools does.
Planes
Planes look like complicated tools. But they are actually pretty simple. They essentially slice off small layers of wood. This is useful to thin out or smooth down a piece of wood. But it is different from sanding.
Sanding takes off very small pieces of wood. This is to smooth down the finished product. Instead, planes shave off pieces of wood. Planes vary depending on blade size and depth. Different planes will have different effects.
- Jack Plane
A jack plane is a general all-purpose plane. It is a “jack of all trades” plane. They are mostly used for dressing down timber. (This means customizing and shaping it.) Jack planes can be used for smoothing down flat or curved surfaces and edges. This is a good choice for a beginner. - Block Planes
Block planes are much smaller than jack planes. They can be used with only one hand. Whereas a jack place will require two hands. And has specific handles for this. Block planes are useful for working on smaller pieces of wood. Or smaller areas. For example, the joins of a piece of furniture. - Jointer Planes
Jointer planes are similar in shape and design to a jack plane. But they are usually larger, longer, and more coarse. Jointer planes are best for larger pieces of wood. It is possible to use a jack plane on larger, tougher pieces of wood. But this isn’t recommended. As it will be too small and difficult. - Rabbet PlanesRabbet planes are a very specific type of tool. They are used to add grooves into the wood. For example, if you have a kitchen cabinet with grooves creating a frame on the front, this has been made with a rabbet plane. This is the sort of tool which isn’t 100% necessary unless you often add grooves to your work. If you don’t and only want to do it for a specific project, then it’s worth renting or borrowing one.
- Scraper Planes
Scraper planes are very small planes. They can be similar in shape and style to the traditional jack plane. But they can also be shaped similarly to a flat head screwdriver. Scraper planes are used for removing very small amounts of wood. But they are more defined than a sander or sandpaper.
Scraper planes are used to create a very polished and smooth finish. This is often used for items such as kitchen cabinets. - Spokeshaves
Spokeshave planes are used for curved surfaces. Their name comes from their original use for smoothing wagon wheels. Spokeshaves are different from most other planes as the blade is in the middle. The handles are on either side of the blade. So they are used by pushing the plane forward. Some spokeshaves are very simple and traditional with a curved blade and two wooden handles on either side.
Orbital Sander
Planes are best suited for removing small slivers of wood. But if you want to smooth down the finish of a piece of wood, then a sander is a better option. Especially if the surface is much larger. Sanders will take off very small pieces of wood. Planes remove wood shavings. Whereas sanders remove wood dust.
Orbital sanders are a “jack of all trades” kind of sander. They can be square or round. But are most commonly circular. Some sanders rotate consistently. Whereas others, specifically random orbital sanders, move in more jagged and random circles.
Sanders is best suited for finishing off the wood before painting it. They are also useful if you are planning on painting or polishing the wood. Sanding the wood down will allow the primer, paint, and/or varnish to apply better.
Hand Files
Hand files are best suited for rounding down hard corners and edges. They usually have a wooden or plastic handle with a long thick piece of metal extending from it. This piece of metal will have grooves along with it that file down the wood.
These groves can vary in coarseness, length, and sharpness. Some files have flat pieces of metal. Whereas others are rounded. Unlike the larger tools, having a collection of hand files is a good idea. They will allow you to deftly change the type of filing you are doing. And allow you to work on more varied projects.
Assembly Tools For Woodworking

As well as the tools for refining and working on the wood itself, you will need additional tools for putting projects together. If you are working on a project that will be formed from only one piece of wood, then these tools might not be necessary. But several of them are useful tools to have for general DIY projects. So they are worth checking out.
Hammer
A hammer is an absolute must. Even if your project does not involve nails. Hammers can be used, of course, for hammering nails into wood. But they can also be used for forcing one piece of wood into another join.
They are also necessary for forcing wooden dowels into a piece of wood. These can usually be done with your hands. But a hammer will be necessary for bigger pieces of dowel. And a hammer will push a dowel in much further. This will make it much more secure.
There is no specific kind of “woodworking hammer”. But there are a few different kinds that you can consider. The most important factors to consider are the hammer’s ability to hit wood and to pry items out of it. But your choice should mostly come down to personal preference. Just head to your local hardware store and check out what they have in stock.
Mallet
If you already have a hammer, a mallet might seem unnecessary. But they are very useful tools. Mallets are much larger than hammers. They have a wider and thicker head than a hammer. And don’t have as specific a target.
Although mallets are much larger than hammers, they don’t deliver quite the same amount of force. This is because mallets aren’t quite as dense as hammers. And will absorb a lot more shock. Generally speaking, hammers are for delivering a lot of force in a concentrated area. Whereas mallets will deliver less force over a larger area.
For woodworking, mallets are useful for use with a chisel. You might be tempted to use your hammer for this. But it definitely isn’t recommended. Using a hammer on a chisel will deliver too much force. This means that you won’t have as much control over the chisel. And will likely dig a much deeper groove than you intended.
Although it is bigger, a mallet will provide a more consistent movement. And you won’t have to worry about accidentally missing the end of the chisel. As would be the issue with the smaller, heavier hammer.
Power Drill
Power drills aren’t an essential tool for woodworking. If you are making something small without any hinges or joins, then power tools (other than a sander) likely won’t be needed. But, if you are making something such as a kitchen cabinet, a chest of drawers, or any other kind of functional item, then a power drill could be a useful investment.
But, if you want to get something done efficiently, quickly, and neatly, then a power drill is your friend. They can seem quite powerful and a little scary at first. But, after a couple of tries, you will get the hang of it. And they will drill holes in seconds.
Screw Gun
A screw gun, as the name suggests, is a powerful tool that inserts screws into pieces of wood. This is a much faster and neater way than using a screwdriver. You also won’t have to worry about accidentally screwing the screw in at an awkward angle. As is often the case with screwdrivers.
Screw guns are a huge time-saving device. Especially if you will be working on pieces that require hinges, such as kitchen cabinets or doors. Screw guns are very similar in style to power drills. So, if you can handle a power drill, you can handle a screw gun.
That said, it’s still worth investing in a set of screwdrivers. They are useful for general DIY projects. But also for woodworking, especially when you’re working at a difficult angle. Screw guns are big and bulky. So, if you’re working at an awkward angle or in a corner, a screwdriver can sometimes be the best option.
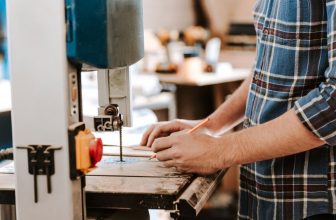
Saw
For most at-home woodworking projects, a handheld saw is all that is needed. Anything too industrial will be a huge investment. So it’s worth making sure that this is the hobby for you beforehand.
There are several different kinds of saws available. It’s a good idea to get a varied set from your local hardware store. Otherwise, the best for woodworking beginners is a hacksaw and a fret saw. There are other varied options. And others that are very similar. So, if you’re unsure, just ask for help at the store.
Tools For Measurement & Angles
So, now you have your wood, your woodworking tools, and everything for sanding and planning. Now you need to consider tools for measurement and angles. These are the kinds of tools that you are liable to forget about. But absolutely cannot do without.
Squares
Woodworking squares are used for measuring angles. Most woodworking squares are designed for measuring right angles. This is essential for most woodworking projects. But especially if you’re working on furniture or other pieces such as cabinets or doors. This is a very practical tool that is small and seems to have a simple purpose. But you will definitely notice when one hasn’t been used.
There are several different kinds of woodworking squares. These are:
- Bevel Squares
Bevel squares can vary in shape. But are generally small tools with wooden handles. From these handles, a piece of metal, similar to a rule, can be flipped out. This can be used to judge how straight a piece of wood is. As well as how accurate a corner is. - Combination Squares
Combination squares, as the name suggests, are quite complicated. A combination square is a ruler with several pieces attached. These pieces can be used for measuring distance and angles. As well as making marks on the wood. - Framing Squares
Framing squares are very simple tools. They are simply pieces of metal shaped like an “L”. They can be used to check out accurate a right angle is. - Miter Squares
Miter squares are very simple. A miter square has a very thin piece of rectangular metal. With a wooden handle directly in the middle. This can be used to check right angles and marking. - Speed Squares
Speed squares are similar to set squares used in geometry. They are triangular rulers. These have multiple uses. But are mostly used for checking angles, measuring, and marking. - Try Squares
A try square is one of the simplest squares. It is a piece of thin metal attached to a wooden handle. The metal is attached at an exact right angle. So it can be used to double-check the correctness of a right angle.
These squares allow you to quickly double-check angles. It’s not necessary to have every single one. But a right angle square, such as a try square, is a useful tool for a beginner.
Tape Measures
Tape measures are an absolutely essential tool. No matter how well you can judge size by eye, it’s next to impossible to get it 100% accurate. Tape measures are necessary whether you’re working on big or small pieces.
But they are especially useful for small sections. For example, when measuring the spacing for screw holes. These cannot be placed in the wrong place. And if they are, it’s difficult to fix. Especially if you’re only off by a ¼ inch or so.
Sawhorses
Sawhorses are practical and useful items. But they are also safety items. You will likely have seen photos and videos of people online who have used interesting ways to steady a plank. But these are incredibly dangerous. Even if you’re using an item other than a saw.
A sawhorse is adjustable and will keep the wood steady. This is incredibly important for safety reasons. But also makes sawing, and using other tools, much easier. Keeping the wood steady means that you will be able to make steadier and more accurate cuts and holes. So you will have a cleaner and more professional finish.
Workbench
As well as a sawhorse, a workbench is essential. This is essentially a very sturdy table. It will provide you with a supportive surface for chiseling, planning, and finishing. If you are working on a large piece of furniture, you might assume that you will spend a lot of time with it on the floor.
But this won’t necessarily be the case until you assemble it and finish it off. Even then, it will be easier to work on a workbench. As it will bring each separate piece, and the final finished product, up to a more manageable height.
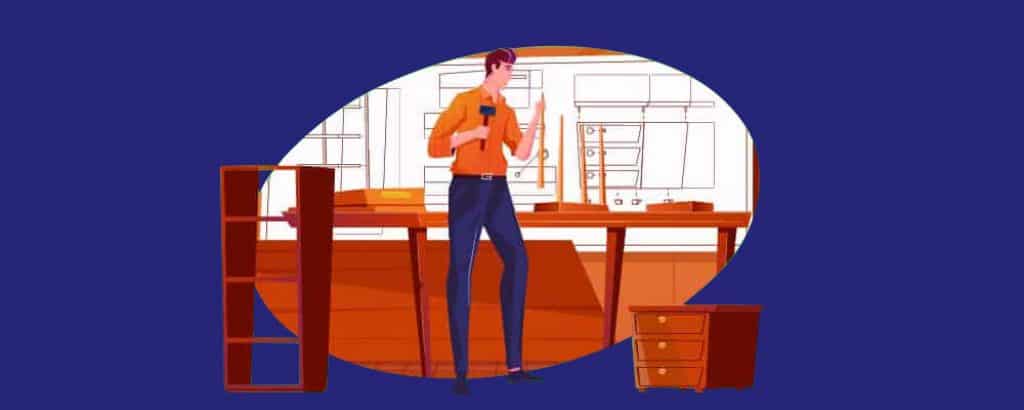
Easy Project To Do For The First-Timers – Making A Shoe Rack

Okay, so now you have everything you need to get started on a woodworking project. But what should that project be? If you have had an idea for a while, you might want to get started on that straight away. But, if you don’t yet feel ready to start on that special project, here is an easy one to practice on.
Materials
- 8ft Pine Wood Planks x 2
- 12ft Pine Wood Planks x 2
- Box of wood screws
- Paint or varnish of your choice
- Primer
Tools
- Drill
- Miter
- Saw Clamp
- Sander or sandpaper
- Microfiber cloth
Safety Materials
- Gloves
- Protective goggles
- Dust mask
Method
1. Put on Safety Equipment
This should be the first step for any woodworking project. Even if you’re only making something small for yourself. Woodworking requires the use of dangerous tools. Most of which will cause wood dust and shavings to fly around. So a mask, gloves, and goggles are all essential.
2. Draw Out Your Plans
Even for something as simple as a shoe rack, a plan is important. Even just a quick sketch can help you to keep track of what you’re doing. As well as keep in mind how the final product should look.
If you don’t feel confident drawing your own plans, you can take a look at our free woodworking plans.
3. Cut Wood to Size
Overall, you will need eight pieces of wood. Two need to be 12 and ¼ inches long. And four need to be 11 and ¼ inches long.
4. Build the Frame
Attach two of the 11 and ¼ inch long pieces together so that it makes an L shape. Secure them with screws and repeat on the other side. Then drill three equally spaced holes along the sides of the rack. This will be for the screws securing the shelves.
5. Build the Top Rack
Moving from the bottom upward, place each of the shelves parallel to the holes you just drilled. Then secure them with screws. And now you have the bones of your shoe rack finished.
6. Painting or Polishing
Now it’s time to decorate. Sand down the wood. Wipe any wood dust off with the cloth. Microfiber cloths are best as they will pick up almost every piece. If you are painting the shoe rack, make sure to apply the primer first and allow it to dry. If you are using a varnish or a polish, follow the instructions on the can.
Benefits Of Woodworking
Learning how to create things from wood is a useful skill. But it also has many other benefits. For both your physical and mental health.
Reduces Anxiety and Stress
Woodworking takes a great deal of focus and concentration. It is unuseful and unsafe for your mind to wander while working with tools such as saws, power drills, and hammers. So it’s important your work has your entire attention.
This can allow you to take your mind off the problems that are causing you stress and anxiety. Working with your hands and being creative can also be incredibly calming.
Helps You Stay Fit
Even if you’re only making something small, using a drill, saw, and most other tools takes strength. If you spend an hour or two working on your project, then you can definitely skip your workout that day.
It Will Give You a New Skill Set
Woodworking is an excellent hobby. But it is also a practical skill. Knowing how to build something by yourself, especially using power tools, hammers, and nails, will be useful for DIY. It can also help you to become more aware of space and shapes. As well as how things work together.
Woodworking can also help you to become more creative. This can be through decorating and painting a project. But also through carving designs into the wood. Or through coming up with your own projects and structures. You might even find yourself creating art, such as sculpture.
Improve Ability to Follow Methodology
When you first begin woodworking, you will need to follow a lot of instructions. This will be for projects themselves. But also for using the individual tools. This requires a great deal of reading and reading comprehension.
If you have children, you can get them involved with a project. Having them read out the instructions is a safe way for them to help out. And it helps them to improve their own literacy skills.
Improve Your Geometry Skills
Using a measuring tape and fitting together pieces of wood takes some understanding of geometry. If you can’t quite conceptualize numbers and measurements on a page, seeing them working in practice can be super helpful. Eventually, you will be able to understand them without even thinking about it.
Fine Motor Control
Working on smaller projects and using nails and small pieces can help refine your fine motor skills. There is also research that suggests woodworking (often with play tools) can help children with developing their fine motor skills.
Summary

When looking up woodworking projects, they can often seem as though they require a great deal of skill and talent. But this isn’t always the case. Take the shoe rack above for example. This is a super easy project that can be done super quickly. Eventually, more complicated projects will become easier.
Woodworking is a practical skill to have. But it also has a huge range of additional benefits. It is also just a fun hobby to get involved with. It is a skill that you will carry with you throughout your life. And can be a fun hobby and practical skill to pass onto your children and grandchildren.
There are few things more satisfying than looking at something you have made with your own hands. Especially if much of your everyday life, such as your work, requires you to be around a lot of technology. This is a great way to get away from the screen.


I've been building, renovating and restoring homes for years. Learn how I can help you with your next project. I love to create beautiful and functional products out of wood. My signature style is rustic and natural. I am also available to build custom pieces.