
Contents
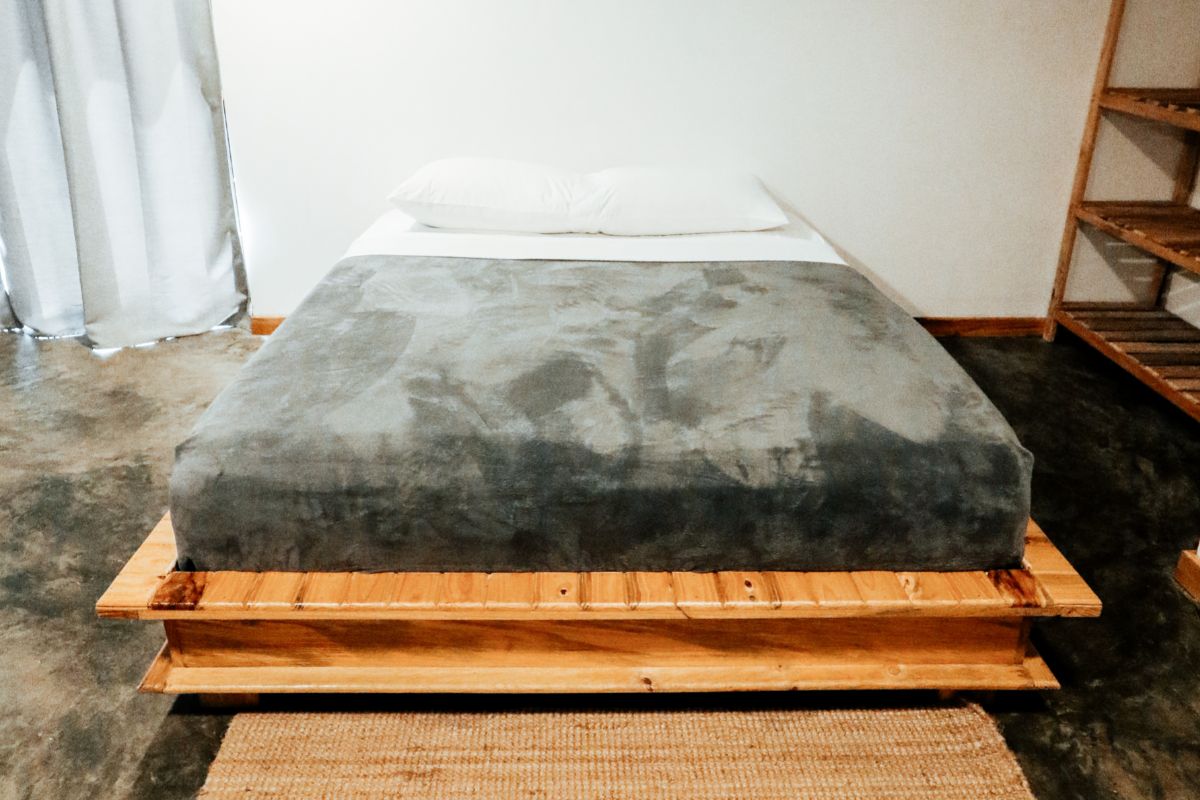
Beds are generally easy structures to make. A typical structure of a bed consists of just five different components.
This includes a footboard, two horizontal rails, a headboard, and wooden slats that are used to support the box spring.
However, there is no one set design for building your bed frame.
Depending on your personal preferences, style, design, wood, and budget, you can completely customize your bed frame to suit you.
Whether you are building a single bed, a double bed, or even a king-sized bed, each structure is generally the same.
Therefore, below, you will find a complete guide on how to build a basic queen-sized bed frame out of wood.
Best Material To Use?
The great thing about bed frames is that you can virtually use any type of wood, whether this is different species of hardwood or softwood.
However, hardwoods are stronger, more durable, and – as their name suggests – harder than softwoods.
Although, if you wish to buy softwood such as cedar or pine, you should consider cutting the wood thicker to accommodate the extra weight, making it more durable.
Plywood is perfectly suitable for creating the headboard or footboards; however, strong and reliable woods are best when constructing the main structural components of your bed.
Lumber And Materials You Will Need
Below you will find the lengths of lumber you will need to purchase and cut out.
- Four 2- 4-inch x 8-foot whitewood: cut out 40 ½-inch frame sides and four 13-inch center frame supports.
- Four 1- x 8-inch x 8-foot whitewood: cut out two 81-inch aprons (this is for the sides) and two 62.5-inch aprons (this is for head and foot).
- Four 2- x 4-inch x 10-foot lumber: cut out eight 58-inch cross frame members.
- One 1- x 4-inch x 8-foot white wood: cut out four 14 ½-inch legs (for the front and back).
- One 1- x 3-inch x 8-foot whitewood: cut out four 14 ½-inch legs (for the sides).
Materials you will need.
- (2) 5/16” x 4 Hex Bolts
- (5) 5/16” Carriage Bolt Black (3-pack) including nut and washer
- 2 5/16” Lock Washer
- (4) 5/16” Cut Washer
- 2 ½” Pocket-hole Screws (1-pack)
- (2) 5/16” Nut
- 1 ¼” Brad Nails (1-pack)
- Stain or Paint
- Wood Filler
- Sand Paper
- Brushes for painting or rags for staining
- Wood Glue
Step 1: Create Pocket Holes
To create pocket holes, collect all of the cut frame cross members and, using a sprocket hole jig for accuracy, drill two holes on each end of the pieces standing vertically.
Tip: To hide any screws, drill at an angle. Likewise, the thickness of the lumber determines the depth of the pocket holes.
Step 2: Create The Frame
- Lay the frame cross member to ensure that, from the frame sides, there is one on each end.
- Place the middle cross members to fit at 13 ½-inches and 27-inches on the frame.
- Screw the pieces together.
- Repeat steps for the other half of the frame.
- Line up the two long sides of the bed frame.
- Clamp these together, making sure that it is square.
- The center of the joined assemblies should be at 18-inches. Next, drill ⅜-inch holes to bolt these pieces together.
- With the conjoined pieces, insert the 5/16- x 4-inch bolt with the nut, cut washer, and lock washer.
- Place wood glue between the joined pieces, and tighten for extra security.
Tip: At this stage, transferring your project to a larger workspace or on the ground would be best.
Step 3: Attach The Aprons
- Make sure the frame is up to 2 ¼-inches off the ground.
- Using one of the side apron pieces, line it up even with the ends of the bed frame. There should be a 1 ½-inch overhang from the top edge.
- Clamp the pieces into place.
- Using a measurement of 3 ½-inches down from the top edge and 1 ½-inches from the overhang side, drill the bolts into place.
- Repeat this at measurements of 8-inches, 29-inches, 52 1/2 -inches, and 73-inches.
- Repeat to attach the other side apron.
- Line up the foot apron. This should be flush with the outside apron pieces.
- Clamp.
- From the top edge, drill holes for bolts ¾-inches down. Repeat at 8-inches, 31 ¼-inches, and 54 ½-inches measurements.
- Use wood glue. Then, place and tighten bolts.
- Repeat to attach the head apron.
Step 4: Attaching The Legs
- Once completed, flip the bed frame upside down.
- One at a time, align the legs with the end of the side apron.
- Use ⅜-inch carriage bolts, secure in place.
- Repeat to attach the back and front legs. The only difference with these is that they should be aligned flush with the face of the side legs and on the top of the apron.
- Along the corner joint, the 1x4s should be fastened and glued to each other.
Step 5: Attaching The Supports
- At 30 ½-inches, place the center supports onto the second and fourth cross-frame members.
- At 24-inches, place the center supports onto the middle cross-frame member.
- Use a speed square to ensure the supports and square with the bed frame.
- Add wood glue and secure in place with 2 ½-inch pocket hole screws.
- Each support needs 4 screws. These should be 3-inches long.
Step 6: Add Finishing Touches
- Sand everything down smoothly.
- Remove any sawdust with a wipe.
- Cover holes with pocket hole plugs.
- Paint or stain your bed frame.
- If making a headboard, attach this to the bed frame.
- Once everything is completed, move the bed frame into your bedroom and add your mattress.
Final Thoughts
Making a bed frame would be a great way to start if you’re looking to begin your DIY journey!
Whichever size you make, all beds follow a general structure; therefore, you can adapt this guide to suit your needs.
Hopefully, this article has informed you on how to make a bed frame out of wood.


