Contents
Wood awning frames are a great way of adding a feature piece to your outdoor space while also offering a shaded area for those summer months.

Buying a wooden frame can be pretty expensive, but anyone who has a bit of experience with DIY projects would easily be able to build their own.
Building the awning yourself gives you artistic license over what you create, the budget, and what materials you use.
This guide explains the simple steps you will need to follow to build your own gorgeous wooden awning frame in your backyard or outdoor space.
Find out everything you need to have and what you need to do to build your wood awning frame below!
Tools Needed
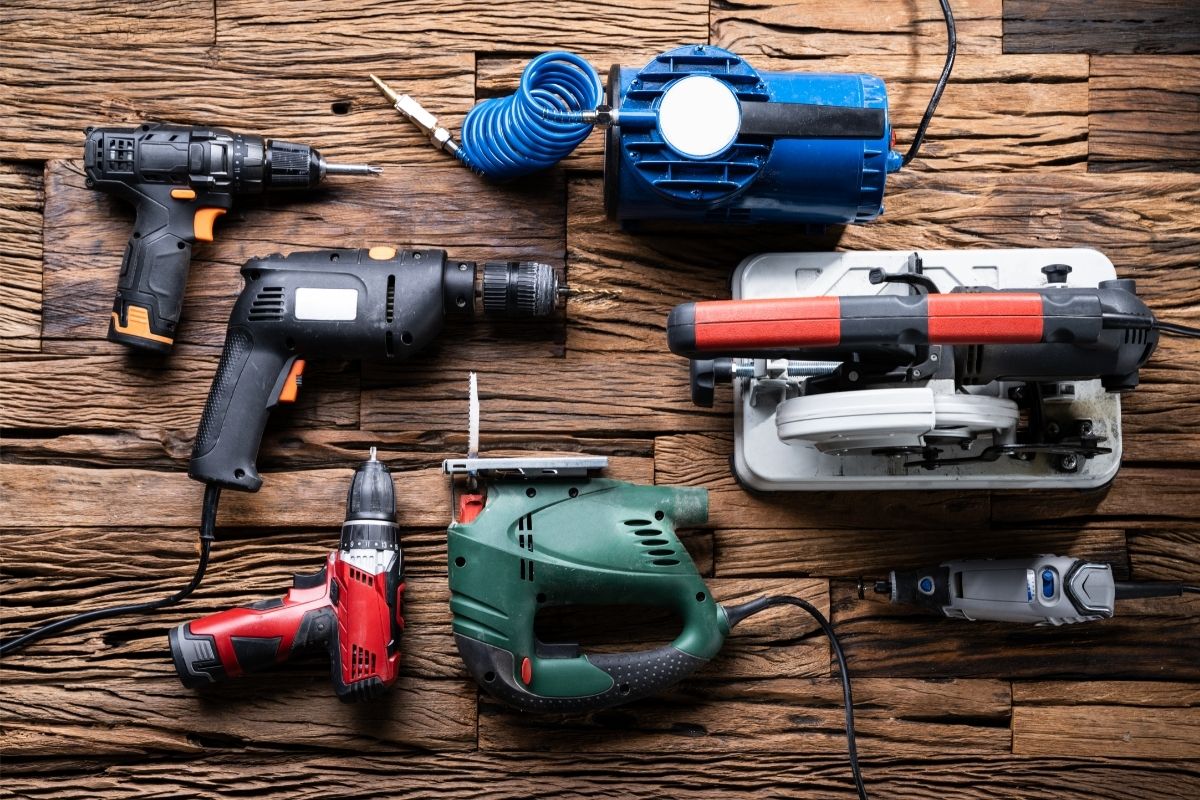
You need to use power tools to construct a wood awning frame. If you do not have these tools, consider borrowing them from a friend, as these tools can be an expensive purchase if you only plan to use them for this project.
You Will Need
- Carpenter’s Pencil (or regular pencil)
- Tape Measure
- Speed Square
- Framing Square
- Caulking Gun
- Spirit Level
- Impact Driver
- Power Drill
- Miter Saw
Materials Needed
These are the basic materials required to build a wood awning frame using the below steps. If you decide to add a roof, you will need additional materials for this.
You will need
- 4-inch Lag Bolts
- 6-inch Lag Bolts
- Exterior Caulking
- 2 ½-inch exterior grade structural screws
- 3-inch exterior grade structural screws
- Exterior grade 2×4 lumber in a wood of your choosing (pine, cedar, or redwood are the most commonly used)
- Exterior-grade wood filler (if required)
- Primer and paint
- Wood stain (dependent on your design)
Method
Now that you have everything that you need, let’s begin! This design will attach to the back of your house and will take approximately one to two days to complete.
1. Find The Wall Studs
One board of the awning will be attached to the back wall of your property, or whatever wall is closest to where you plan on placing it, as well as two diagonal braces. These pieces offer structural support, hence they need to be anchored to a wall.
Once you have located the wall studs, mark these on the siding using a pencil. If you want to check where the stud is, drill a little hole into the siding, the awning will cover this once it is secured.
2. Measure The Awning Width
The width of the awning will be influenced by the distance between the studs in your wall. Measure this distance to figure out what width the awning can be. Add an extra 3-inches to this measurement to attach the diagonal braces.
Next, measure the distance from your wall to how far the awning will extend. This will give you the measurement for the length the rafters should be.
3. Cut The Fascia Board & Ledger
You will need a miter saw to cut the fascia board and ledger. Use the saw to cut two 2x4s to the length the rafters should be – these are the ledger board and the fascia board.
4. Mark Out The Layout Of The Rafter And Cut
Rafters should be spaced approximately 24 inches apart. Subtract 1 ½-inches from the length of the ledger board, so the outside rafters are accommodated.
Divide this figure by 24; this will tell you how many rafters you’ll require inside. Round the sum up if it is not a whole number.
Divide the rafters by the sum that is the length of the ledger board; this will give you the measurement of what the distance between each rafter should be.
Using a tape measure, mark the distances between rafters on the ledger board. A speed square can be used to create a straight line.
Lay the fascia and ledger boards at their edges and switch the marks made on the ledger board to the fascia using a framing square. Next, mark the measurements of your wall studs in the middle of the ledger board.
Once these markings are complete, use a miter saw to cut the rafters to the right length.
5. Create Diagonal Braces
If you have gotten this far, you have done most of the hard work and mathematics!
Next, you need to create the diagonal braces. To do this, put one end of the rafter board next to the outer surface of the ledger board.
Take two 3-inch structural screws and screw these from behind the ledger board through and into the edge of the rafter. Then do the same step on the opposite end of the ledger board.
To further secure the rafters, you will take two 3-inch structural screws and drive them into the inside rafters that should be held flush with the markings on the ledger board.
Once you have the rafters securely in place, take the opposite end of the rafters and place them on the layout marks on the fascia board.
Screw two 3-inch structural screws by driving each one through the fascia and into the end of the two rafters.
6. Assemble Pieces
You will need help to complete this step.
Hold the frame’s ledger board on the wall where you will install the awning; ensure that the ledger board lines up with the stud marks on the wall.
Create a 4-inch-deep pilot hole through the ledger board and into the mark on the wall where a stud is located. Take an impact driver and drive a 4-inch lag bolt through the pilot hole.
Check that everything is level using a spirit level before repeating this process at the opposite end of the board. Lag bolts will be driven into the stud marks left inside the ledger board to secure the wall’s awning properly.
7. Hang And Secure
Taking the miter saw again, cut 45-degree angles on one end of the 2x4s. Take this piece of 2×4 and place one end under the awning and the other flush against the wall.
Screw into position for the best structural support using three 2 ⅓ inch structural screws into the brace (the piece of 2×4 you just cut) and into the rafter above.
Drill a pilot hole on the other side of the brace and into the wall stud; this hole should have a depth of 6 inches and should be drilled at a 45-degree angle, so the angle of the miter brace is accommodated.
Using an impact driver, screw a 6-inch lag bolt through the brace and into the wall. You will need to repeat this step on the opposite end of the awning.
8. Finishing Touches
If you plan to add a covering to the top of the awning, you should complete this step now. The process you will need to use will depend on which material you choose.
If there are any gaps between where the wall and ledger board meet, take a caulking gun and add a bead of caulk to fill this in. If you want to cover any screw heads that are exposed, you can cover them using an exterior-grade wood filler.
Some people choose to paint and prime the awning or use wood stain. This step should be done once the awning is hanging, as you will be able to see what it looks like and decide what color you would like it to be.
Congratulations, your wood awning frame is now complete!
Safety Considerations
There are several safety considerations that you will need to keep in mind both during the construction process and when deciding on your design.
Construction
During the build, you will be operating power tools. If you do not know how to properly handle power tools, such as a miter saw, then you should check safety instructions before use to prevent any accidents or injuries.
When using any tools, wear protective equipment, such as protective glasses and gloves.
When working with wood, splinters are likely to occur; wearing protective glasses and gloves can prevent the splinters from lodging in your eyes or hands.
It is also important to have a helping hand to hold the ladder steady when you need to use one. Not having a helping hand while using a ladder can have potentially deadly outcomes.
Design
If you have small children, consider the way the frame is being designed. Are there any sharp corners that could be a safety hazard?
Are there parts of the awning that could be potentially climbed? By bearing in mind these considerations, you will be able to build a very safe awning for your home or property.
Final Thoughts
We hope that this guide enables you to build and create your own dreamy wooden awning frame where you can sit out and look up at the stars from late on a summer’s night.
If you aren’t sure if you are up to this challenge, why not enlist the help of a few family members or friends?
Having help can make the final piece even more special as you will remember good times every time you look at the wood awning frame in your outdoor space.


