Contents
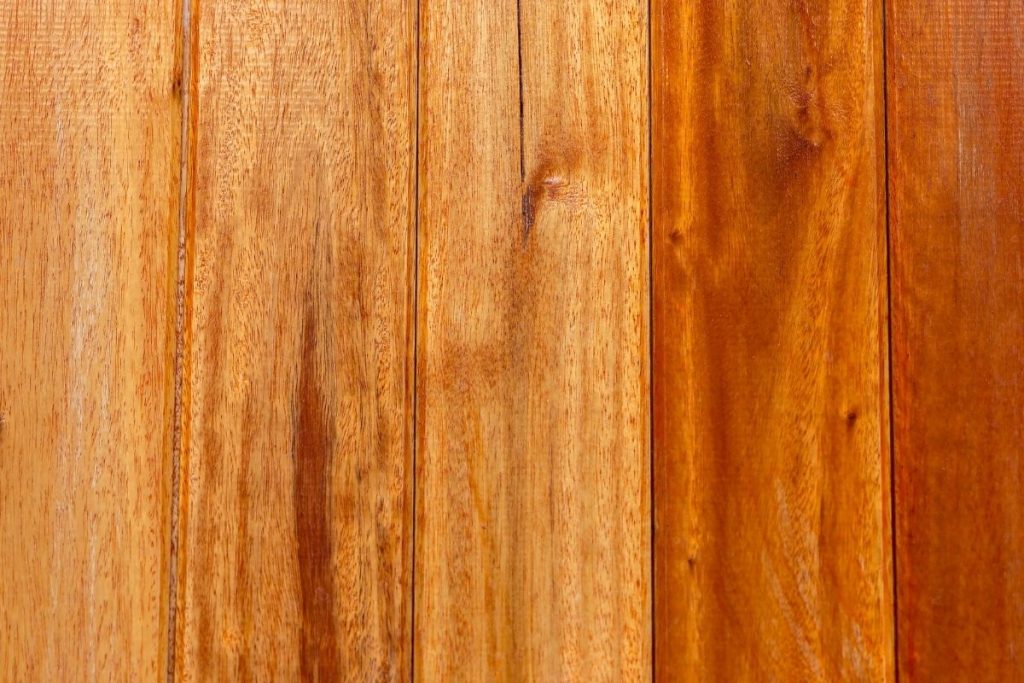
While the thought of painting can prove to be a headache for some, that pain only multiplies when the surface to be painted includes wood stain.
While this might seem like an issue at first, with the know-how and the patience, turning that old, wood-stained, and gnarly-looking piece of furniture into something fresh-looking will be worth it in the end.
So, instead of calling in the professionals to update those kitchen cupboards for you, save some money and add a lick of paint yourself by using these simple steps as your handy guide.
Is It Possible To Paint Over Stained Wood?
While it probably is not advisable to paint directly over stained wood, the honest answer is that it all depends on the condition of the wood, the type of stain, and what furniture item it is.
It also depends on your own skill level and what kind of time you have available. In this article, we shall look at how you can update a piece of furniture that has already been stained using an easy method that anyone can do.
Prepare to feel pretty proud of yourself!
Items You Will Need
Apart from the obvious items such as material to cover surfaces to keep them clean, and paintbrushes (or rollers), here are the things you will need to complete the job:
- 150 grit sandpaper – make sure you have plenty to hand, depending on the size of the project. You may get through more of these than you realize.
- Tack cloth – a great item to remove bits of debris and dust without leaving any lint behind.
- Wood filler – if you find you need to fill in holes, then wood filler will do the job for you.
- Primer – the perfect primer will help to seal the wood and give the paint a great base to work with.
- Paint – make sure you choose high-quality paint, but even if you do not, you will be sealing the layers in with a top coat to prevent chipping and general daily wear anyway.
- Topcoat – when choosing a topcoat, always go for a high-quality brand that you know. This will be the finishing touch that helps the wood and paint stay in excellent condition.
Pre-Preparation Of The Wood
If you are painting something like a cabinet or door frame, you may need to remove hardware such as knobs. This will make it much easier to work with the wood as these items will then not be in the way.
If you cannot remove them, then you will, unfortunately, have to deal with having them stuck in place. When you get around to painting, make sure you cover them up with tape as necessary in order to avoid making any marks on them.
Prepping The Wood

Because wood stains can be glossy, mostly due to having a top coat of varnish or sealant applied to it, it means the paint will not be able to adhere to the surface properly and instead come straight off or appear patchy.
Due to this very reason, the wood will need to be sanded down to create a rougher, yet smooth, surface. This very job is to remove the shiny gloss and to prepare the wood to be able to be painted.
Depending on the size of the item, this can be quite a big task, so be prepared to use a lot of elbow grease.
Whilst using 150 grit sandpaper, lightly buff away at the surface but do not get rid of too many layers. The end goal is to remove the gloss, not to get rid of the wood stain altogether.
Can You Prime Without Sanding?
Due to modern advances in primers, you can actually go straight to the priming stage if you use the correct type. Some allow for you to paint over a glossy surface to help paint stick.
If you want a perfect finish, then always sand the wood first to achieve great results.
Removing The Debris
Once you have finished sanding, there will be a lot of debris from the process stuck to the wooden item. This will need to be removed in order to achieve a smooth finished result, otherwise it will become bumpy.
There are a number of ways to remove the dust such as vacuuming it and then finishing it off by wiping the surfaces with a tack cloth, or just going straight in with a tack cloth.
Whichever way you choose, just remember to get rid of it all before moving on to the next step for a much cleaner finish.
Repairing Problems
If you find that there are quite a few indents, scratches, or nicks, now is a good time to sort them out. Wood filler is available at your local hardware store and is an easy option to use when it comes to filling in holes.
Once it is dry, sand it down so it looks as if it is part of the original wood and has a smooth appearance. The trick is to make sure it looks like wood filler was never used and that there was no indent in that particular place.
Just like before, use a tack cloth to remove the dust from sanding.
Priming The Wood
When you are choosing a primer, always go with either an oil-based primer or a shellac one. The former is great at protecting the wood, whilst the latter can help paint to adhere to a surface and cover up stains better.
Do keep in mind that if you are a vegan, shellac primer is not suitable to be used due to it being made from beetles.
Whichever one you decide to choose will ultimately depend on the condition of the original wood.
You can also use a water-based latex primer, but this is best if you are planning to use water-based paint over the top.
It does not matter how you apply the primer, so long as you can get an even coat. A roller might be great for a larger surface, but always use a brush for the edges.
If the primer fails to cover the original stain color, do not worry. Once you paint over the primer, it should be fully covered.
Remove The Excess
After a few hours when the primer is fully dry, use a tack cloth, not a paper towel, to remove any excess primer that might still be wet.
There should not be many, but it helps to thin out any areas you may have primed too thickly.
Painting The Wood
Once the primer is completely dry, you can move on to painting. If you plan to paint something such as a kitchen cabinet, then it is best to opt for latex paint due to it does not leave any odor to linger in the air for a few days.
If you need something more hardwearing, choose an oil-based paint. This will be great used anywhere that may have a high amount of foot traffic.
Just like with the primer, you can use a brush or a roller to apply the paint. In fact, you can even use spray paint if you wish to.
Make sure to wait at least 6 hours before each coat. If it is still not completely dry, even after 6 hours, wait longer – it needs to be dry!
Finishing Touches
This step is optional and is not needed if you have used high-quality paint, though do keep in mind that if you have applied up to six coats, you may want to seal it all in.
You can use a polyacrylic protective finish, or a top coat of polyurethane to add some extra protection to the wood, especially if people are likely to walk over it or use the item daily.
Final Words
Whilst at first you might have thought about hiring a professional to do the work, it is possible to do it yourself. If you have patience and the right attitude, as a DIYer you can achieve great results just by having the know-how.
Do not try and rush the job and make sure you pay attention to small details. It will likely take more than a day to complete, but it will be worth it in the end – plus, your wallet will thank you for it!


