Contents
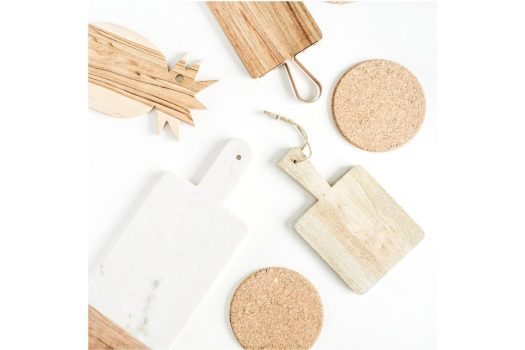
Whether you want to up your hosting game or you simply want to be able to add versatility to your weekly meals, a charcuterie board is one of the easiest ways to elevate your dining experience with carefully arranged cold-cooked meats, cheese, fruit, and more.
The only problem? Besides sometimes being costly, many people find that the charcuterie boards currently on the market simply aren’t big enough to fit all the various foods on top.
This leads many people to wonder if it’s possible to make a charcuterie out of wood.
In this article, we will show you how to make your very own charcuterie board from scratch! Easy and quick, you’ll only need a few supplies and some wood to make your very own DIY wooden board. So, whenever you’re ready, just read on!
How To Make A Charcuterie Board Out Of Wood: Step-by-Step Instructions
Follow the steps that we provide below to make your very own charcuterie board from scratch:
What You Will Need
To make your charcuterie board, you will need a few items alongside your wood. Check them out below to make sure that you have everything that you are going to need to be able to make your board before starting:
- Wood glue
- Mineral oil
- Clamps
- Sandpaper
- Coffee (grounded)
- 1×8 wooden board
- 1×3 wooden board
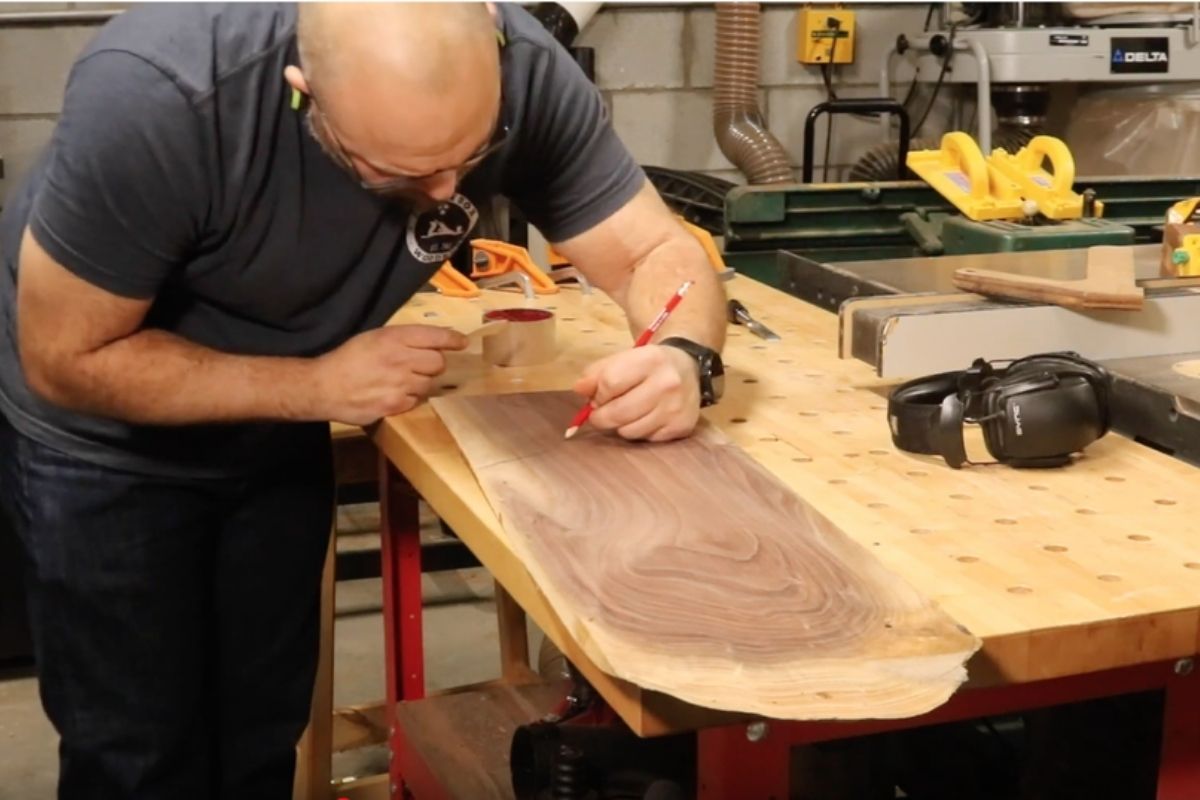
Step One: Cut The Boards
First, you’re going to want to begin by making sure that the wood has been cut to size. With a hand saw, carefully cut two 25” lengths of wood from your smaller wooden board, then carefully cut a 30” length of wood out of the bigger board.
Once you have done this, you should then proceed to lay the pieces of wood that you have cut side by side. By doing so, you will then be able to decide whether or not you need to make any further cuts to the handle and the mainboard.
Keep in mind that this is entirely up to you, and you are free to adjust the arrangement and aesthetics of the base of the board as you see fit.
As a side note, even though this step is relatively simple, if you do not feel confident using a saw, then we strongly recommend that you ask someone else if they would kindly do it for you.
In addition, it is also important to ensure that you are cutting your wooden boards in a spacious area to ensure that you can see your boards without any issues.
Step Two: Glue The Long Sections Together
After you have cut the boards, you will need to glue the two longer sections you sawed together. To do this, you will need to take your chosen wood glue and apply a few beads to either side.
As you are applying the glue to wood, keep in mind that you might need to apply more glue, as the surface of the wood is extremely porous and will most likely absorb the first layer of glue that you apply to the surface.
Once you have applied the glue and you are ready to glue the two longer sections together, you can then proceed to glue the two boards together.
Step Three: Clamp Boards Together And Allow To Dry Overnight
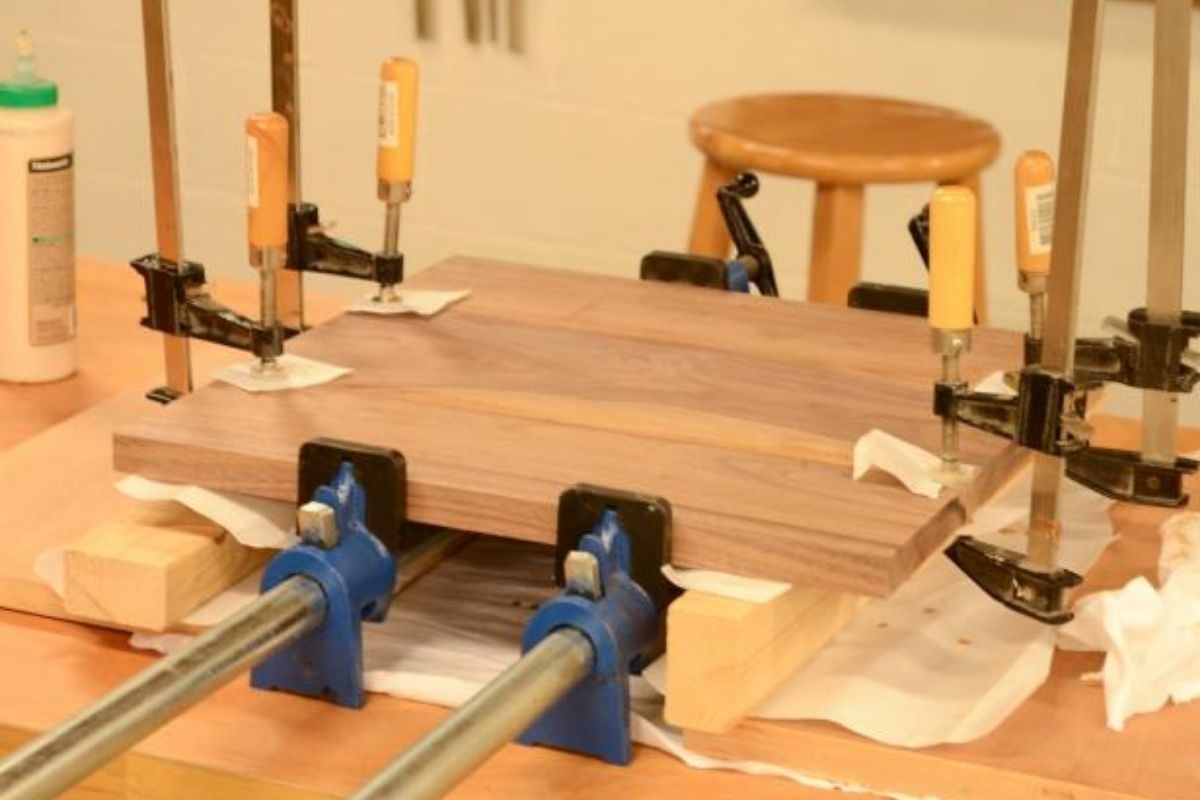
Once you have completed the step we have just outlined above, you will need to clamp the two boards together so that they can dry overnight.
After you have applied the glue, you should make sure that you immediately wipe away the excess glue that you can see that seeps through the two boards once they have been clamped up against each other.
Once you have done this and all of the excess glue has been wiped away, you will need to quickly check the two boards to see if you need to make any adjustments to the way that the two boards have been aligned.
If you need to make any changes, you should make the adjustments very quickly, as the glue you have applied will start to dry after a few minutes! So, you’re going to want to do this step quickly.
Step Four: Sand And Stain
After the glue has dried, you need to sand the wood board to make it nice and smooth. With your sandpaper (preferably, we recommend using 220-grit), you can make your wooden board extremely smooth in just a few minutes.
After doing this, you can take your ground coffee and mix it in with water. Then, you’ll need to simply work the coffee mixture across the top of your wooden board to your wood, an authentically rich and deep mahogany color.
Step Five: Condition
Last but certainly not least, the final step is to condition your board. Take your chosen wood conditioner and then massage it in circular motions across the surface of your board.
Once you have done this, you will need to leave the conditioner to seep into the wood, and then it will be ready for use!
Final Thoughts
There we have it! Hopefully, now that you have taken the time to read through our guide, you are now feeling confident to go ahead and make your very own charcuterie board from the comfort of your very own home!
Not only is this a more cost-effective way to enjoy delicious charcuterie food, but you can even use the wooden board that you made for other types of food, so you’re sure to get plenty of use out of it. Thanks for reading!


