Contents
Who doesn’t love shabby-chic furniture?
If you like having old and antique decor in your home, then learning how to distress furniture is a valuable skill.
Especially since adding new and more modern items is likely to stick out like a sore thumb with the rest of your furnishings.
This DIY technique is a way to ensure any newer additions to your home blend in seamlessly and effortlessly.
Throughout this article, we will go over exactly how you can distress your furniture and the different styles and ways you can do so.
Distressed Furniture Defined
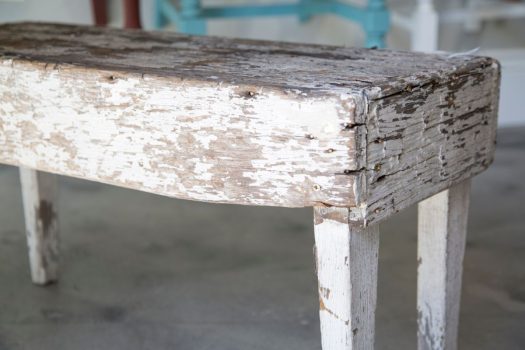
Distressed furniture is furnishings that are deliberately and intentionally damaged in a controlled manner to give the item a more rustic and antique appearance.
There are many different methods of furniture distressing.
Some can include sanding the item down, while others use paint strippers, and there are many more options too.
The intent is to create one-of-a-kind furniture with an older, more delicate look.
In most cases of furniture distress, you are looking at wooden items.
But you can distress many different materials too, such as concrete, metal, glass, stone, plastic, and plaster.
Styles Suited To Distressing
There are endless possibilities when it comes to customizing furniture, and so there are so many styles that suit distressing.
For example, I love the look of distressed wooden picture frames, making the photo inside seem super old-fashioned.
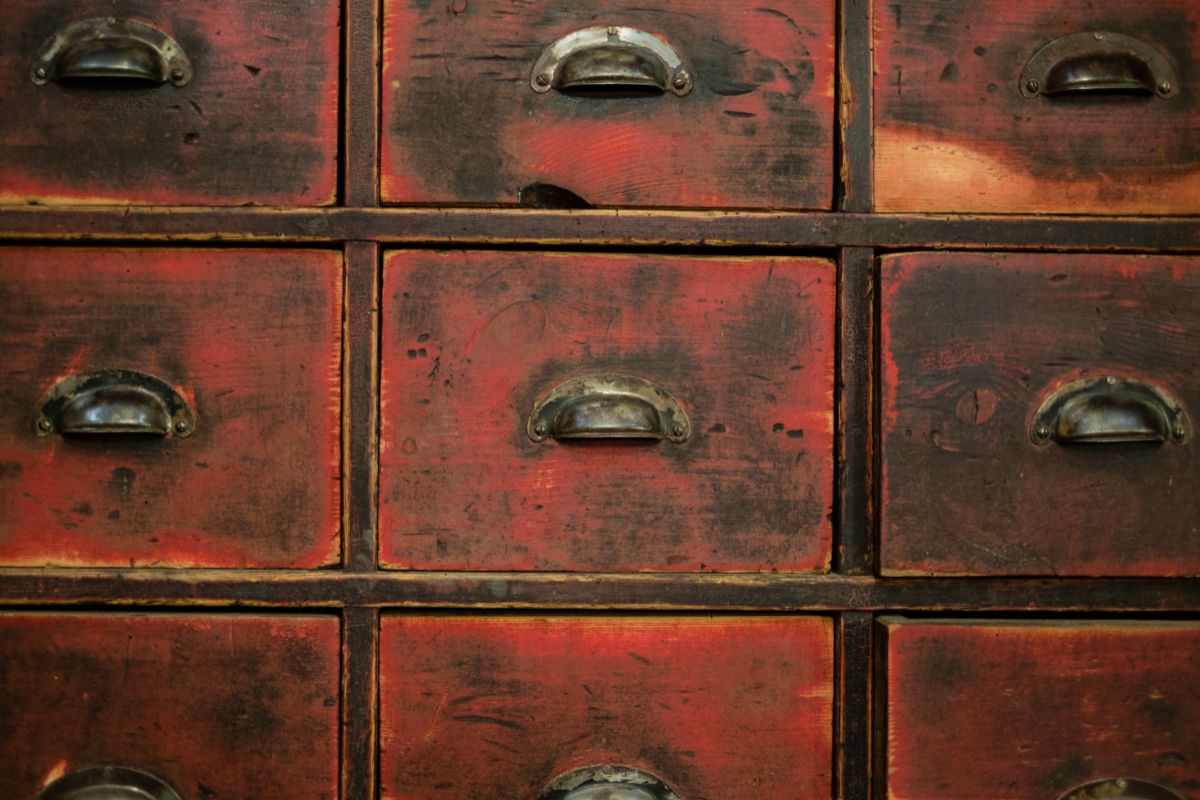
Distressed tables are a great setting for any rustic-themed kitchen.
Whether you’re looking for country farmhouse vibes or ancient antique rustic rooms, distressing furniture will add extra ambiance.
Some people like to decorate their whole home with a shabby-chic vibe, and some want just an antique-looking accent piece to stand out.
Whichever you choose, learning how to distress your furniture can massively improve a room’s decor.
How To Distress Furniture?
For those of you who are apprehensive, you’ll be pleased to learn that distressing furniture is a relatively simple DIY task.
No matter what technique you use, the first two steps will always be the same, prep your work area and clean and sand the surface.
However, from there, things can change depending on the final look that you are hoping for.
Preparing Your Work Area
Much like any project, before you jump in, you need to make sure that you are prepared to start.
The first thing I always do is lay down some tarp, a large cloth, or anything that will protect your floor.
Then place your furniture over your protective layer.
From here, using masking tape, you’ll need to tape off the part of the furnishing that you are distressing.
Cleaning And Sanding The Surface
Once your space is ready, it’s time to clean. I usually use Tri-Sodium Phosphate to get rid of all that dirt and grime.
Once you’ve fully wiped down the surface, you should fill any holes you can see and sand down any rough spots (that you don’t want.)
If you notice any metal stains, wood bleach works quite well.
Distressing Wood Via Damage
Although many distressing techniques require action after painting, I always find it productive to distress the surface before you start painting, especially when it comes to wood.
As for your options, you can either choose a wood that is already fairly ‘imperfect,’ or you can distress the wood yourself.
If you choose the latter, ensure that the wood will mar easily. Softer woods are pretty easy to distress with a trusty wire brush.
I usually attach the wire brush to a drill to make deeper grooves within the surface, but that’s down to preference.
You can also hit the wood with a chain or a rag full of sharp nails to create small yet deep indentations.
However, while this may sound like bundles of fun (which it can be), ensure that you are safe and careful while handling such objects.
Once you have the look you want, you can move on to painting.
Paint Your Piece
Now all that’s left to do is pick the color you desire and get ready to paint.
I recommend using a foam roller if you want a smooth paint layer.
If you want a more traditional paint look, you may prefer the standard traditional paintbrush.
Leave to dry and add extra coats as needed.
Adding Distressed Effects
There are many other ways to create distressed effects, and these include:
- Paint Stripper – If you have a painted piece, you can add paint stripper remover. Wipe it away before it soaks through all the layers of paint to get a weathering away paint look.
- Sandpaper – Scrubbing paint with sandpaper is another great way to get that slightly-battered furniture look. 180-grit sandpaper will work best, but you can get rougher if you want an aged look.
- Scraping – grabbing a scraper or a putty knife and scraping away dried paint will also help to give you that antique look on any furnishings.
- Wax – Dark wax works wonders if you want distressed furniture. It’s easy to apply and remove. Just wipe away with a clean, soft cloth.
Final Thoughts
As you can see, turning furniture into shabby chic antique-looking furniture is so simple and a fantastic way to get your decor looking great.
Whether you’re looking for a farmhouse and country or old and antique aesthetics, this technique will elevate your new furniture and help it blend in with your decor seamlessly.
Which process do you think will elevate your furnishings? Will you prefer damaging the wood with a chain?
Or maybe sanding it down with sandpaper? Or maybe using wax will be more your style?


