Contents
The main thing that you need to understand about butt joints is that they are all about simplicity. They are quick and simple to make, and with the right knowledge and skill, they can be quite strong too.
However, if you have never made a butt joint, you might have a few questions, such as, what is a butt joint? and how does it work?
In this article, we will look at everything you need to know in order to utilize this simple, yet effective joint in all of your wood projects.
What Is A Butt Joint?
The most important step in implementing butt joints into your woodwork and carpentry is to understand what exactly a butt joint is.
A butt joint is essentially a joint that is used to connect two pieces of wood, usually at an angle of 90 degrees to create a corner.
The technique that is used in creating a butt joint involves the butting of the end of one piece of wood up to the face of another piece of wood.
The resulting, corner-shaped join is then reinforced via various methods to ensure that it is strong and durable.
The reinforcement of butt joints is one of the most important aspects of them as, by themselves, they are not very strong at all.
Glue can often be used to help reinforce the joint, however, because the grain end of the wood is often used in the making of a butt joint, the glue is easily absorbed into the grain without bonding to the other piece of wood properly.
This means that other, more structural reinforcements are necessary to ensure that this type of joint remains strong and sturdy.
How To Make A Butt Joint
The basic butt joint is one of the most basic joints in woodwork, however, there are a few important things that should be noted and understood when making them.
Often, when making a butt joint, there isn’t a huge need for precision and neatness.
However, for the purpose of this guide, we will assume that more precision and effort are required to help you gain a full understanding of how a butt joint is made.
In order to make a butt joint, you will need some basic tools and resources. The main components of a butt joint are the two pieces of wood.
In addition to these, you will need a tape measure, pencil, wood glue, a hammer and nails or screws, a power drill, and a saw.
The saw can either be a hand saw, table saw, miter, or circular saw, whichever you prefer to work with.
Measure The Wood
The first step in making a butt joint is to measure the wood properly. The age-old saying measure twice, cut once is true with butt joints.
Measure the desired length of the wood with the tape measure and create a small mark where you intend to cut with the pencil.
It never hurts to double-check your measurements to ensure that they are correct.
If you cut too short, you will need a new piece of wood, but if you cut too long you will simply have to spend time making a second cut.
You should align your speed square with the mark that you made and draw a straight line across the board. You should also draw an “X” on the waste side of the board to help identify it when you are cutting.
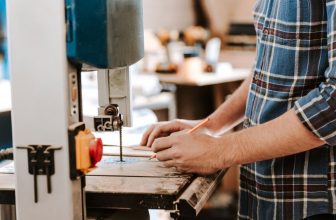
Cut The Wood To Length
The strength of a butt joint lies in how squarely it has been cut. The more square the cut, the stronger it will be.
The easiest way to achieve this is with a miter saw that has been set to 90 degrees, although it is possible to cut a butt joint with a different type of saw that you prefer and it will still be strong.
Cut the board along the line that you drew, ensuring that the blade stays on the waste side of the line rather than the side that you will be using.
This helps avoid accidentally cutting your board slightly too short and where the “X” that you made earlier comes in handy. Remember to cut as squarely as possible.
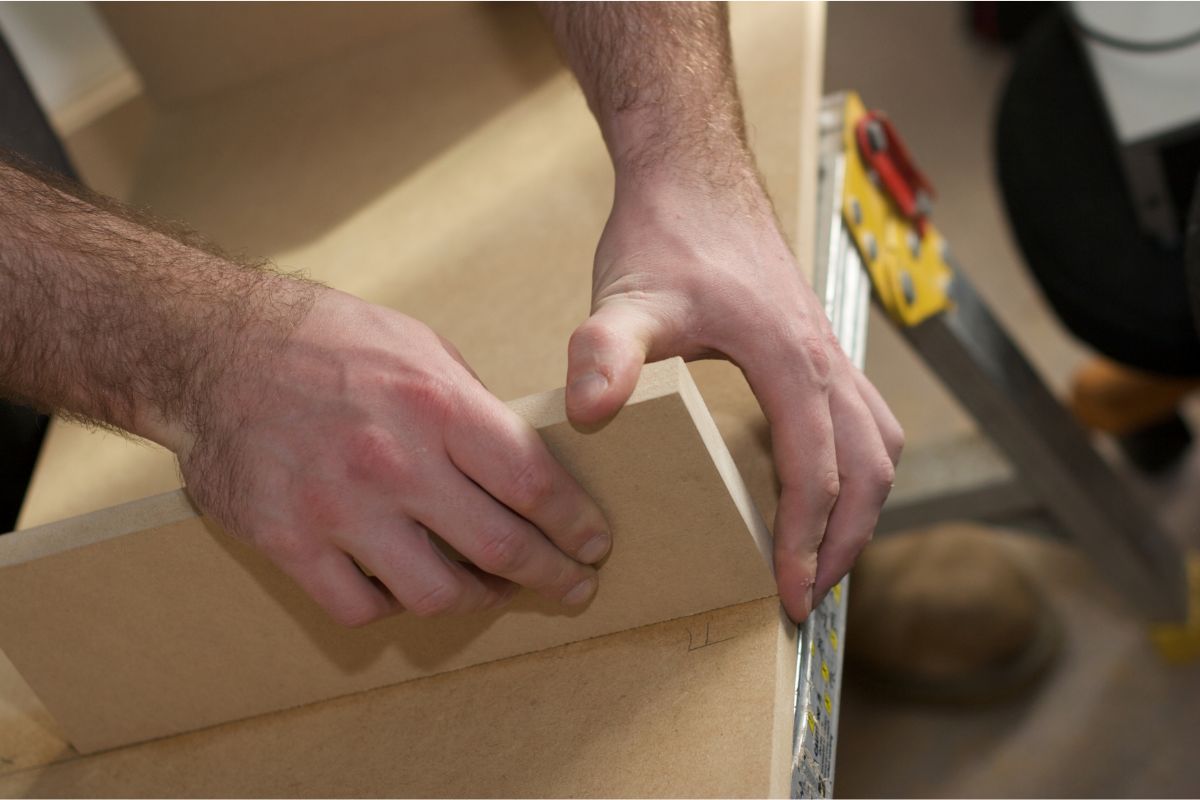
Dry Fit The Boards And Drill
You should place the end of the board you just cut against the face of the other board at the point where the butt joint will be.
Using the pencil, draw a reference mark across the edges of both pieces. This will make alignment easier.
Take your power drill and use a drill bit that is of a slightly smaller diameter than the screws or nails that you are using.
You should drill through the face of one board and into the end of the other board in two spots. This can help prevent splitting from occurring in certain types of wood.
Apply Glue
Apply some wood glue to the end of the board that will be butting against the face of the other board. Remember that the end grain of the wood will soak up a lot of the glue.
Therefore, you shouldn’t be afraid to be overly generous with the amount of glue that you use. Excess glue can be cleaned up, however, insufficient glue will result in a weakened joint.
Butt The Wood Together
Assemble the pieces of wood so that the reference marks that you made earlier are fully aligned. Some of the glue will likely be squeezed over the edges. You should wipe this away with a damp cloth.
Fasten The Joint
Because the glue is likely not strong enough to hold the joint by itself, it is necessary to reinforce the joint. Simply drive a couple of nails or screws through the holes that you drilled earlier.
Remove any excess glue that has come out of the edges and allow it to dry. To reinforce further, you can add gussets or brackets to the joints.
Final Thoughts
Butt joints are one of the most useful and basic joints that you can learn in woodwork and carpentry and can come in handy in many projects.
With this guide, you can make strong, durable butt joints whenever you need to.