Contents
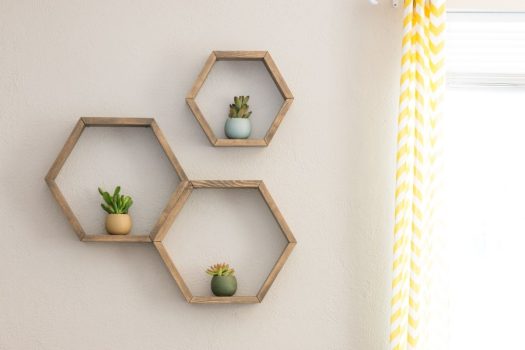
Floating shelves are great for adding extra storage space or uniquely displaying items. They also look cool and have a seamless quality to them.
Traditionally, they are usually made from wood or plastic and come in various shapes and sizes.
Floating shelves are often used in kitchens, bathrooms, and bedrooms. You can store a number of items on them. Consequently, they are very versatile and can be easily customized.
In fact, you do not need to be concerned about them clashing with your home’s decor.
In these easy-to-follow instructions, we show you how to build floating shelves. Though they may seem intimidating, it can be easy to build these storage solutions when you break them down.
What Are Floating Shelves?
For those that are unfamiliar with them, floating shelves are basically shelves that float above the floor.
This is often achieved by using special brackets that attach to the wall and securely hold the shelf. The brackets are then attached to the wall with screws.
This creates the illusion that they are unsupported, resulting in them having the moniker “floating shelves.” There are other methods of hanging these shelves.
Equipment
To conduct these instructions, you will need the following materials:
Measuring Tape
Found in hardware shops, this will be an essential item.
A Pencil
This stationary essential will be used for increased accuracy.
Wood
There are tons of different woods that can be used for shelving. This means that you can find a variety that works best for your budget. Among them are pine, mahogany, cherry, and walnut.
Sandpaper
This can be found online or in hardware stores. 120 or 150-grit sandpaper will be preferable. The sandpaper will neaten the shelves.
A Saw
To cut wood, a saw will be used. A hand or power saw can be utilized.
Paint (Optional)
If you want to blend the shelves into your wall, you may want to paint them. Be sure to use paint that is designed for wood. Avoid paint if you prefer a natural wood finish.
A Drill
To secure the brackets to the wall, a drill will be needed. It should be capable of drilling through metal as well as wood.
Drill Bits
Drill bits come in many varieties. Some are meant for wood while others are meant for other materials. You will need ones that are designed for wood.
Brackets
These are the pieces that will help support the shelves. They can be purchased at any hardware store.
A Spirit Level
For added stability, you may want to add one to your set.
Instructions
Step 1: Materials Needed
The first thing you will need to get started is to assemble your tools and supplies. For more information on this, read the “Equipment” section above.
Step 2: Shape the Shelves
Next, you will need to create the shelves. To do this, obtain a piece of wood and trim it to your preferred size with a saw.
The shelves can be as big or small as you want, though they should be fairly thick to give them additional strength.
If you do not want to make your shelves, you can always purchase them online. Use 150 or 120-grit sandpaper to neaten the edges of the shelves, making them nice and smooth.
Step 3: Decoration
If you would like to add some design elements to your shelves, you can paint them now. For instance, you may want to paint them a similar color to the wall. If you want a more vibrant look, you may want to choose a contrasting color.
Or, you could even stain them. It is up to you whether you prefer the natural wood look or a more slick shelf. A good aspect of decorating the shelves yourself is that it creates a more customized and unique aesthetic.
Step 4: Measurements
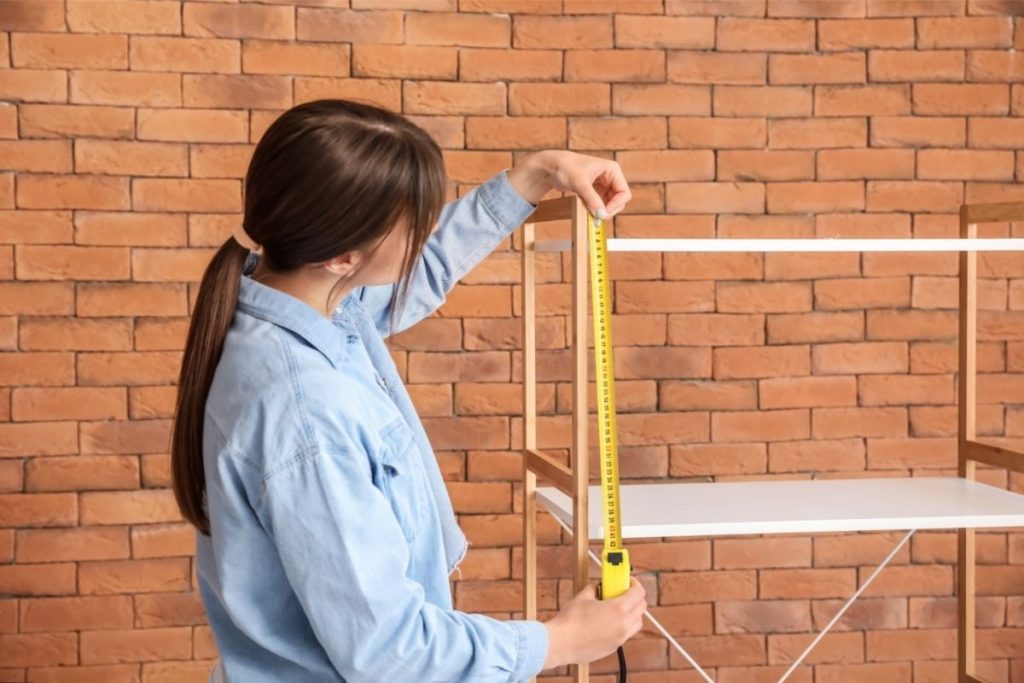
Make markings on the wall of where you want the support brackets to go. Using a measuring tape, ensure that the brackets are evenly distributed.
This means that they will have equal distances between them. The larger the shelf is, the more brackets you will need to use.
Step 5: Prepare The Wood
With a pencil and measuring tape, mark the wood with the locations of the brackets.
Then, using a drill bit, create holes on the side of the wood where it can be attached to the brackets. If you are a novice, you may want to try drilling test holes into the wood first with a smaller drill bit.
Otherwise, there will be a minimal margin for error. Be sure to drill holes that are substantial enough for the brackets to fit inside but are not so loose that they feel slack.
Step 6: Attach The Brackets
Once you have drilled all the holes into the wall, screw the brackets in place. Ensure that the screws are placed at least half an inch apart so that the shelf does not move while it is being supported.
Turn the brackets into the prepared holes until they feel in place. If you are worried about the shelf not being straight, use a spirit level.
Step 7: Setting Your Shelves
Using the holes that you drilled into the side of the wood, put the shelf in place. The brackets should go firmly into the holes.
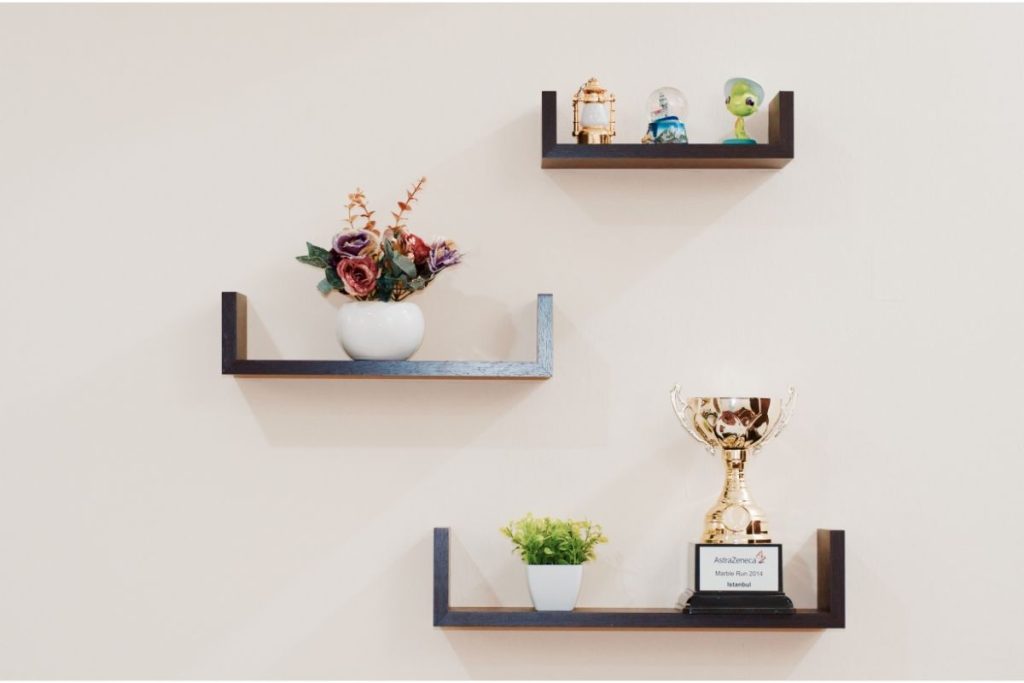
Step 8: Seamless Storage
To finish off the project, you can either leave the shelves as they are or apply some finishing touches. Be sure to hang plenty of items on these shelves.
Alternative Method
If these instructions do not appeal to you, you can also install cleats. These wooden pieces will allow you to hang these shelves on the wall.
Though this is a highly effective solution, it requires more craftsmanship than the method above. Therefore, you should only pursue it if you are skilled with wood.
Frequently Asked Questions
Is It Cheaper To Make Your Own Shelves?
Often, it can be to make your own shelves. On the other hand, it will depend on how much you spend on materials.
If you buy expensive wood and other high-end products, your budget will be much higher. Consequently, you may need to set aside a budget so that you do not overspend on this endeavor.
How Much Weight Can Floating Shelves Hold?
Again, this will depend on factors such as the strength of the wood, the number of brackets you have used, and the size of the shelves.
As a general rule, a shelf will be able to hold 50 lbs per bracket used. Please bear in mind that this is a rough guide.
Final Thoughts
These floating shelves are a great way to keep things organized. They are easy to construct and can be made from any type of material. You can use them to store books, toys, clothes, or anything else that needs to be kept off the floor.
We hope that these instructions will have made the process much smoother, allowing your house to be the domestic space of your dreams.


How about showing people what the brackets at least look like so they know there the correct ones to buy .Very poorly written and next to no instructions