Contents
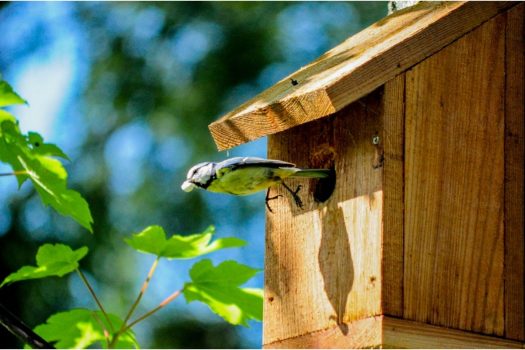
Birds do a lot for our environment and ecosystem worldwide. From dispersing seeds in their droppings to pollinating plants and providing effective pest control, birds are partly responsible for nature continuing to thrive.
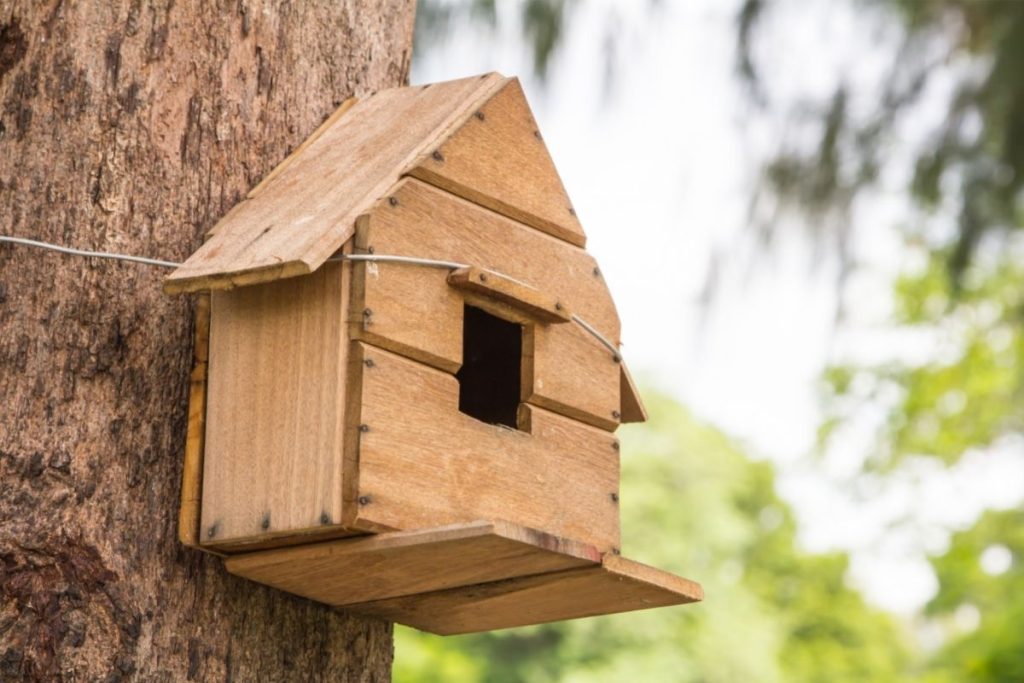
If you’re wondering what you can do to give back to the birds in your garden, you could try building a birdhouse!
Of course, you can buy pre-made birdhouses online or at your local garden center. Here’s an affordable one that you can find on Amazon.
However, there are also many simple birdhouse plans that you can follow using affordable materials.
Not only might this save you money, but it will give you a new woodworking project to try!
In today’s article, we will be walking you through how to build a birdhouse as a beginner woodworker. Hopefully, both you and your local bird community will benefit from this fun project.

Building A Birdhouse: Step by Step
1. Source Your Materials
You can’t make a DIY birdhouse until you have the right materials, tools, and hardware for the job. Therefore, the first step is to purchase everything you need.
The most important thing is the wood you will use to make your birdhouse. It should be about 1 inch thick, 8 inches in width, and approximately 8 feet in length. Unpainted cypress or cedar wood is best.
You’ll also need some galvanized screws, wood glue, C-clamps, and a drill. It’s also helpful to have a saw you can use to cut the wood into smaller pieces. A bandsaw will work most effectively.
If you don’t have a saw and can’t get one, ask employees at your nearest hardware store if they can pre-cut the wood for you using the dimensions outlined in the next step.
2. Cut Your Wood
Your larger length of wood will need to be cut into smaller pieces to make the walls, floor, and roof panels of your birdhouse.
You’ll need two pieces of wood measuring 3.5 x 4 inches to make the walls on the sides of the birdhouse. You will then need to cut a 3.25 x 5-inch piece for the floor.
For the right-hand side of the roof, the piece of wood should measure 7 x 4.75 inches, while the left side should be slightly larger at 7 x 5.5 inches. Finally, cut your pieces for the remaining walls. They will be 8 x 5 inches.
In the piece that will be your front-facing wall, drill a hole no less than 1 inch and no more than 3 inches in circumference. This will be the door to the birdhouse.
Don’t forget to sand the edges of the hole with fine-grit sandpaper to make sure it’s safe for the birds!
3. Painting And Staining
Since you will have bought unpainted wood, you’ll need to paint or stain the wooden pieces before assembling the birdhouse.
As tempting as it might be, try to avoid very bright colors as these can be alarming for birds. Make sure that you only paint the sides that will be outside the birdhouse, otherwise, the birds may accidentally ingest the paint.
4. Glue The Walls
Take your wood glue and connect all four walls of the birdhouse. The door should be facing forwards, and the painted sides should be facing out. If you’re using untreated wood, make the untreated sides face inward.
Once you’ve applied the glue, use your C-clamps to press the edges tightly together while the glue dries.
5. Attach The Floor
Instead of attaching the floor of the birdhouse with glue, you’ll want to use screws. This is so that you can remove the bottom of the birdhouse as needed to clean it.
Using a drill or screwdriver, put a screw in each corner of the floor panel and tighten until the floor is secure.
6. Glue The Roof Panels
Take the two pieces of your birdhouse’s roof and attach them at a 90-degree angle. There should be a slight overlap, with the longer piece protruding slightly over, the shorter piece.
Glue the two halves of the roof together and use your clamps to hold them in place during the drying process. Then, glue the roof onto the walls of the birdhouse.
7. Secure The Roof Panels
You’ll want to make sure that your roof panels are very securely fastened, so we recommend attaching them with screws as well as glue.
Make sure that your screws are aligned with all four walls before using a screwdriver or drill to drive them into the wood.
8. Choose Your Location
Now your birdhouse should be ready to use! However, your work is not done. You also need to put time and thought into deciding where you will put your birdhouse.
It’s best to have the door to the birdhouse facing East so that the birds can enjoy natural sunlight in the morning and won’t overheat in the afternoon. The birdhouse should sit about 5 feet off the ground to be out of reach for most predators.
It will need to be attached to something sturdy like a metal pole or the side of your home.
It is not advisable to hang birdhouses from trees, but some other form of shelter like an awning will help to protect the birds from bad weather.
Frequently Asked Questions
What Food Should I Put In My Birdhouse?
You can try putting various types of food in your birdhouse to see what the birds prefer. Birds typically enjoy seeds, peanuts, and worms such as waxworms and mealworms.
You can buy mixed bags of these foods online. You should also ensure that freshwater is available in your birdhouse.
Can I Nail A Birdhouse To A Tree?
Please do not nail your birdhouse to a tree. This may seem like an excellent, natural location, but putting a nail in a tree can damage the tree and cause it to rot.
Should A Birdhouse Have A Perch?
We recommend against putting a perch in or on your birdhouse. Birds don’t actually need these perches and they may make it easier for predatory birds and other animals to prey on your feathery visitors.
Summary
Building a birdhouse from scratch is easy in a few simple steps! Just make sure to purchase unpainted wood and ask for it to be cut to size if you are unable to do this yourself.
Remember to screw the roof and floor of your birdhouse in place rather than relying on glue since this will make it stronger and easier to clean.
Mount your birdhouse somewhere secure and East-facing, and avoid hanging it from or nailing it to any trees as this could be damaging or unsafe.


