Contents
Artisanal or reclaimed wood can be expensive if bought from a retailer, and finding it in this state can be even more complicated, and that’s not including the costly wood that comes with premium outlets, as, in time, this can run into a significant investment.
If you want a homier or natural-looking decor, you can age wood in a way that matches any interior you decide to use it with, but this might sound like too much effort for some, but you might be surprised how easy this is to do.
Below you can find a guide on how you can age and distress your wood with a few tools and techniques that are easy to pick up and master, so you can have pieces in your home that you can be proud of.
First Of All, Pick Out The Wood
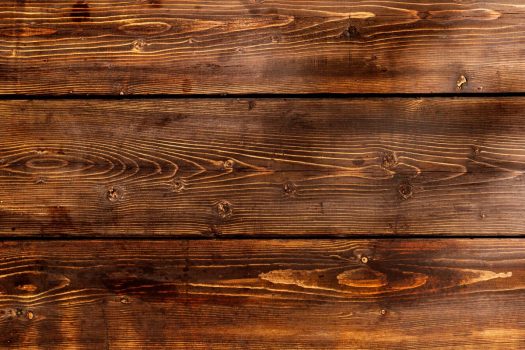
You want to start by finding wood that is optimal for this process, and in general, softwoods are easier to mechanically or physically distress, so ones like pine, cedar, rosewood, or hemlock work well as they also react well to liquid distressing, as they have an open cellular structure.
These work well as they also come in forms that have superficial damage and knots when you obtain them, which adds to the look and could make your job easier, but you can buy reclaimed wood on its own that looks weathered but can come at a higher cost.
Tools You’ll Need
The tools you use can affect the finish you get, so it will be essential to ensure you have the right gear and equipment, and depending on how you use them, they can create the best distressed look you’re looking for.
These tools include:
- Sandpaper or sander
- Paintbrush, paste wax, or polyurethane
- A chain, nails, saw blade, or nail set
- Hot water, rags, chip brush, spay bottle, steelwool, and plastic gloves
- White vinegar, paints, stains, and varnish, if desired
Start By Removing The Old Finish
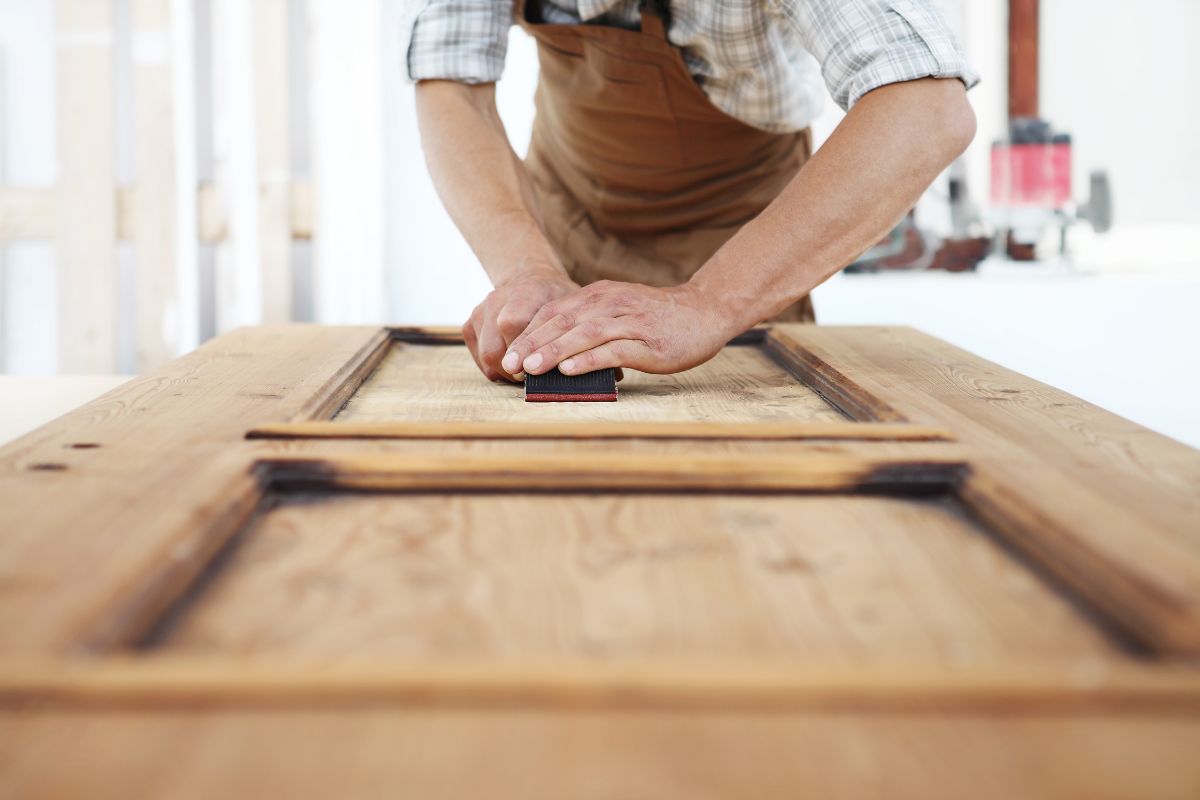
Before you start chipping away at your wood surface, you want to remove the old finish by using sandpaper, as any solution you use at this stage won’t have an effect or adhere to the wood.
Start by removing the coat of paint using an 80-grit sandpaper and sand along the grain of the wood, and as this layer comes off, move to a medium grit sandpaper, then finish with a 220-grit, where you can then add your vinegar solution as a varnish if needed.
How To Make Wood Look Worn And Aged
However, you might want to go further, so you can find wood outside that looks worn from weather, insects, and general wear and tear that you’d like to replicate, so before you use your tools on this wood, test them out on other scrap pieces so see what the finish looks like.
Once you’re happy and proficient with these tools, you can hit the wood lightly with a chain on various places to create low dents, and you can make other types of marks with the side of a hammer, but be sure not to be too tough to avoid any severe cracking or distortion.
Now you can use a sander to round off any edges or corners, and you can make small grooves if you tilt the sander in sparing amounts, and this works to give you that aged wood as naturally aged wood is rare to find with precise corners and edges.
How To Age Wood Even Further
We mentioned screws and screwsets on the list, and here is where you can use them, so you want to find sharp nails that you can tap into the wood in various spots to give the effect of insect activity, which is another mark of aged wood.
Be sure to tap them finely with a hammer and not to go too hard; otherwise, you’ll end up with marks that show the mark of the nail exactly, which may not be the finish your looking for and doesn’t really look natural.
How To Age Wood With Liquids
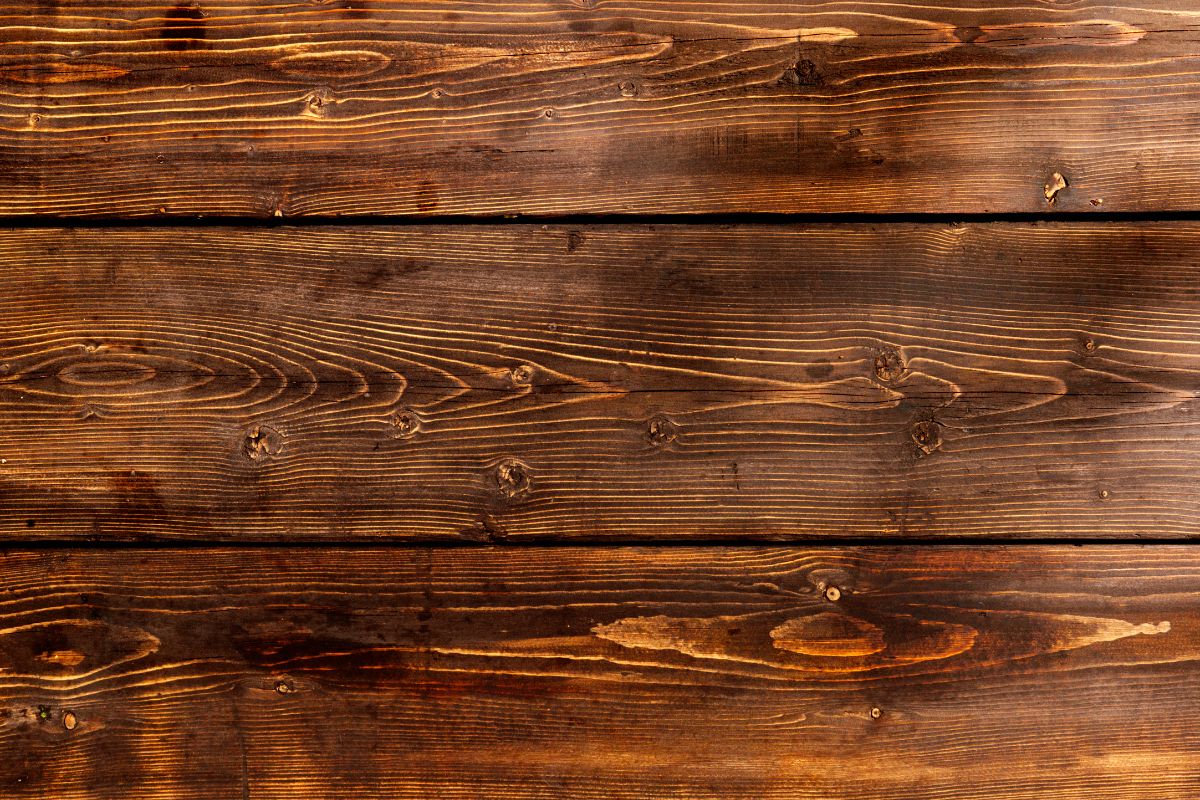
A wood’s color and effect can change under many different conditions, so whether you leave wood outside or leave it exposed to the sun, you can get patterns or hues that make your wood even more weathered and worn.
You can use stain as an option, but make sure you spray the wood with some water first, as this will cause parts of the wood to absorb the stain at different rates, so you can get something natural that works differently for every piece of wood you treat.
We’ve mentioned vinegar, but here you can use it with steel wool to create a silvery hue, and all you need to do is add some of the wool to a bottle of white vinegar and leave for a day.
Then you spray onto the wood and leave it to dry, where you can get fine patches of grey.
There are also weathering agents you can use or a weathered wood accelerator that can create the same sort of silvery effect and might be better for those who don’t like the odor of vinegar and want a cleaner way to apply it.
The Bottom Line
Over time, once your wood settles, it can lose its color, so to prevent this, you can apply two coats of different paints, and the bottom layer can be a white or lighter color like a primer; then, you can use a bold color for the top.
For this, you don’t need to sand the wood before you apply the paint, as once you apply the second layer, you can sand the top layer just enough where the bottom layer can show through, which is another way you can preserve the outdoor nature of the wood.


