Contents
A Murphy bed brings the best of both worlds to your home: it provides you with a pull-down bed for whenever you need an extra place to sleep, while also giving you a decorative unit by the wall when you’re not using it.
Of course, you don’t always have to do the latter.
Some Murphy beds will be very simple, offering just the pull-down bed and nothing more. But why limit yourself to that?
It’s a much better idea to leave yourself with a handsome-looking display when the bed is not in use.
Why Should You Have A Murphy Bed?
A Murphy bed offers you a pull-down bed.
These beds are incredibly useful because they don’t take up much space when they aren’t in use.
Rather than a regular bed that sits out all the time, these fold up into the wall in certain ways, meaning that you save plenty of room when they aren’t being used.
If you’re somebody who will only have the occasional need for an extra bed, this is the perfect solution.
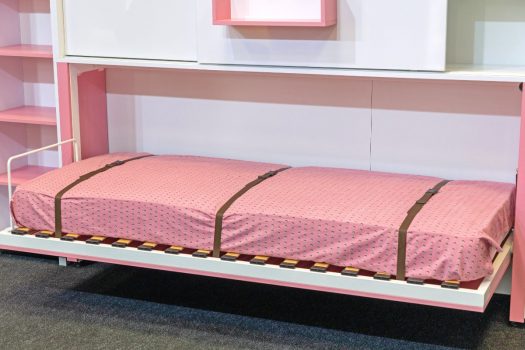
Better yet, the fancier Murphy beds can add some lovely decoration to your room.
The one in our guide will look like an elegant and stylish chest of drawers, only the drawers aren’t real and instead disguise the bed that comes out.
You can always add bookcases or other shelving units around it to make it look even better.
How To Build A Murphy Bed?
What Tools Will You Need?
For this DIY project, you’ll need:
- Power drill
- Countersink drill bit
- 1 inch and ⅝ inch Forstner drill bit
- ⅛ inch, ¼ inch, and 5/16 inch Twist drill bit
- Jig saw or coping saw
- Circular saw
- Clamps
- Hammer
- Tape measure
What Materials Will You Need?
- 3 x ¾ inch Plywood
- 10 x 1x2x8 solid wood
- 1 x ¼ inch Plywood
- 100 x 11/4 inch long screws
- 75ft edge banding
- Wood glue
Before we begin, it’s worth mentioning that you should buy a hardware kit for your Murphy Bed.
This makes things a lot easier because it provides you with some essential tools and bits that you’ll need.
It will come with plans and instructional videos to help you.
Make sure to buy the kit that refers to the type and size of bed you’d like, for example, a horizontal queen size.
The guide below will refer to the plans you get with these hardware kits, so you will need to buy one.
It’ll make it a lot easier for you, so it’s worth it!
Step One: Cutting The Plywood Sheets
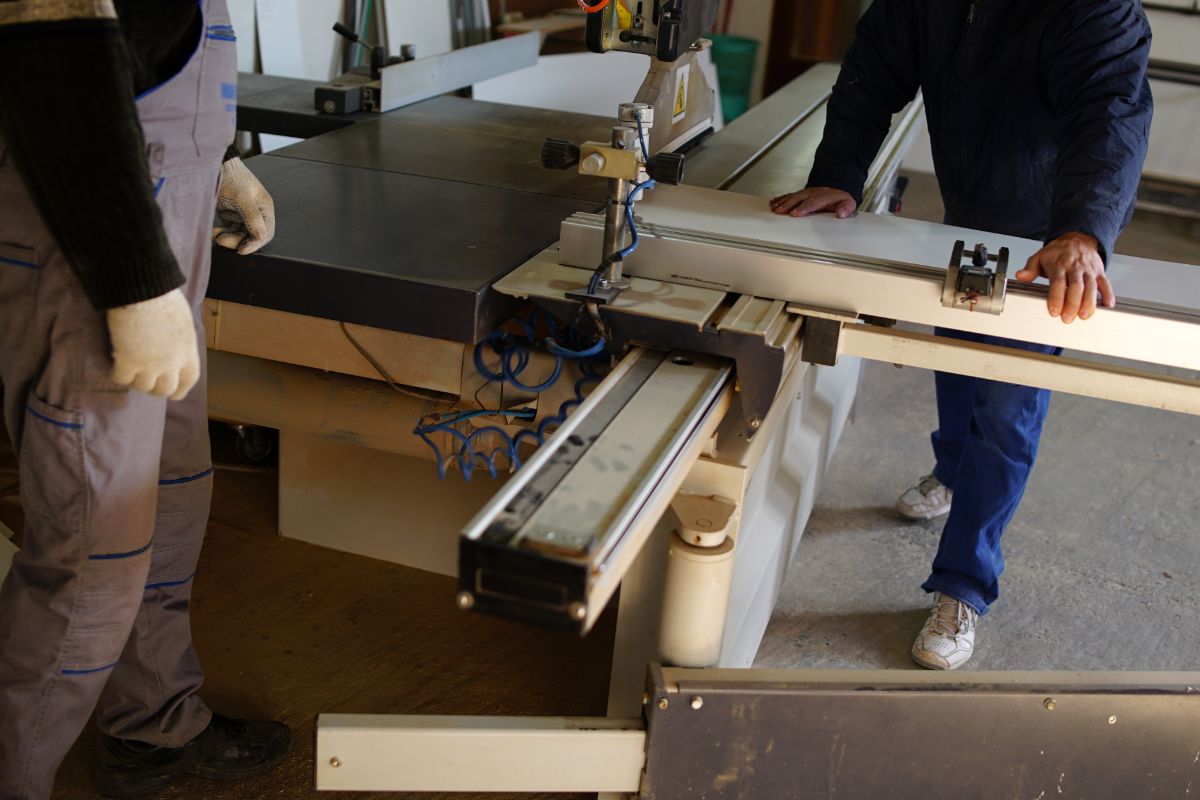
To begin with, you will need to cut your plywood sheets into their final dimensions. Be very careful when using a saw.
If you don’t have enough experience, or you’re not confident, get a professional to do all the work for you.
If you look at the plans that came with the hardware kit, it will show you how to then lay out the cut plywood.
The plans will confirm to you the dimensions for the plywood, too.
Step Two: Cutting All The Solid Wood
After you’ve cut the plywood to the correct dimensions, it’s time to cut the solid wood too.
Refer to the plan you got with the hardware kit, and you’ll see a part covering “Solid.”
This will tell you which parts of the Murphy Bed will need to be made out of the solid wood you bought in preparation, and what dimensions they will need to be cut to.
Step Three: Drilling The Holes For Mounting The Hardware With
To mount the hardware, you will need to drill a good amount of holes. Thankfully, these are all easy to do and fairly easy to locate.
By looking at the plan that came with your specific hardware kit, you will be able to see where the holes need to be drilled.
Most of them will be drilled on the vertical parts and the side rails.
Step Four: Edgeband The Plywood
Edgebanding is an important process that seals up the exposed, raw edges of the plywood.
There are going to be a lot of parts of your Murphy Bed that need this process.
You can locate them specifically by studying the plan that came with your hardware kit.
If you see an arrow pointing to certain edges, along with the letter “F”, these are the bits that need edgebanding.
The “F” stands for “finished,” which is what you will have done to these edges once you’ve edge banded them.
Step Five: Assembling The Cut Parts
With the preparation done, it’s time to assemble all the cut parts together.
A key part of this will be making the frame that the mattress is going to sit on.
Just the bedframe for your regular bed, this is an essential part to the Murphy Bed, especially since it needs to hold the mattress when it’s folded-up too.
Creating the frame is easy, since all you need to do is make some L-shaped sections of wood and fix them to two longer stretchers.
After that, you can attach the front, sidem and back rails to the frame itself.
Step Six: Painting And Adding Finish
You will then want to apply a finish to your assembled wood. You can either stain or paint it.
Step Seven: Attach The Bed Cabinet To The Wall
You’ll need to solely refer to your plan for this, but it should be an easy final step.
However, just make sure that you fasten it securely. You don’t want it falling off.
Final Thoughts
As long as you follow the plan carefully and safely, building a Murphy Bed should be easy.


