Contents
If you’ve ever played a game of cornhole, then you’ll know it’s both fun and easy. All you have to do is toss a cornhole bag into the hole!
Similarly, the boards used to play it are incredibly simple, just a few bits of wood with a hole in one of them.
This means that they’re really easy to make for yourself at home.
In our handy guide below, we’re going to teach you how to make your own regulation cornhole board.
If you’re new to DIY, it might be a good idea to get some professional help to keep you safe.
How To Make Cornhole Boards?
What Tools Will You Need?
- Power drill
- Drill bits
- A tape measure
- A speed square
- Circular saw
- Jigsaw
- Wood glue
- A Phillips head driver bit
- Carpenter’s pencil
- Sandpaper
- Compass
- Spackling knife
- Paint (pick your color), paintbrush, and painter’s tape
- Primer
- A polyacrylic finish coat
- 3” deck screws
- 1 ¼” trim screws
- 6” hole saw
- Wood filler
- ⅜” x 3 ½” carriage bolts
- Nuts
- Washers
- Utility pulls (two)
What Materials Will You Need?
- 24” x48” plywood boards (must be ¾” thick)
- 48” 2×4 boards (used for the frame’s long sides)
- 21” 2×4 boards (used for the frame’s short sides)
- 12” 2×4 boards (four of them, used for the legs)
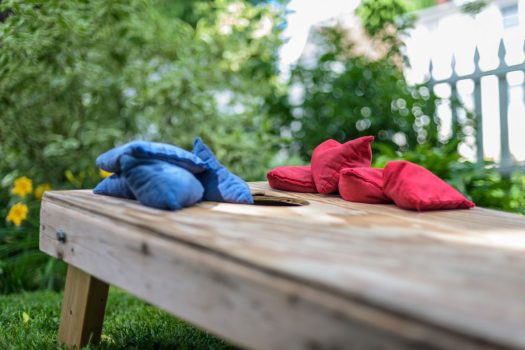
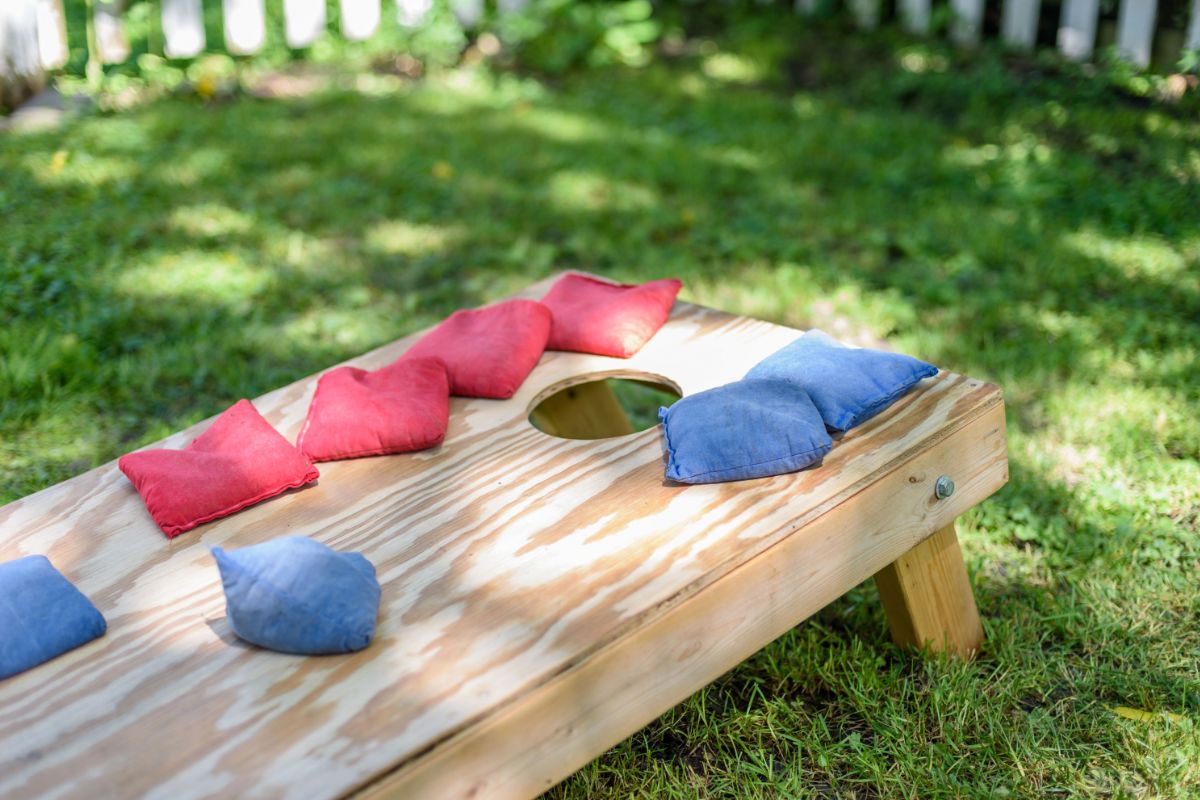
Plus, you’ll want to make eight cornhole bags (6” x6”, 2 cups of feed corn filling each)
Step One: Position The Board Frames Out
In a flat area, lay your 2×4 wooden boards on their edge (shorter sides on the ground). Set your two 48” 2×4 boards down parallel to one another.
Then lay the 21” 2×4 wooden boards in parallel, but facing the other direction, positioned at the ends of those longer boards.
You’ll have a rectangle.
The shorter boards need to be between the longer ones, because the whole frame needs to measure 48” by 24” by regulation rules.
Step Two: Drilling Plot Holes
Plot holes are needed for the frame’s screws to go in. The screws will hold together the boards you’ve just laid out.
Get your drill and put in your ⅛” drill bit.
Then get your measuring tape and measure ¾ of an inch inward from the ends of the long boars, noting the point with a pencil.
Then use your speed square to mark a line covering the width
before drilling two holes on that line, each ¾ of an inch away from the wood’s edge.
Step Three: Gluing And Screwing
Get your wood glue and put a small dab on the end of one of the 21” boards, aligning with the end of the 48”.
Then put two screws from the 48” board’s outside into the 21” board’s end. Do this for all four corners of the frame.
Ensure that the frame keeps rectangular.
Step Four: Cutting And Attaching The Tops
Now you need to cut your plywood tops, if they haven’t been cut to the right dimensions already.
You can use the circular saw or the jigsaw; just make sure you’re safe whichever you use.
Measure the plywood and cut it so that you have two boards, both 24” wide and 48” long.
Then run your glue along the frame’s top edge, all the way around.
After that, get the 24” by 48” plywood and drill 20 little evenly-spaced holes around its edges with the ⅛ drill bit.
This is because although the board will stick to the glue when you put it on top of the frame, it will also need screws for securing.
Then get 20 of your 1 ¼” trim screws and screw them into the holes, screwing down into the frame beneath.
Step Five: Marking The Hole
Your cornhole board hole needs to follow regulated measurements.
Hook your measuring tape onto a short end side of the board and mark it at 9 inches, then do the same for a long side, but mark at 12 inches.
The alignment is the center of the hole. The hole must be 6 inches in diameter. Use your compass to draw the circle, using it at 3 inches.
Step Six: Cut The Hole
Drill into the circle, half an inch from the line, and insert the jigsaw. Very, very carefully saw along the line.
Step Seven: Preparing Legs
Use the circular saw to cut two 12”-long legs.
The legs will need to be collapsable, so mark a point 1 ¾” from each side and 1 ¾” from the top.
Set your compass to 1 ¾”, draw a semi-circle, and cut with the jigsaw. Then use a ⅜” drill bit to drill a hole at the compass’ center mark.
Flip the board upside down, putting the leg’s rounded end inside the frame’s top corner.
Step Eight: Filling Screw Head Holes
You’ll want your board smooth, so use the spackle knife to put wood filler into each screw hole.
Scrape off the excess and wait for the filler to dry. Finally, use sandpaper for sanding the whole board smooth.
Step Nine: Staining And Painting
You’ll also want your board looking the best it can.
This includes protecting it from weathering, which means that you’ll need to apply some primer to all of it.
Once that’s dried, you can paint whatever you fancy, using the painter’s tape as a guide.
Step Ten: Securing Legs
First, let the legs dry. Then place a carriage bolt through the board’s hole, leaving the rounded head on the frame’s outside.
Put a washer on the bolt, then the leg, then another washer. Finally, add a nut.
After that, screw a utility pull onto the side of the board – it will act as a handle.
Final Thoughts
Repeat all these steps to make another board – but always be very careful handling tools.


