Contents
Wood filler is a perfect product to rely on if you notice imperfections, blemishes, and even large holes in wooden surfaces around your home.
If you have ever wondered how to use wood filler effectively, look no further because we have the answers you have been seeking!
Read on down below to find out how to use wood filler!
How Do You Use Wood Filler?
To start using your wood filler effectively, you are going to want to make sure to follow the proper steps. Luckily, none of the steps are too complicated, but getting them right is key to achieving the right look!
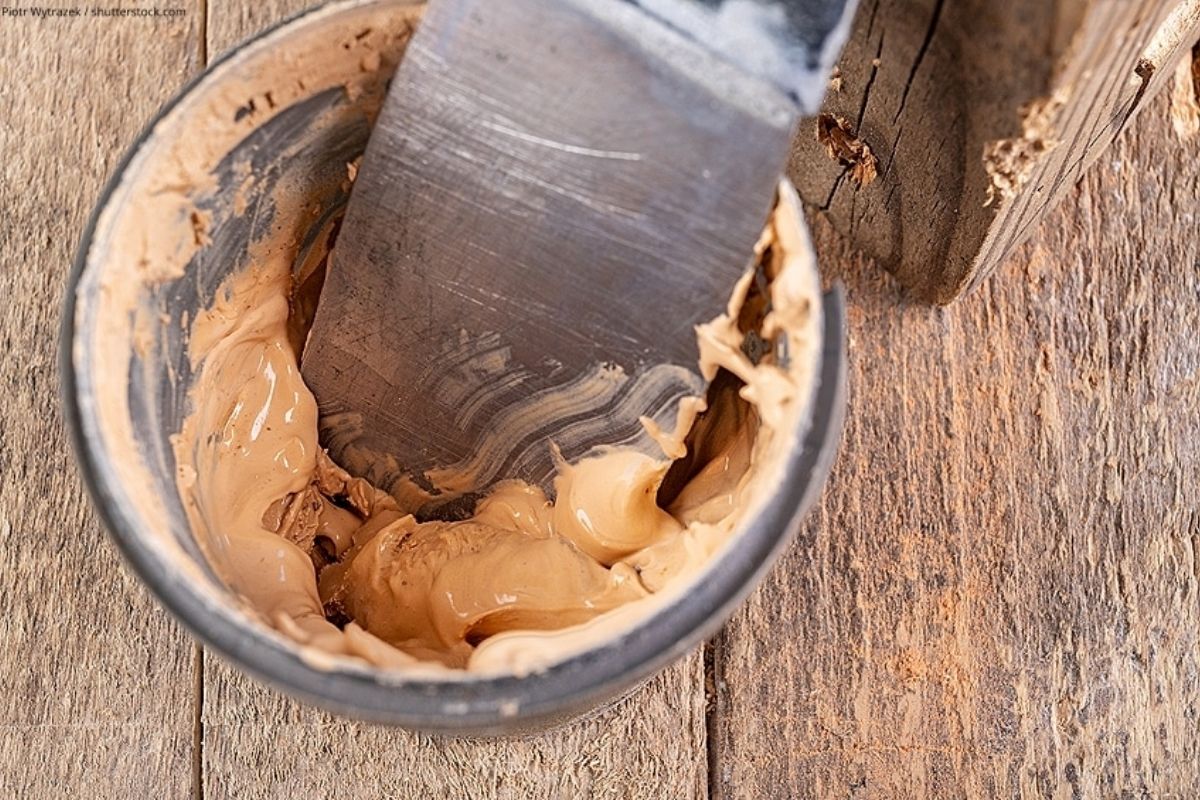
Step 1 – Mix Your Wood Filler
Before putting wood filler to use, you must ensure that it has been mixed together correctly. Wood filler can quickly separate between uses, so to ensure that you get a good coating using the wood filler, mix the contents together quickly.
When the wood filler has been mixed thoroughly, you should find that it takes on a very smooth texture somewhat reminiscent of peanut butter.
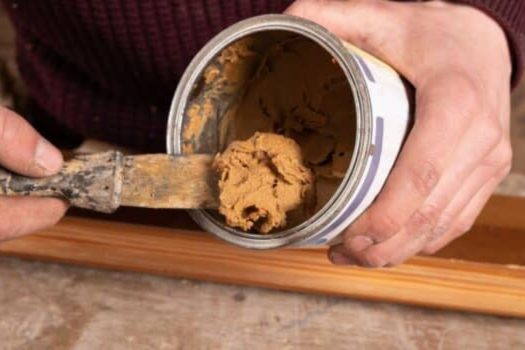
Step 2 – Apply Your Wood Filler
Now that you have mixed the wood filler, you can start applying it to your surfaces. We recommend using a putty knife for this job, as it will allow you to ensure that the wood filler is evenly spread.
Make sure to work quickly because petroleum-based wood fillers dry incredibly quickly and become incredibly hard. However, you should also ensure not to rush, which could lead to a botched job.
Spread the wood filler evenly until it has been pressed fully into the cracks or imperfections of the wooden surface. Once you have achieved an even spread, take off as much excess as possible using the putty knife.
If you use water-based wood filler, you may not need to work as quickly, as it will take longer to dry.
Step 3 – Use Your Fingers
If you feel that the wood filler needs to be spread more evenly, then you can always use your fingers to press it into place and remove any excess. Don’t worry if any filler sticks to your fingers, as you can easily wash it off, even after it has hardened.
This isn’t an essential step, but it allows you to exercise more control and achieve slightly more precise results!
Step 4 – Sand Your Wood Filler
Now that you have applied the wood filler to your surface, we recommend waiting around thirty minutes for it to harden.
Once it has hardened substantially, you will want to grab an oscillating sander. Of course, it is possible to sand it by hand, but it may prove slightly more difficult.
We recommend using medium grit sandpaper, so that it is not too coarse to damage the finish, but also rough enough to chip away at the excess filler.
Once you have finished with the sander, you may want to give the surface a light sanding by hand to filter out imperfections.
Step 5 – Wipe The Surface
Naturally, sanding down your wooden surface will leave behind small amounts of dust that can completely ruin the texture of the wood if left unchecked.
At this point, you will want to give the surface a wipe-down to remove as much dust as possible!
We recommend using a tack cloth, as its slightly sticky surface will help to easily pick up all of the small amounts of dust that refuse to leave the surface, without being too sticky and risking damaging the surface of the wood.
You can also use a standard cloth with a bit of water, but you should make sure not to use too much water, as this can create more mess that is incredibly tough to clean up.
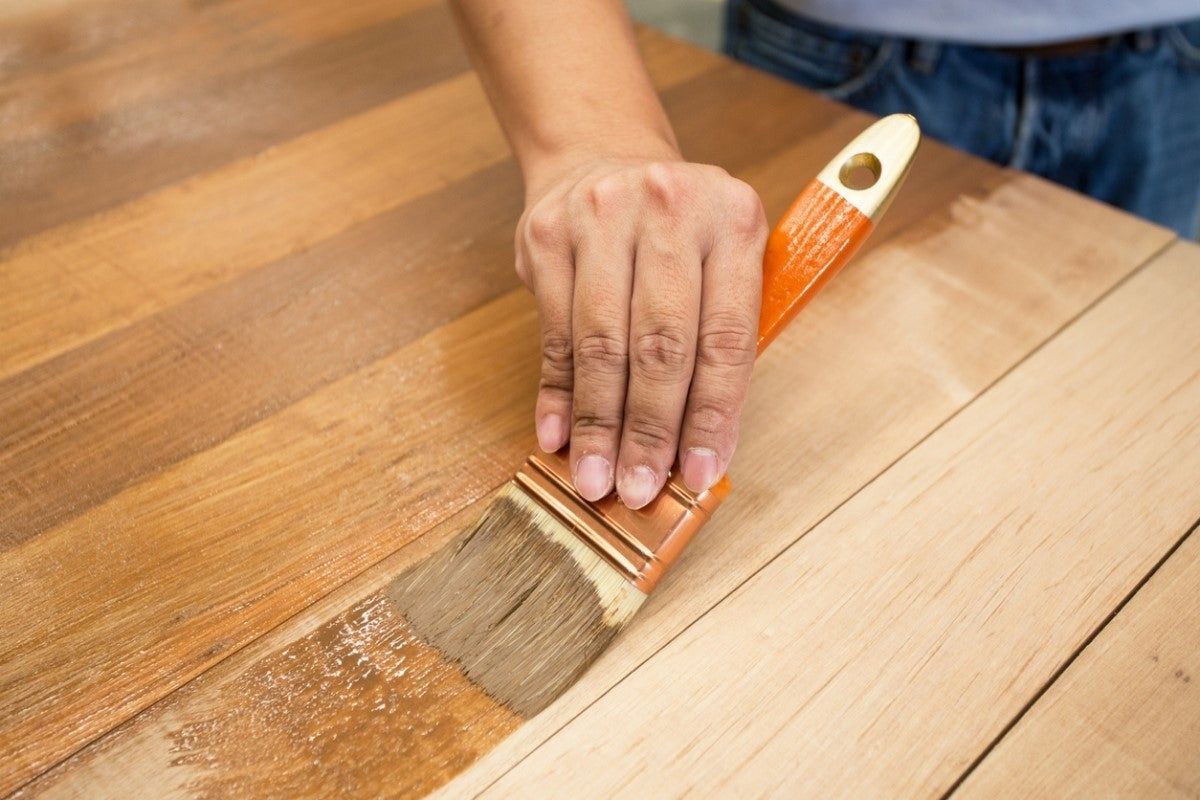
Step 6 – Finish Up
This step is optional, as you may be delighted with your current results, but you may now wish to apply a protective finish to the results, or even stain the wood, to achieve the desired color.
However, if you plan to stain the wood filler, you should keep in mind that it will stain slightly differently than the surrounding wood, so it may be visible after staining!
Frequently Asked Questions
What Is The Difference Between Wood Filler And Wood Putty?
Wood filler and wood putty are often confused with one another, but they are very different products.
Wood filler is much harder once applied to a surface, whereas wood putty is often slightly more malleable even after application.
How Long Does It Take For Wood Filler To Dry?
Oil-based wood fillers tend to dry quickly, at around 15 minutes at the fastest. Thus, it is essential to work efficiently when using it, so that excess wood filler does not dry into the surface of the wood.
Water-based wood fillers tend to dry within around 30 minutes, allowing more time to manipulate them.
Can You Paint Over Wood Filler?
Yes, you can panit over wood filler. However, you should make a point of sanding it down before painting, as this will help ensure that you are painting onto an even surface, allowing the wood filler to become truly invisible.
To Wrap Up
There you have it! The process of using wood filler is not overly complicated, but it pays dividends to do it just right to get the perfect look and use the material to its best potential!
Feel free to skip over any steps if you feel that any are unnecessary, but try your best to follow the order to achieve the best results!


