
Contents
With a variety of different applications and uses, plywood makes a great building material. You may already be familiar with plywood as it can be found in almost all our homes.
Whether this is in our walls, roofs, or subfloor, its durability, strength, and ease of use; make it highly versatile.
While plywood seems like the perfect building material, it does, however, have its drawbacks. The biggest one is that plywood is susceptible to water.
While there are water-resistant varieties of plywood such as T-111 siding, this is, however, a specialty product.
Typically, when exposed to a large volume of water, plywood will begin to swell and, over time, will become brittle. In addition, it can also grow mildew and mold.
It is a good idea to waterproof your plywood to prevent this from happening. This is a relatively simple procedure and can save you from any unexpected costs and damage in the future.
So, the question we have all been waiting for is: how do you waterproof plywood?
There are several methods to waterproof your plywood; however, they all include applying substances onto the surface of the plywood.
This can range from varnish and oil to fiberglass and waterproof paint. Whichever method you choose, it will help prevent mildew, rot, swelling, mold, splitting, warping, and deterioration in your plywood.
With this in mind, this article will discuss the different ways to waterproof your plywood.
What Happens When Plywood Absorbs Water?
Generally, this is fine if plywood comes into contact with water and is dried up quickly. As plywood is made up of many thick layers, water cannot penetrate the wood as easily.
However, this doesn’t apply to the edges of the wood. Here, the water can easily seep into the edges and cause damage to the plywood’s layers. This also applies to any cuts or holes that puncture the wood’s surface.
Compared to solid wood, plywood is much different. When solid wood is exposed to water, it tends to soak it up without falling apart. On the other hand, plywood is composed of thin wood veneer layers that are pressed and glued together.
Therefore, if water is absorbed, these layers can fall apart, destroying the durability and strength of plywood.
As a result, deterioration, rot, mildew, and mold can all occur if moisture is absorbed into the plywood and isn’t dried. You will find that many builders will use moisture protection such as tape, house wrap, siding, and trim to prevent this.
Likewise, water is particularly susceptible to weakened areas, such as areas where nails and screws are used. Sometimes, this can even make a piece of plywood fall straight off a wall or roof.
Ways To Seal Plywood For Outdoor Use
As previously mentioned, waterproofing plywood is a relatively straightforward process, and with many different methods and applications, you can choose the one which best suits your requirements.
When waterproofing your plywood, whichever method you choose, the material is applied on the exterior surfaces, as well as the edges.
It then penetrates the pores of the plywood, essentially sealing them to prevent water from getting in. This acts as a layer of protection between the plywood layers and water.
If water does come into contact with the waterproofed plywood, it will just bead up and run straight off. The water will not be absorbed into the wood.
With the proper application, whatever waterproofing method you choose, they will all more or less be equally effective. This can sometimes make it hard to choose which method would be best for you.
To help you overcome this, below, you will find 6 different waterproofing methods to be used on your plywood:
Epoxy Sealer
Epoxy sealers are generally the most popular method to waterproof and seal plywood and can be used in spray or paint applications. The main advantage of this method is that it not only waterproofs your plywood but also makes it stronger.
When the epoxy is applied and dries down, it creates a hard, tough outer shell resistant to dents, scratches, and moisture.
This is perfect for those hard-to-reach edges. Likewise, when applied, epoxy remains clear; this preserves the wood’s natural, attractive coloring.
If you wish to add more color to your plywood, you can easily achieve this by using a piece of sandpaper and scuffing up the epoxy layer.
Make sure to go over the whole area gently, avoiding pressing too hard, which will result in stripping the epoxy. Once this is completed, you can add a coat of paint, adding more protection and waterproofing.
One of the downsides to using epoxy can also be seen as a benefit: it dries hard. This is a downside because it eliminates the natural flexibility of the wood.
Therefore, if you wish to keep the plywood’s flexibility, then this may not be your best choice.
Drying Oil
This is a great option for both marine and outdoor use as it allows the wood to keep some of its natural moisture and flexibility while preventing any damage caused by water.
When drying oil is applied, it soaks into the wood, providing a thin but effective layer of protection.
If you’re looking to use plywood in high-moisture environments such as a boat, dock, or humid areas, then drying oil would be the best choice.
This method works slightly differently from epoxy, paint, or other waterproof materials: it prevents plywood deterioration rather than obstructing moisture completely.
As a result, it is a more natural sealer, protecting the wood while allowing it to behave like wood.
A benefit of this method is the appearance after application. The drying oil provides a very natural look while maintaining and even enhancing the original color of the wood.
If you prefer a more natural look to your plywood while ensuring it’s 100% waterproof, then drying oil would be the best solution.
Since drying oil permits some moisture into the wood, you should consider that reapplication may be needed over time.
Varnish
This is an excellent method if you want added protection without being able to see it. Varnish is applied thin and, in some instances, unnoticeable.
Generally, varnish refers to any resin or mixture that is applied to surfaces in thin layers, which then cure to create a hard coating. While it may not be as thick as epoxy or as noticeable as paint, it still contains many of the same waterproofing properties.
Like paint, varnish can come in many different finishes. The most popular ones are flat, gloss, and semi-gloss.
Varnish is typically applied to protect wood above the water line. For instance, it protects the upper sections of a wooden dock or boat.
As long as the painted varnish isn’t fully submerged in water, it will protect the wood from moisture and some UV rays.
Water-Based Paint
While waterproofing with paint may not last as long as drying oil or epoxy, it remains an effective method for sealing plywood. Water-based paints are generally thinner than oils, making them more capable of absorbing into the wood’s pores.
On the other hand, water-based paint is more liable to break down than oil, meaning that your wood would need repainting over time.
In addition to this, water-based paints can also be high maintenance. Over time, if unattended, the paint can peel or even crack. However, this is generally an easy fix.
Once you begin to see small line cracks, peeling, or fading, it simply requires a new coat.
While most other waterproofing methods don’t offer color, water-based paint does! This is a great advantage if you not only want to protect your plywood but create an attractive appearance, as well.
Another benefit of water-based paint is that they ensure UV protection, making it great if your wood is exposed to the elements. Likewise, this method retains the wood’s natural flexibility, as opposed to methods such as epoxy.
Latex
Latex is an easy and effective method of waterproofing plywood. It can either be sprayed or brushed onto the wood.
One thing to note is that the latex must be evenly applied. This can sometimes be challenging. An even application is essential if you wish to have an even and smooth surface. Any built-up areas will go easily noticed.
While latex is more expensive than other waterproofing materials, the protection is effective and long-lasting.
If you’re looking for a long-term method, then this method would be worth the money. Sometimes, a single coat of latex can last for decades; without requiring any maintenance.
However, if not applied evenly and adequately, water may be able to get under the layer of latex and absorb into the wood.
For this reason, applying a thick and even coat is essential, although not too thick, so the appearance becomes uneven. It is challenging to apply a strong, even coat; hiring a professional may be required.
PVA
PVA is a type of glue traditionally used for arts and crafts. Not only does it dry clear and thin, but it is also completely waterproof and binds well to plywood – making it another excellent method.
When using PVA, it is recommended to first dilute it with water. This will ensure that it is thin enough to absorb into the pore of the plywood before drying completely.
If it’s too thick, you’ll only be left with a surface coating. The thinner the PVA, the easier it will be to apply with either a roller or a brush.
PVA remains sticky until dried, so you should take care when applying it. Likewise, if you’re not careful, it is easy to get dirt, debris, or even hair stuck inside your PVA layer.
How To Waterproof Plywood
Now that we have outlined the materials needed to waterproof your plywood, we will look at how to do so. This is relatively simple and makes a fun DIY project.
Step 1: Prepare The Plywood
Before any sealer is applied, you first need to prepare your plywood. The preparation always remains the same regardless of what sealant material you are using.
- You first need to clean the plywood’s surface using a dry cloth or soft brush. Remove any glue, spots, or grime; you should be left with a clean wood surface.
- With wood filler, repair any damage or rough spots found. Dents, cuts, or holes should all be sealed.
- Before moving on, make sure the wood filler is completely dry and applied smoothly. If you find any uneven or rough spots, you can take a piece of sandpaper to smooth these out.
- Once dried, wipe the wood with a damp cloth. This will help to slightly raise the wood’s grain while removing any pollen or fine dust.
- The last thing to do is to gently sand the plywood using a medium 60-100 grit sandpaper. This helps to remove any leftover rough spots and make the sheet smooth; ready for waterproofing.
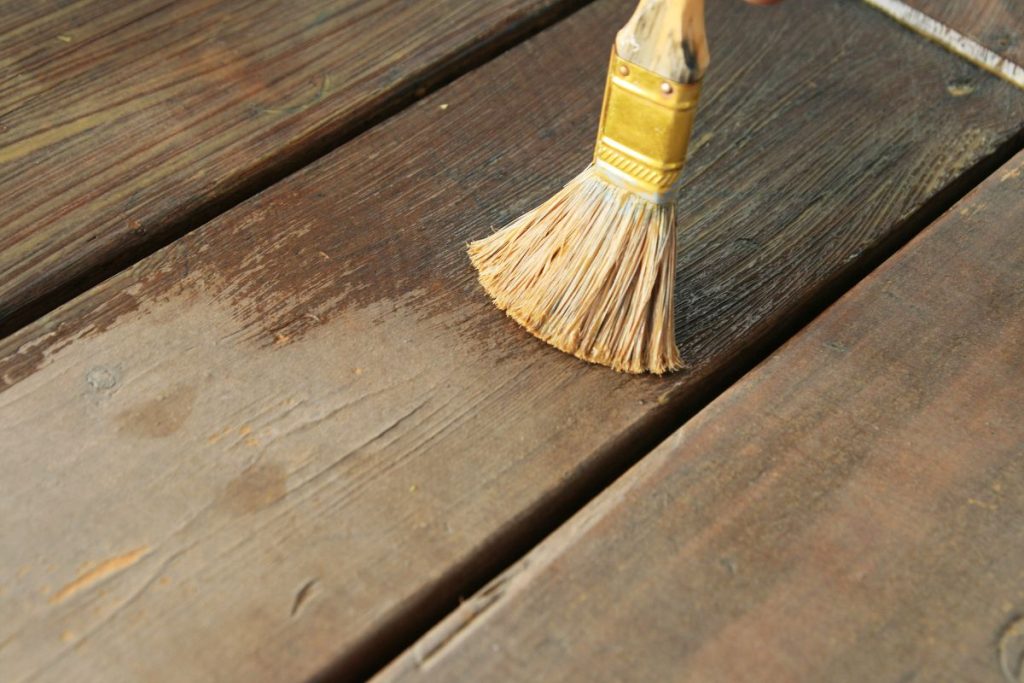
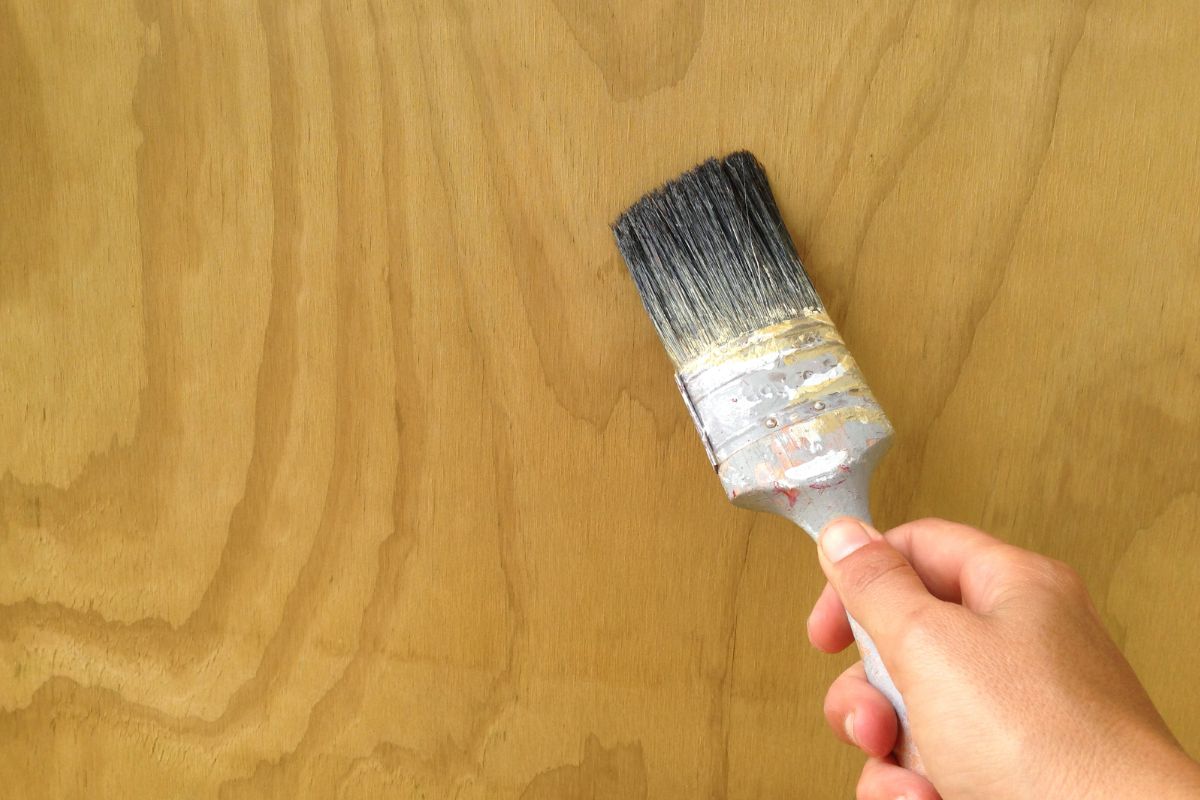
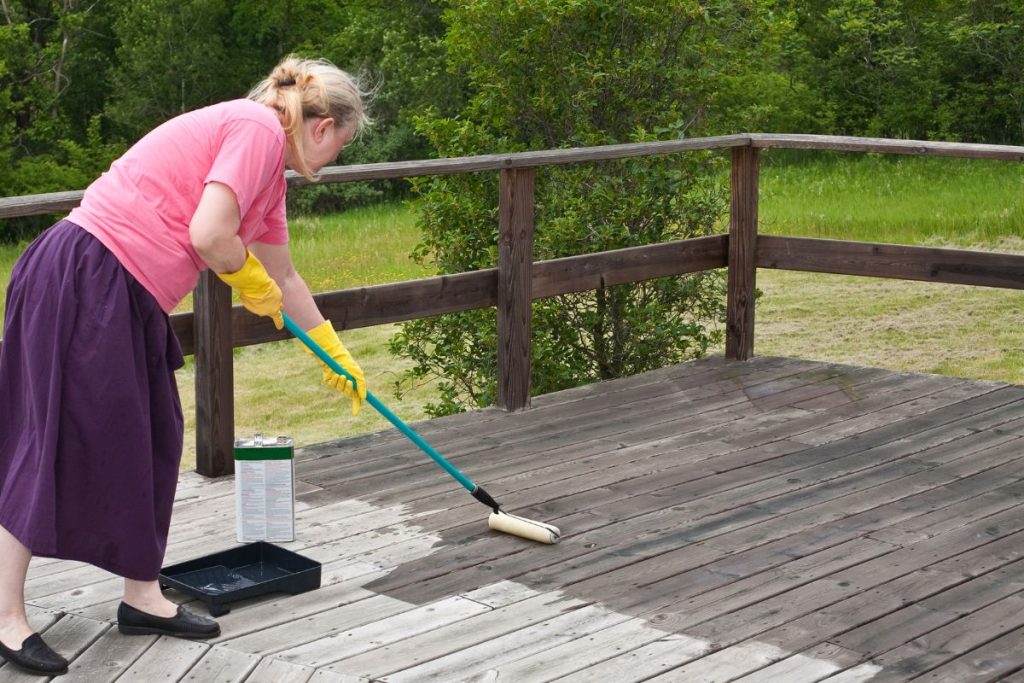
Step 2: Apply The Waterproofing
Typically, most waterproofing methods can be achieved using a roller or a brush; however, some may require a paint sprayer. When applying the salient, special equipment isn’t necessary.
The general rule of thumb is that if it’s good enough for paint, it’s good enough to apply sealant.
Just like paint, apply the sealant in even, thin coats, covering the whole surface of the plywood. If necessary, apply more coats until the surface is covered entirely. One thing to remember is that the sealant should be dry before applying another coat.
Additionally, make sure the plywood is completely dry before applying any sealant. You should never apply any sealant to wet plywood.
Once the surface is fully covered, make sure you don’t forget the edges! Here, you should apply a thicker coat to allow the sealant to absorb into the layers and prevent any water from penetrating the wood.
For spray methods, make sure to carefully read the manufacturer’s instructions before attempting to waterproof your plywood.
Uneven or improper use of a spray can make the sealant ineffective. Just like paint or any other sealant method, you will want even coverage. Below are some spray sealer tips:
Make sure to spray the sealer evenly. If uneven, the appearance of the plywood will become unattractive.
Carefully read the instructions and directions on how to use the sprayer. If used incorrectly, your sprayer may spit out blotches of sealer or paint.
Hiring a professional may be the best option if you’re unfamiliar with sprayers.
Prior experience with sprayers is beneficial when trying to waterproof your plywood. Not only are they unpredictable to inexperienced spray painters, but they lack the control found in rolled or brushed-on sealers.
If using a sprayer, it may be easier to use an up and down or side-to-side motion; in the same direction as you may use a brush or a roller. This provides easier control.
Tip: If using a sprayer for the edges, it is easier to use a brush. This is because the edges absorb more sealant, and using a brush helps to focus on this area.
Step 3: Let The Waterproofing Dry
Once finished, you should let your plywood dry for a few hours, ideally overnight. Although, make sure to read your specific instructions, as some waterproofing materials require different drying times.
Whatever method you choose, leaving your plywood to dry for 24 hours guarantees that it is completely dry.
Once your plywood is completely dry, you can then install it.
When you have finished installing your plywood, go over any screws or nails with sealant to make sure they remain watertight.
This is important as these areas make water absorption especially susceptible due to its broken surface. Likewise, silicone or caulk is for sealing these areas also.
Step 4: Check Your Work
Once your plywood has encountered some rain, check your work to make sure it isn’t absorbing any water. This should be repeated every few months.
Generally, water absorption is easy to detect, so you just need to give your plywood a quick one over. Likewise, make sure to feel the edges as there is where water is likely to be absorbed.
If you detect any water absorption, then you should allow the plywood to dry completely before applying more sealant. Remember, you shouldn’t apply a new sealer to wet or damp plywood.
Final Thoughts
Whatever your reason, waterproofing your plywood is incredibly beneficial and important.
It prevents your wood from absorbing water and damaging, but it can also increase its strength and durability. Hopefully, this guide has provided you with everything you need to waterproof your plywood.


