Contents

Are you looking for a way to add extra storage in your home without spending too much money? Making a six board chest may be the best option. Building a 6 board chest, all you need is to assemble six boards. Thanks to the minimal tools required, building a 6 board woodworking chest is not time-consuming or costly. Typically, making a 6 board woodworking chest shouldn’t take more than 5 hours. Plus, you will not spend as much.
A brand new and high-quality, the high-end chest can cost anywhere from $500 to $2000. However, making a good quality DIY six-board chest can cost as low as $100 – allowing you to spend your money elsewhere. Even if you want to add designs and different styles to the board, it will still cost you significantly less. So, to walk you through, we’ve shared a guide on how to make a six-board chest from scratch.
Tools And Materials
[su_spoiler title=”Required Tools for this Project:” open=”yes” style=”simple” icon=”plus” anchor=”” class=””]
[su_list icon=”icon: arrow-circle-right” icon_color=”#4f8901″]
[su_row class=””]
[su_column size=”1/2″ center=”no” class=””]
- 2 x 6-foot 1x8s wood.
- 3 x 8-foot 1x6s wood.
- 2 x 8-foot 1x2s wood.
- Measuring tape.
- Pencil (optional).
- Circular saw.
- Router.
[/su_column]
[su_column size=”1/2″ center=”no” class=””]
- Pencil.
- Wood glue.
- Bar clamps.
- 1.25-inch nails.
- Jigsaw.
- Drill.
- 2-inch finisher nails.
- Sanding paper – 80-grit, 100-grit, and 120-grit.
[/su_column]
[/su_row]
[/su_list]
[/su_spoiler]
Step-By-Step Instructions
After lining up your tools, the next step is to put together your 6 board chest. You can build your chest based on the dimensions and design style you want. However, in this guide, we’ve shared the basics of how to make six board chest. With the basics, you can make just about any six-board chest design and style you want.
Step 1: Prep the Wood
- The first thing is to pick the right wood. You can opt for plywood, pine, or MDF. Alternatively, if you can afford it, you can opt for more solid wood to give you a natural finish.
- After deciding the type of wood to go for, pick your ready-cut wood boards from your nearest home improvement store. You are more likely to successfully find flawless wood to work with from a home improvement store. Alternatively, you can prepare your own wood from scratch. To do so, use a measuring tape and pencil to mark your wood and cut it using a circular saw.
- The 1x8s will be the side and bottom wood (measuring about 21.25 inches in length for the sides and 28.5 inches in length for the bottom)
- The 1x6s will be the front, back, and top wood (measuring about 30 inches for the front and back and 32 inches for the top)
- The 1x2s will be the battens, side supports, and bottom cleats, measuring about 16.5 inches, 14.5 inches, and 27 inches in length
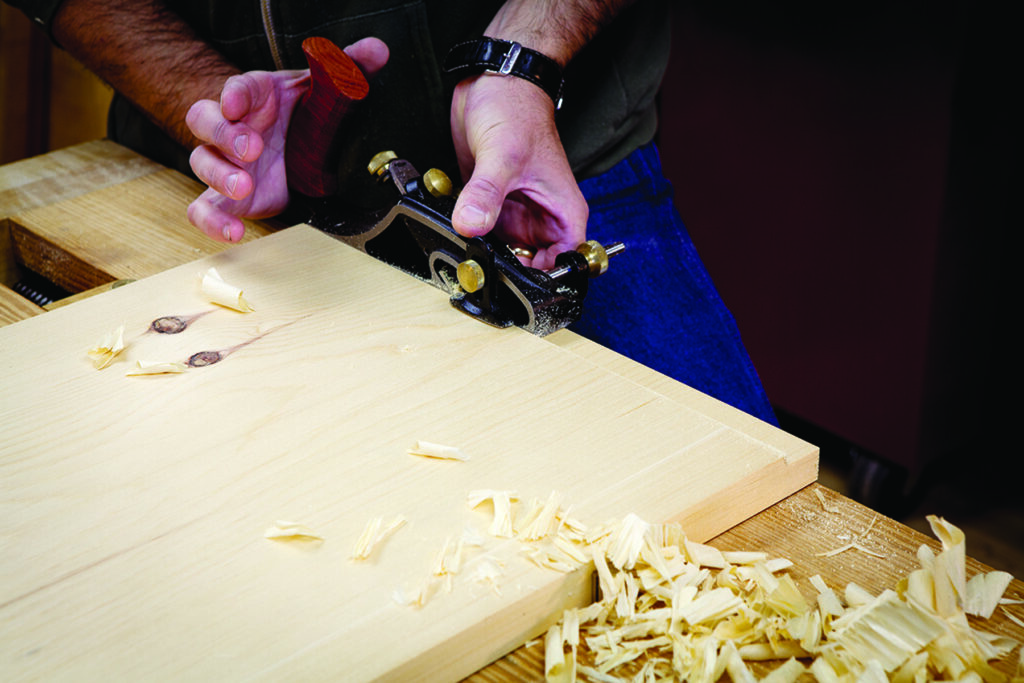
- Set the wood on a flat working table and use a router to bevel the edges. Even with pre-cut store-bought wood, the edges may still not be straight enough. Beveling helps to hide gaps in the wood joints. Use a pencil to mark about 1/8 inches away from the edge on the face edge where glue will be applied, then, use the router to make a 45-degree bevel.
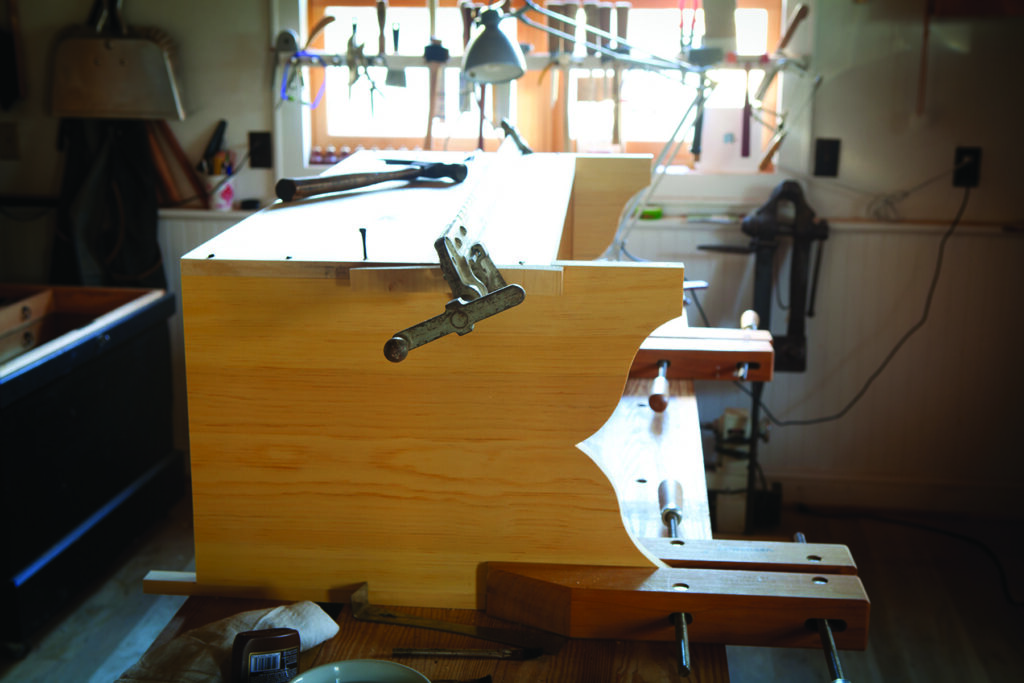
Step 2: Assemble The Chest
- The next step is to assemble the chest – first, you will assemble the sides.
- To do so, apply glue to the edges of the matched wood side pieces and lay them face down
- Apply pressure on the wood pieces with your hands to help hold the edges together to help them pull. Then, using bar clamps, clamp the pieces together.
- Still in the clamps, attach side supports using 1.25-inch nails – one side support should be at the top of the side pieces whilst the other should be positioned at least 14.75 inches away from the bottom edge. Using nails helps to preserve the chest’s durability than if you would use glue since it causes cracking. Use 1x2s wood pieces for the side support. Mark them using a pencil where you want to cut them and use a circular saw to do so. Doing this gives them a perfect fit.
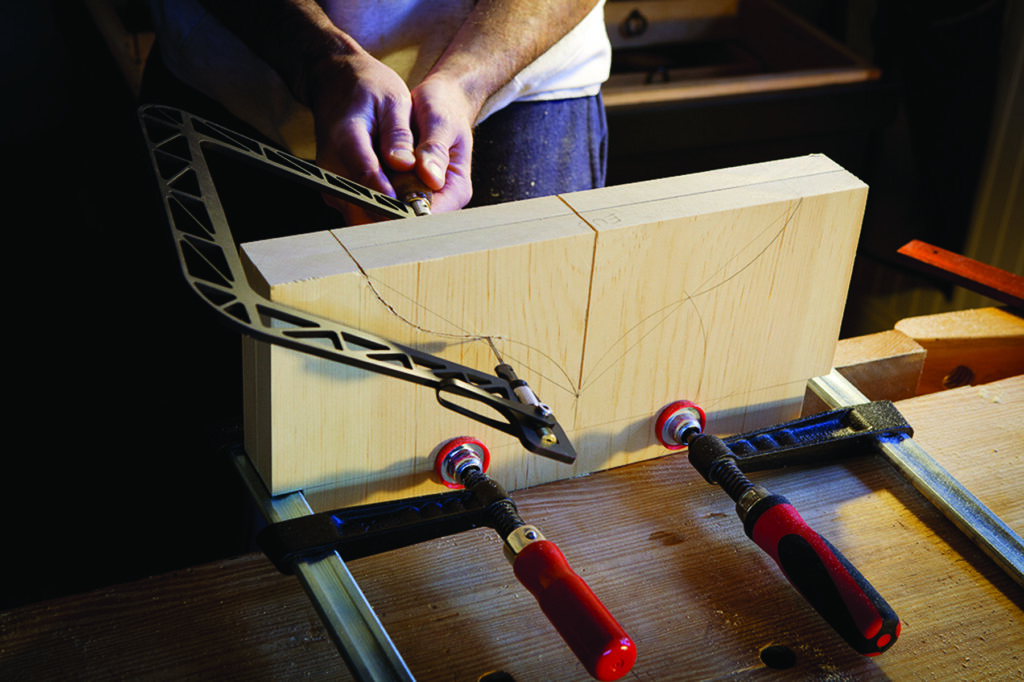
- Once the glue has dried, move the side ogee pattern onto the inside bottom center of the side pieces. Then, use a jig saw to cut the pattern down.
- Secondly, you will assemble the front and back and connect them to the sides.
-
- Six of the boards that make up the front and back are to be nailed to the sides. For the best fit, position them at least 3/8 inches away from the ends. Don’t glue them directly. Instead, use a drill to drill in three pilot holes on each end of the boards. Then, apply glue to the edges, press and rub the edges, and then, clamp them down.
- Move to the front piece and repeat the step above.
- To attach the front and back pieces to the sides, use 2-inch finish nails instead of glue.
- Attach bottom cleats inside the front bottom and back panels. To position them, simply lower the side. Then, use a circular saw to cut the cleat for a perfect fit. Then. Glue and nail the cleat in place with 1.25-inch finisher nails. Do the same for the front panel.
- After installing the sides, the next step is to install the bottom piece. To do so, simply cut two bottom pieces to fit. Glue and hold the pieces together. The glue will continue to dry as the pieces stabilize.
- Next, assemble the top board of the six-board chest. To do this, repeat the steps you executed when you installed the top board. After applying the glue, use the 1x3s board (that measures at least 34 inches in length) and attach a batten ogee pattern to it. You can then cut the pattern to fit using a jigsaw.
-
- Combine the top board with the battens and attach them together using 2-inch finisher nails. . To ensure they fit, cut the batten.
Step 3: Finishing Job
- Once done, your next step is the finishing job.
- Using an 80-grit sanding paper, sand the entire six-board chest. Occasionally apply alcohol onto the surface to soften the wood; making it easier to apply alcohol.
- Use a 100 grit sanding paper to remove any visible marks and finally finish up the sanding process with a 120 grit sanding paper.
- When done, apply a coating of wood finish or dewaxed shellac (especially for pinewood).
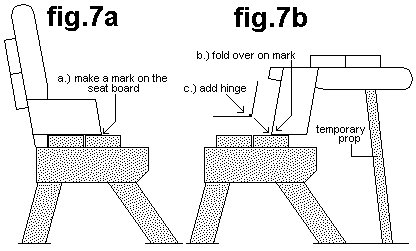
After the wood finish dries, about 24 to 48 hours later, you can begin to use the six-board chest. Some people choose to add some hardware to make it easier to use the board or simply for ornamental purposes. If you want to do so, the easiest way is to add some hinges. Simply invest in two 8 inch t-shaped hinges and install them through the inside of the chest. Attach them at least 6.5 inches from the topsides and screw them in using nails.