
Contents
There’s nothing more frustrating than seeing a chip in your beautiful piece of wooden furniture. It can completely ruin its appearance, making it seem tattered and worn even if it’s brand new.

Thankfully, you don’t need to get a refund or take it to a professional. You can fix it yourself at home!
In this guide, we’ll show you exactly how to fix chipped wood. Read on to find everything you need to know about this easy restoration project.
How To Fix Chipped Wood
The depth and size of the chip will determine how much work it will take to fix it on your wood furniture.
Small finish nicks are not a big deal, especially if the finish is lacquer, the most popular finishing substance. The restoration gets a little trickier when there is a missing piece of wood.
If you were able to keep the chipped piece, you can glue it back and sand it, but if it was lost, you will need to cover it with filler and the proper coloring.
What You’ll Need
To start fixing your chipped wood, gather these supplies. Some can be found around your home, while you may need to head to your local DIY store for others.
- 120-, 150- and 400-grit sandpaper
- Acrylic paint
- Artist’s brush
- Cardboard
- Clear lacquer
- Cloth
- Cotton swab
- Extra fine steel wool
- Lacquer thinner
- Plastic putty knife
- Resin wood filler
- Scrap wood
- Spray bottle
- Utility knife
Fixing Shallow Chips
For shallow chips, this method should work for you. It’s very simple and quick, but if it doesn’t work, then the chip might be deeper than you thought.
Step 1: Determine The Finish
If you are unsure of the finish type, test it first.
To do this, lightly touch the finish of the furniture with a cloth that has been dampened with lacquer thinner. If it becomes soft, it is lacquer; if it doesn’t, it is polyurethane or an alkyd varnish.
Step 2: Apply Lacquer Thinner
If the finish is lacquer, fill a spray bottle with lacquer thinner and lightly spray the chipped area.
The nick will vanish as the lacquer softens and pours out after being emulsified by lacquer thinner. In about 10 minutes, the finish will harden once more.
Step 3: Treat With Steel Wool
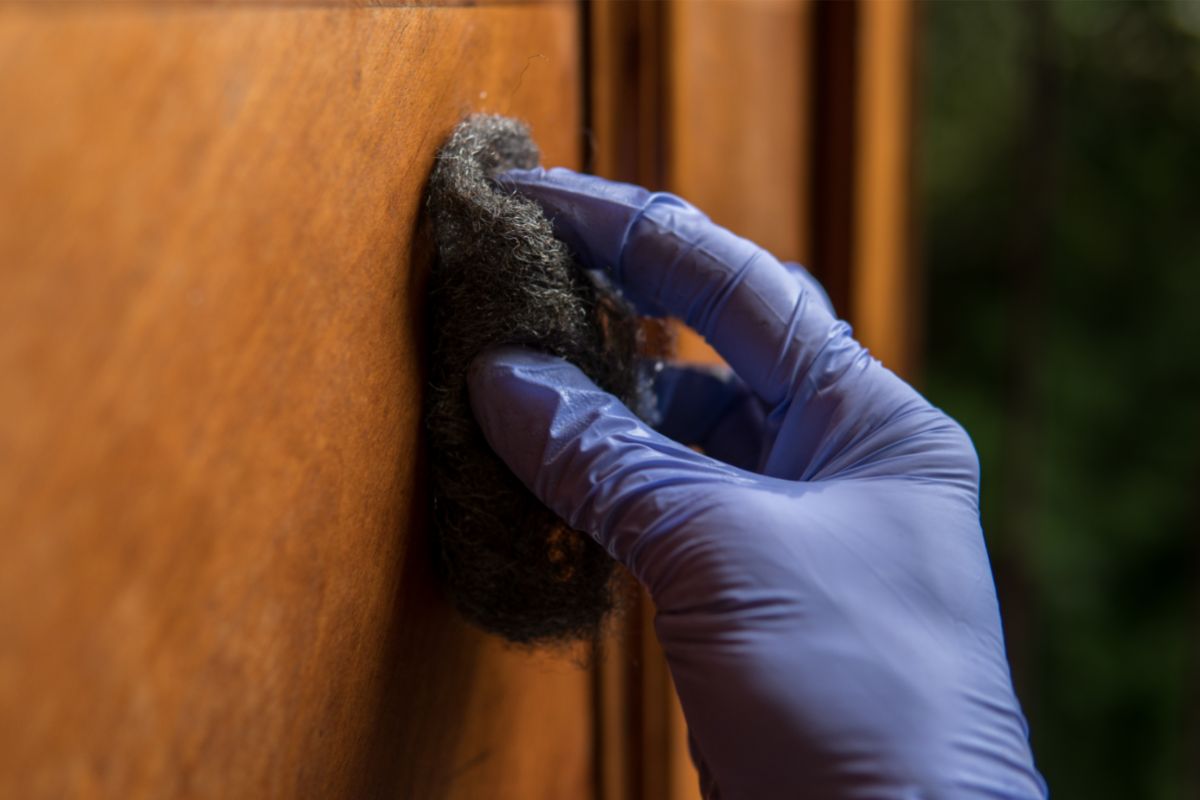
If the finish is varnish, rub the chipped area with extra-fine steel wool.
Rub the area until the finish is sufficiently flattened to make the chip disappear. If not, dab some fresh varnish on the area using a cotton swab.
The following day, rub the steel wool evenly over the varnish after it has dried overnight. If necessary, repeat this process.
Fixing Deep Chips
For deep cheeps, you’ll need to put in a little more labor. This method can be used if you don’t have the missing piece to glue back into place.
Step 1: Choose Repair Material
With resin wood filler, you can fix chips on wood surfaces and edges.
The resin wood filler must be used when it is still soft and has a limited working life. Once it hardens, you must discard any that you haven’t used, so only mix what you need.
You can also use wood repair wax, although doing so needs specialized equipment and some level of expertise. On the other hand, resin filler doesn’t require any specialist tools, so virtually anyone can do a repair with it.
Step 2: Prepare Resin
On a scrap of cardboard, combine the resin and hardener as directed by the manufacturer.
Typically, the two components of the resin filler are combined by blending them together for a few minutes with a putty knife.
To make concealing the repair easier, if at all possible, select filler that is the same color as the wood.
Step 3: Apply Filler
Apply the filler to the chipped area after waiting for it to get slightly stiffer, then shape it with a plastic putty knife.
Hold a scrap piece of wood under the repair to support the filler when repairing the edge of a table or cabinet.
Step 4: Shape Filler
Once the filler has hardened sufficiently to be cut, shape it with a utility knife to fit the contours of the wood.
After shaping it, let it sit for a few hours before using 120- or 150-grit sandpaper to smooth it out.
To make the edges of the putty blend with the wood, sand a portion of the wood surrounding the chip.
Step 5: Apply Paint
Use acrylic paint to paint the filler. To mimic the wood grain, you’ll need more than one color.
After applying the base color with an artist’s brush and letting it dry, add the grain color.
Step 6: Apply Finish
Apply the same finish to the patch as you would to the rest of the piece of furniture.
Spray or paint the surface with one layer, allow it to dry, and then lightly sand it using 400-grit sandpaper. Take care not to damage the paint by wearing through the finish.
After you’re done sanding, add another layer of finish.
Frequently Asked Questions
What’s The Difference Between Wood Filler And Wood Putty?
The main difference between wood putty and wood filler is that the former hardens after drying so that it can be sanded smooth, whilst the latter does not.
Wood putty can only be used for inside projects, but wood filler can be utilized for both interior and exterior purposes.
How Do You Mimic Wood Grain With Paint?
To create the color of wood, you’ll need three colors: two parts white, one part yellow, and one part brown. You can add more white for lighter wood, and more brown for darker wood.
When applying the paint, you should use sweeping strokes that match the direction of the wood grain on your piece of furniture.
Final Thoughts
There’s no need to panic when you find a chip in your wooden furniture. It can be easily fixed with either of the methods we’ve discussed. Before you know it, your piece of wood furniture will be looking brand new once again.


