
Contents
If you have wooden outdoor furniture, fencing, or a wooden deck that you wish to protect against the weather, you have come to the right place.
We will look at how to weatherproof wood to keep it looking beautiful for longer.
Why Is It Important To Weatherproof Wood?
Wood exposed to the weather will come under attack from rain, sun, frost, and humidity. Not to mention the insect attacks as well. So it is important to protect your wood from the elements to extend its life.
Applying waterproofing to your exterior wood will not make your wood immune to these forces, but it will help to prolong its useful life.
Even wood that is outside but under cover will need to be protected against the weather as it will still crack, warp or rot if left untreated.
So, what type of weatherproofing should you use?
Types Of Weatherproofer
There are three types of waterproofers that are suitable for exterior wood; wood sealers, clear and tinted waterproofers.
Wood Sealers
Oil-based wood sealers are stains that penetrate the wood much more deeply than water-based treatments. However, water-based stains and sealers can be applied to damp and dry wood. It is also easier to clean off brushes and rollers.
Clear Waterproofer
This product is specially formulated for protecting wood and often includes protection against mold and mildew. It will also reduce the effects of UV light on wood and resist fading. As the waterproofer is clear, it showcases the wood grain.
Tinted Waterproofer
A tinted waterproofer protects wood and, as it has a pigment gives better protection from UV light. Like the clear waterproofer, it contains mildewcides, and the color enhances your wood.
Both the tinted and clear waterproofer need to be reapplied every couple of years.
How To Weatherproof Wood
So now that you know what to use on your exterior wood, you need to know how to weatherproof it.
Prepare The Wood
The first and potentially most important step is to prepare the wood. To do this, you need to sand down the wood surface. The size of the area will determine how you go about this.
For a large area, you may want to use an electric sander; for smaller pieces, you can do it by hand.
Start off with rough-grade sandpaper to get rid of any imperfections or old treatments.
Gradually use less coarse sandpaper until the surface is clean, smooth, and free of any residue.
Choose Your Sealant Or Stain
If you haven’t done so you will need to choose your sealant or stain. Choose one specific to your project, for example, deck, furniture or fence sealant. If your wood needs to contend with UV rays, water and humidity, look for a marine sealant.
For those who prefer a wood stain, make sure that the one you choose is suitable for outdoor use.
When staining or sealing large areas such as decking, fencing or a garden shed, you may want to consider a product that can be used in a sprayer for faster application.
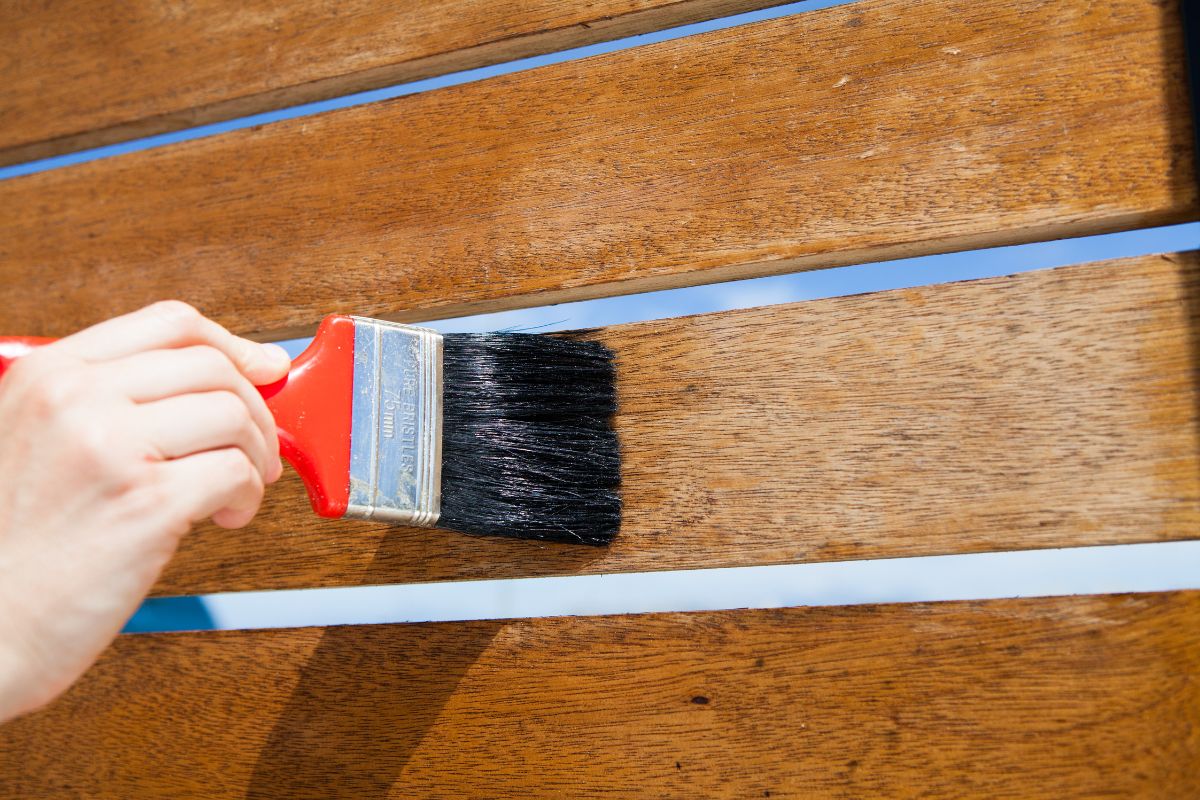
First Coat
The first coat can now be applied. For furniture or small areas, a brush is probably the best option, as it gives you more control over the application. Of course, you can also use a roller if you prefer; just make sure it is suitable for the product you are using.
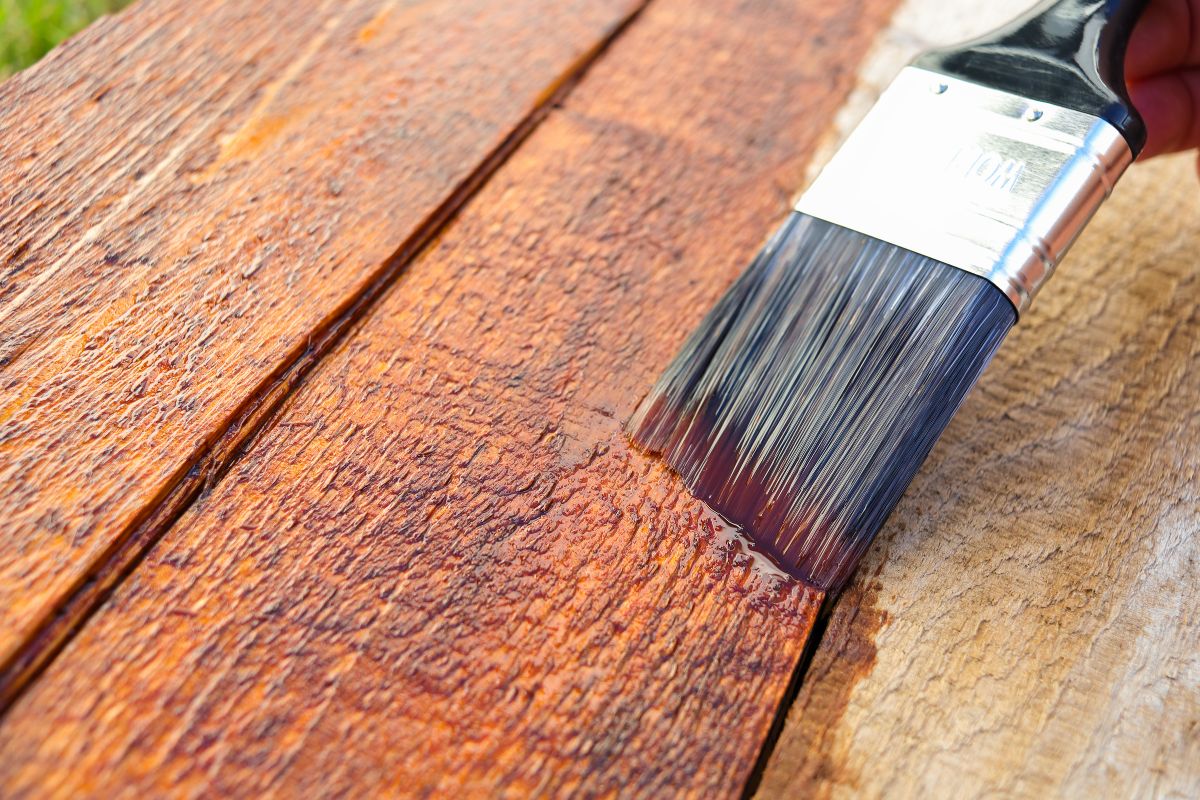
Whichever method you use to apply the stain or sealant, it is important to make sure that it is applied evenly. You then need to leave it to dry for as long as the instructions indicate.
Sand
When the first coat has dried, you will need to sand down the surface again. This creates a surface that the next coat can adhere to. But this should be done with care and with very fine sandpaper or with grade ‘0000’ steel wool.
When this sanding is done, wipe down the surface with a damp cloth to remove any dust before applying the next coat.
Second And Third Coats
Apply the second coat and once again allow it to dry for the time indicated on the manufacturer’s instructions. The second and third coats will take longer to dry than the previous one.
You must remember to lightly sand down the finish before applying the next coat.
Leave To Cure
Depending on the manufacturer’s instructions, leave the stain or sealant to cure. This could be for a day or two to three days.
Failing to follow the directions on the product can mean that the finish won’t be as good as you hoped so pay close attention to them.
Alternatives To Stains Or Sealants
If you wish, you can use an exterior or yacht varnish to protect your outdoor wood. The application process is much the same as for stains and sealants.
Varnish
Varnish is made from a mixture of oil, such as linseed oil, resin, and a solvent. It is much more durable than some polyurethane finishes, which can also be used on exterior wood. For exterior wood, choose a varnish with high UV resistance.
Epoxy
Epoxy resins can also be used on outdoor furniture or decking, as they are quite resilient. Make sure you choose one with UV protection, as some versions can go yellow with age and exposure to sunlight.
It goes on to wood similarly to stains and varnishes, except needing a primer before the epoxy is applied. It is quite a rapid drying, and you can add another coat after 3 or 4 hours.
Final Thoughts
There are many ways to weatherproof wood for outdoor use. Depending on what you are protecting, there are specific products to suit many different purposes. From sealant or stains to exterior varnish or epoxy.
We hope this guide to how to weatherproof wood has been useful and that it has helped you with your project.


