Contents
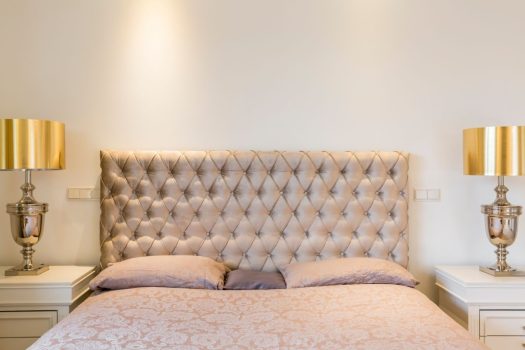
Headboards are a great way to add some personality to your bedroom decor. They come in so many designs; some have storage, some have fabric on them and some could be pure wood.
You don’t have to spend a fortune to create a beautiful headboard. In fact, you can easily build one from scratch using wood and paint.
So if you want to make a headboard from scratch then you’ve come to the right place. We are going to walk you through every step so you can make the perfect headboard for your bed.
What Is A Headboard?
A headboard is basically a piece of furniture that goes above your mattress. It’s usually made from wood but it can also be made from metal, plastic, or other materials.
Headboards provide a space to lean against when you are sitting in bed. They are also supportive as they help support your back when leaning against them.
This means you can sit and read a book comfortably. They also help to keep your pillow in place which prevents it from sliding down between the bed and the wall.
They are also there for protection. Headboards help to protect your walls from being scraped by the corners of your beds. If you have a headboard with shelves in it, then your headboard becomes even more practical.
Though, as we said before, headboards are also a design choice. They can add a personal touch to your room by showing your style.
How To Make A Headboard From Scratch – Step-By-Step Instructions
Step 1: Choose The Right Material For Your Headboard
The first thing you need to do is choose what material you want to use for your headboard. There are three main options available.
You can go for wooden headboards, metal headboards, or plastic headboards. Each has its pros and cons. Let’s start with the most popular option.
Wooden headboards are very common. They are easy to find at any hardware store, and they are relatively inexpensive. But they aren’t always the best option.
Wood tends to expand and contract over time. And because of this, wooden headboards tend to move around. This makes it hard to get a good night’s sleep.
Also, wooden headboards are very durable. Though, over time they might become damaged depending on the wood you use.
Metal headboards are another popular choice. They are strong and sturdy. However, they can be expensive. They are also heavy. Because of this, they are not recommended for people who live in areas where earthquakes are common.
Plastic headboards are also popular. They are lightweight and affordable but they are not as durable as wooden ones. So they will eventually wear out.
If you want something that is both stylish and functional, you should consider making a headboard from wood. Wooden headboards are an excellent choice. They look nice, and they are easy to clean. Plus, they are incredibly durable.
So now let’s talk about how to make a headboard yourself.
Step 2: Find A Piece Of Wood That Fits Your Bedroom Style
Now that you know what type of material you want to use, the next step is finding one that fits your bedroom style. There are two ways to go about this.
Either you can buy a pre-made headboard or you can build your own. We’ll show you how to build your own.
There are many different types of woods you can use for building your own headboard. Some are better than others.
So if you don’t know much about woodworking, you may want to read our beginner’s guide or ask someone else to help you pick the right kind of wood.
We are going to walk you through making a headboard for a queen-sized bed. For this headboard, you will need six 1×6’s at 66 inches. You need two 1×4’s at 52 inches.
Also one 1×3 at 56 inches and one 1×3 at 25 inches. You could choose to use any wood you would like to but we would recommend using whitewood.
You will need some tools too. These include a miter saw, drill, hammer, screwdriver, tape measure, pencil, and sander.
Step 3: Laying Your Wood Down
The first thing you want to do is lay down all of your six pieces of wood that are the same size, next to each other.
Make sure they are evenly laying next to each other. Ensure that all the pieces are aligned properly and check to see if all the pieces are flat.
Step 4: Attaching The Supports
Now that you have your wood down, it is time to attach the first support. For this, you need to take your 1×3 25-inch support wood and put it in the middle of the pieces of wood you’ve placed down.
Make sure that you put it horizontally. Then you can screw it into place.
After you’ve attached the middle support, it is time to get the two 1×4 52-inch supports and the 1×3 56 inches support. Use the 56-inch support and place it horizontally, not on the wood.
You are going to use the 56-inch support to see how far apart your two 1×4 52-inch supports need to be.
Once you’ve measured them, drill in some screws to attach the supports to the wood. They will be longer than the headboard you’ve created so far. The parts that are longer than the headboard are like legs.
Then take the 56-inch piece you used to measure the distance and screw that to the legs that you’ve created. So you are adding this piece of wood horizontally to the two 1×4 52-inch legs you’ve created.
Step 5: Sand And Add Final Touches
Now that your headboard is made, you should flip it over and sand it down, so everything is smooth. Then you can stain it whatever color you want to or even paint the headboard.
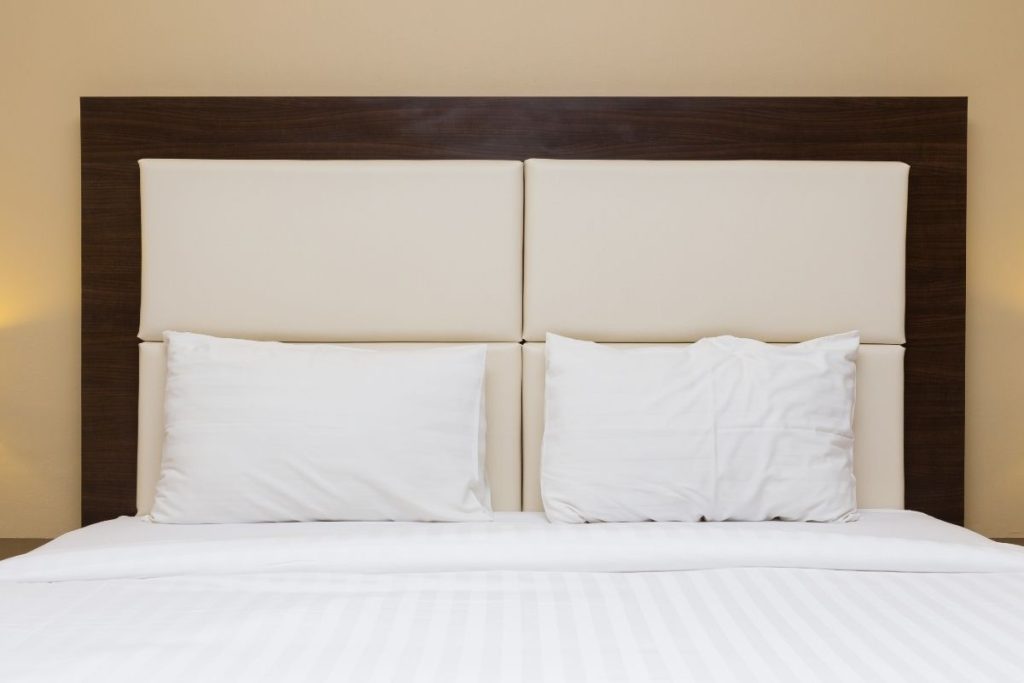
If you want a fabric headboard, all you need to do is staple the fabric of your choice to the wood.
Final Thoughts
Headboards are an essential part of every bedroom because they add comfort and style to the room.
If you’re looking to create your own headboard, you can follow our steps above. It only takes a few hours to complete and you’ll love having a beautiful headboard in your bedroom.
We hope that this guide has helped you to understand how to build a headboard. Please share this guide with those who might also benefit from reading this guide. Good luck making your headboard, and thank you for reading!


