Contents
Believe it or not, refinishing a wooden table isn’t as hard as you might think it would be, and as long as you have even the slightest bit of know-how when it comes to all things DIY, you should be able to do it all by yourself – no professionals needed!
Being able to refinish a wood table is a wonderful skill to have in your locker, because it means you can buy or acquire literally any table you want to, no matter how old (even if it’s a hand-me-down from your great-great grandma!), and have the capability to bring it back to life and make it look new again.
Don’t get us wrong, stripping an entire wooden table can be a messy business and needs you to have strength and good stamina, but if you have those things, the end results will be entirely worth it – we promise!
In fact, if you end up being good at it, then who knows, maybe it can become your new career path!
Joking aside, it’s worth the hassle, so read on to find out exactly how to refinish a wood table with this step-by-step guide.
Step 1: Make Sure You Understand Your Wood Table
Before you begin working on the wood table in question, you must understand it and pay close attention to its every detail.
This helps to ensure that you’ll be able to easily refinish it yourself, because certain types of tables – for example, ones with too many tight corners or hand-carved details – will be very tedious and challenging to refinish, especially if this is your first time doing it.
You also need to check what material it’s made from, as this will impact how tricky it will be to refinish.
Step 2: Clean Your Wood Table
Now that you’ve decided whether your table is suitable for refinishing, it’s time to prepare it.
You absolutely have to clean the table before you start working on it.
We know it might seem pointless, seeing as you’re going to be stripping it anyway, but the oil and dirt on it could curtail the stripper so that it doesn’t strip properly.
Step 3: Fill Any Holes With Wood Filler
Another thing you’ll want to do before actually getting started on stripping the table is to fill any holes in it with wood filler.
This is to repair any damage and make it look even newer once you’ve refinished it.
Here you should use a stainable wood filler so the repaired area matches the surface of the table once you’ve refinished it.
To complete this step, put the filler into any holes, use a flat-headed screwdriver tip to push the filler inside, and then let it dry.
Step 4: Strip The Original Finish
This is where things get interesting, as we’re down to the crunch point of stripping off the original finish on the wood table.
You have a few options here regarding how you can strip it. Firstly, you can use a chemical stripper to remove the coats of paint or the stain.
For this, you need to wear rubber gloves, have a long-sleeved top on, and do it in an open, well-ventilated area because you’re dealing with chemicals, so it’s always good to be safe.
Once the stripper has softened the finish of the table, use a scraper (or knife) and run it across the grain of the wood to fully strip the finish.
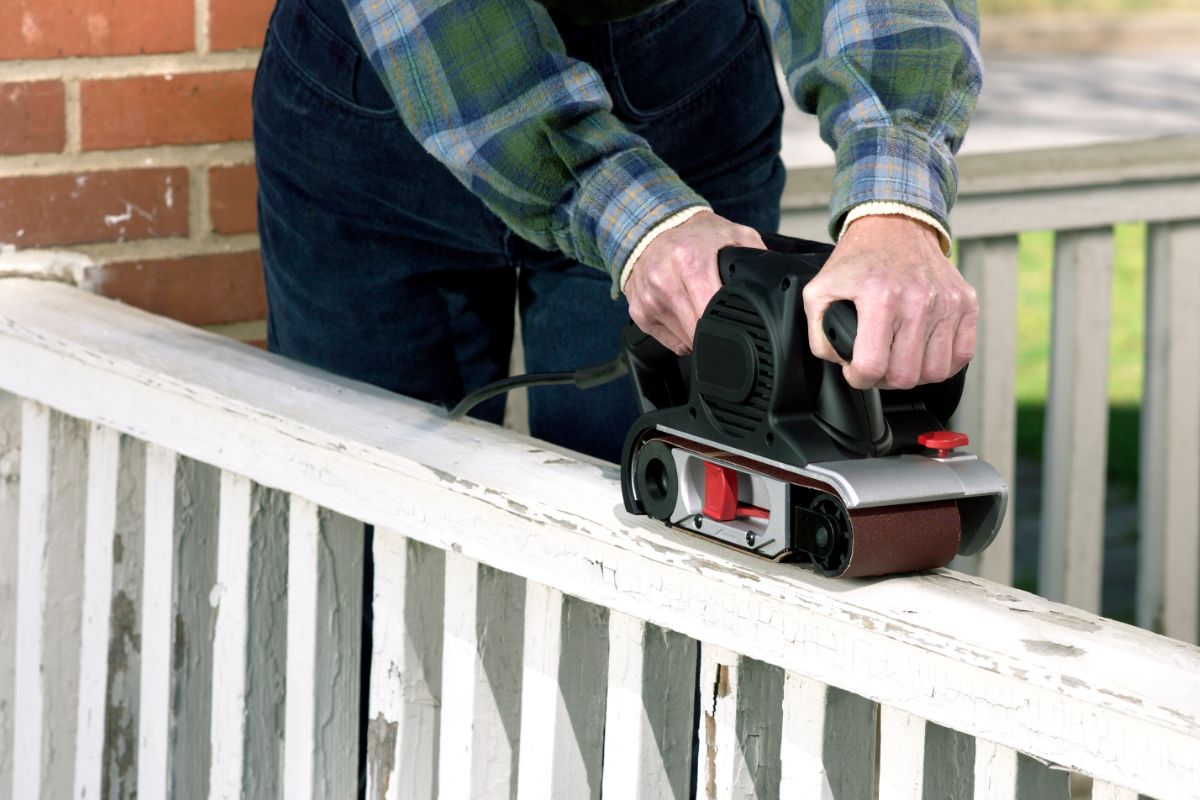
Your second option is to use coarse sandpaper to strip the original finish.
With this, you can either do it by hand or use a mechanical sanding machine – which is far easier – and you need to start with 60-grit sandpaper, which you have to sand in the same direction as the grain.
Then wipe the table down and sand it once more, but this time with 120-grit sandpaper, to polish the table.
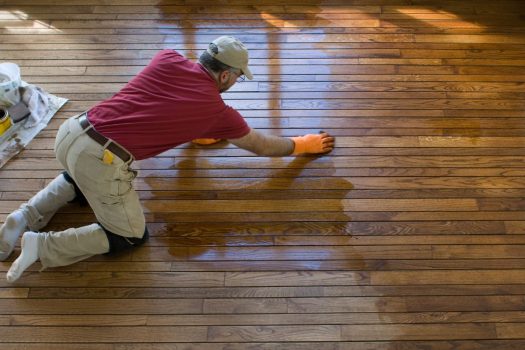
Step 5: Apply The Paint Or Stain
Your next step is to apply the paint or stain to the wood table.
The most important part about applying these is making sure that the coat you put on is applied as evenly as possible.
Because the wood has been stripped and sanded down, it will absorb the stain easily.
To apply it, you need to brush the stain or paint with a paintbrush in the same direction as the grain.
It’s imperative you use cheesecloth to get rid of any excess. Otherwise, you’ll have blotches on the table.
Then, once it’s dried, use extremely fine sandpaper to dust it.
After that, apply coat after coat – how many you put on is entirely up to you because it all depends on how dark you want to make it.
Step 6: Apply A Clear Coat Finish
The final step is to apply a clear coat finish to the table to protect it. You can either use polyurethane, tung oil, or wax to do this.
The best option is probably a wax finish because it’s wonderfully traditional and will make your table even more aesthetically pleasing by adding some lovely warmth to it.
Make sure to reapply it regularly; it will easily protect your table from any potential water damage.
Final Thoughts
It’s never too late to acquire a new skill, and learning how to refinish an old wood table that you’ve been handed down is extremely useful, as it will barely cost you anything. It’s extremely satisfying knowing that you’ve put in all the hard work to make it look great!
We hope this guide has been helpful and that you now know exactly how to refinish a wood table!


