Contents
There are many reasons why you might want to whitewash wood. Not only can it give timber a distressed look, but it also brings a softness to the overall aesthetic appeal, especially to even the dullest looking furniture.
While, at first, it might look difficult to do, it actually is not. With the know-how – which is simple, you too can create an updated piece of furniture using a straightforward method.
There are several ways to achieve the desired look; fortunately for you, we shall cover them in this article. So, without further ado, let us look at some techniques to achieve this popular wooden effect.
Why Whitewash Wood?
It is a versatile way to create different results and brighten a room up or update old furniture. While painting a plank of wood, white is fine, if you want to show the natural beauty of timber without using a regular stain, then whitewashing is your answer.
It can also produce a shabby chic look which is useful if you want the wood to appear distressed. It is also so easy that you will not need to call a professional to do it for you. If you have the time, get to it – it will transform a space.
Updating Old Furniture And Wood
If you plan to update old furniture, you will need to prep the wood first. You will not want to paint directly onto the old stain, varnish, or paint, so you will have to put the hard graft in before you can even think about whitewashing.
This is also the same if you are planning to use old wood, as there may be remnants of past paint or other types of coating. You can skip this step if your wood is brand-new with absolutely nothing on it.
Before you begin, you want to clean any grime or dust off the wood. You can use a detergent, or the simple method of warm soapy water will do.
Once it is dry, it is time to sand. The aim is to remove the coating as much as possible, not to sand down the wood itself. You will want to make sure the wood is at its raw form again, so take it gently but get that top layer removed.
Now you are ready to paint!
The Methods Of Whitewashing
There are several methods, but the easiest one is to dilute the paint. This one is an excellent option if you have not whitewashed wood before.
If you feel confident or want to try something a little different, then there are two other methods. You can also use the candle method, which causes a distressed type of wood, and then there is the scraping technique. It applies texture to the finish, as well as creates a whitewash.
Also, keep in mind that the results can vary depending on the wood you want to paint on, so get creative.
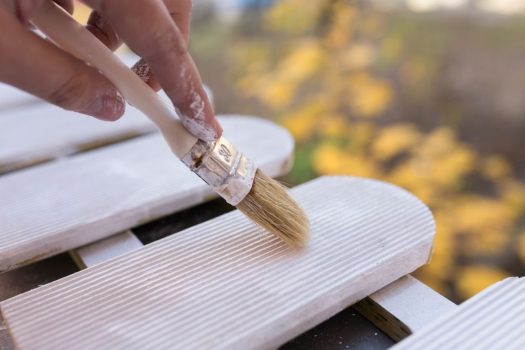
Method 1: Diluted Paint
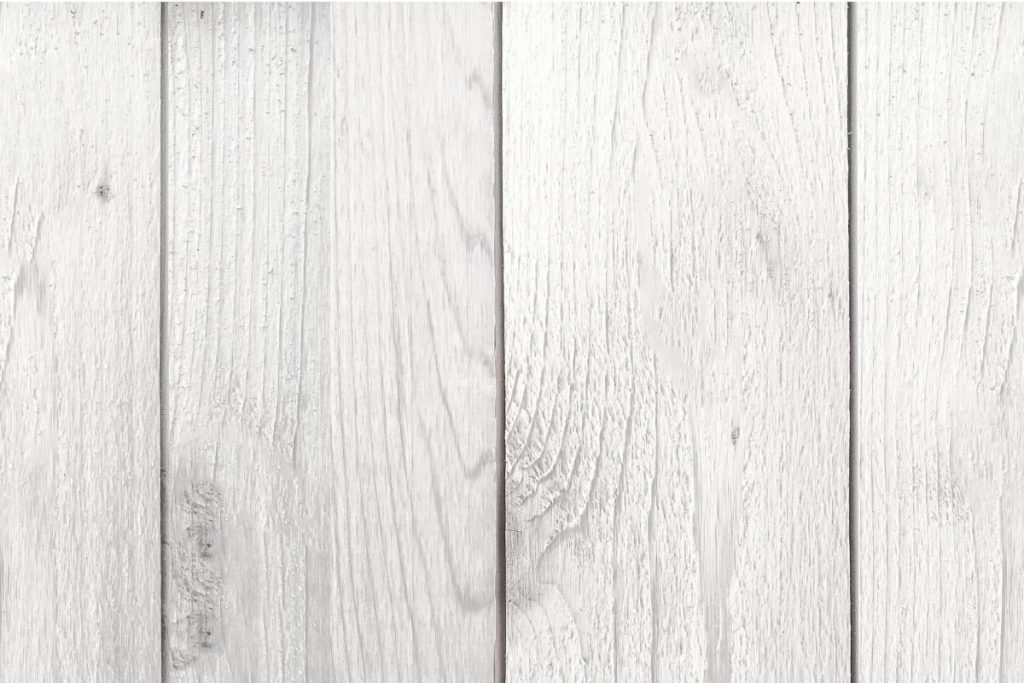
As stated previously, diluting the paint and using a rag (or a brush) is the easiest and most common method to whitewash wood. It can be done on furniture, walls, and flooring without any problems and can be used on smooth, rough, and textured wood with excellent results.
If you have already cleaned and sanded the wood, then you are likely ready to start whitewashing. Before you can begin, however, you will need to dilute the white paint.
Add water to the white paint until it has a consistency that looks and feels like heavy cream. Test a cut-off piece of wood first to ensure it has reached the desired level of whitewash.
Dip the clean lint-free rag or paintbrush into the diluted white paint, and rub or brush it along the surface of the wood. You are achieving the look of a stain rather than a full paint, so keep this in mind when applying it to the wood.
If you want it to look whiter, wait until it is fully dry and then repeat the process. Also, if you are whitewashing a floor, you may want to seal the finished result because it is a high-traffic area. You can use something like polyurethane to do this. It will ensure that the whitewash will last for a few years.
Method 2: Shabby Chic Using A Candle
Once a really popular method, it has now taken its place as a classic style that suits any home that wants a charming yet aged feel. While not used for modern pieces, it can give the furniture a vintage aesthetic.
It is easy to achieve this look. However, it will take a little bit more time than the diluting method and is best used for smaller projects than a floor or wall unless you feel confident about doing so.
Using a plain candle, rub it on random areas of the wood. Once you have finished this step, cover the entire surface with white paint and let it dry. This may take a few hours, but you want it completely dry.
Once it has dried, take a lint-free rag and wipe the surface of the wood with pressure. The paint will come away from the wood where the wax was applied.
Method 3: Scraping The Wood
If you want an actual hands-on project, then this is it. The scraping method creates a rustic, vintage look that is different from the shabby chic method. It can also look great on a wall, though it may be trickier to do. Here is why:
This technique requires a particular kind of consistency in the paint. If it is too thick, then it will not work. When this is the case, just add water until you find it feels like a pancake batter. Do not dilute it too much, though.
Once the paint is just right, pour it over the wood and use a scraper to scrape along the wood. The paint should settle into grooves and become soaked by the wood.
The finished results have an old-school whitewashed look without being too stain-like or ‘patterned’ like the candle method. Even so, this technique is best used on older wood with texture and may not give the same result on smooth wood.
Final Words
Whitewashing wood is not only a fun project, but it can create a great statement piece in the home, whether upcycling old furniture or re-doing the hardwood flooring. It is a simple way to overhaul timber compared to a simple shop-bought wood stain dramatically.
If you want to add a white stain and brighten the room up, then whitewashing is most certainly the way to go. From a see-through finish to the classic shabby chic or a rustic vibe, there are many ways to achieve the desired results.
You can also make wood look aged, even though you bought it brand-new from the hardware store last week. Now that you have read about it get to it!


