Contents
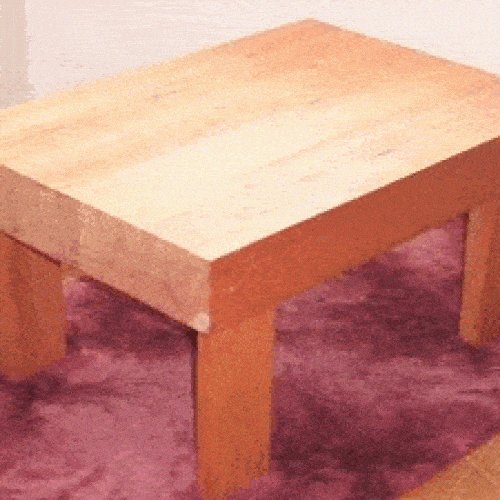
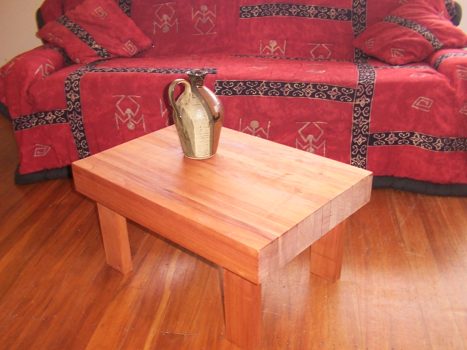
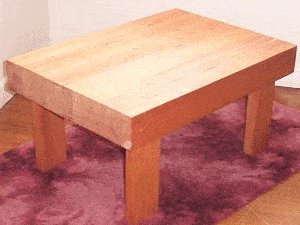
Side coffee table
$5.00- Pay online by credit card, debit card, or Paypal using Secure Server Paypal. You do not need a Paypal account if paying by credit or …
|
Introduction
All measurements throughout this project are given in both Metric (mm) and Standard/Imperial inches.
The measurements are given first in millimeters (mm), followed by inches in brackets ( ).This small coffee table is ideal for a side table or end table. The table is designed with the home handyman in mind. It is both easy to build and is very sturdy. The minimum tools required to construct this coffee table are:
- Pencil
- Square
- Measuring tape
- Handsaw
- Hammer
- Chisel
- A couple of clamps
- Lots of sandpaper.
Most handymen are likely to have those tools in their arsenal. Of course….. it would make life easier if you also happened to have a drop-saw and a belt sander.
About the wood
The wood used for this coffee table was 90mm x 45mm (1 1/2″ x 3 1/2″) dressed/surfaced cedar.
Cedar is reddish in color, light and easy to work with. Other wood can be used.
Virtually any wood can be used for this project, just allow for different widths and thicknesses, and also take into account, the finish. Is the table to be painted, stained and/or coated with polyurethane?
Obviously, if the table is to be painted, then an inferior and less expensive wood can be used, as imperfections (within reason) can be filled and painted over.
About the glue
The glue used to make this table was an epoxy glue, a two part mix where an epoxy resin is mixed with an epoxy hardener. Most hardware stores stock epoxy glues.
Some glues do not take to types of chemicals contained in certain woods, always read instructions and conditions before purchase.
Materials + quantities
| MATERIAL | AMOUNT |
| 90mm x 45mm (1 1/2″ x 3 1/2″) wood | 12 metres (38ft) |
| Epoxy glue | 300ml (1/2 pint) including hardener |
| Polyurethane | 500ml (1 pint) tin |
The plans, cutting detail, and instructions
The plans and cutting detail

The Instructions
- Cut the 90mm x 45mm (1 1/2″ x 3 1/2″) wood into lengths as shown in the plans above.
- Cut out the leg rebates in lumber pieces (b) to dimensions as shown in the plans above using a handsaw and chisel.
The width of the rebates should be the same as the width of the legs. - Glue each piece of wood that makes up the table top and clamp them together. Ensure the pieces (a’s and b,s) are in the order as shown in the plans above.
- Wipe off any excess glue.
- When the glue is dry, take off the clamps and sand the top, the sides, and the end grain to a smooth finish. Begin with a coarse sandpaper and finish with a fine sandpaper. (sometimes a trip down to the local hire center for a belt sander is the best bet)
- Turn the table upside down. Glue and fit the legs in the leg holes.
Note: The legs should fit into the holes snugly. Do not use excessive force putting the legs into the holes. If the legs are too tight, sand or plane them as necessary.
- Put three coats of polyurethane on the coffee table.
- Thin the first coat with a bit of turps or other suitable thinners so it will soak into the lumber better.
- After the first coat dries, lightly sand and then put on coat number two, wait until that coat dries, lightly sand and then put on coat number three.
All done!


