Contents
If you call yourself a bookworm, you probably have an extensive collection of books.
Like me, your home may be overflowing with books that you would like properly displayed. The most obvious way to organize your book collection is with a bookshelf.
Though you may be tempted to buy a ready-built bookshelf, many people enjoy building their bookshelves themselves. Plus, this allows you to customize the design to fit your home perfectly.
If this sounds appealing to you, then here is our instructional guide.
How To Build A Bookshelf
Instructions
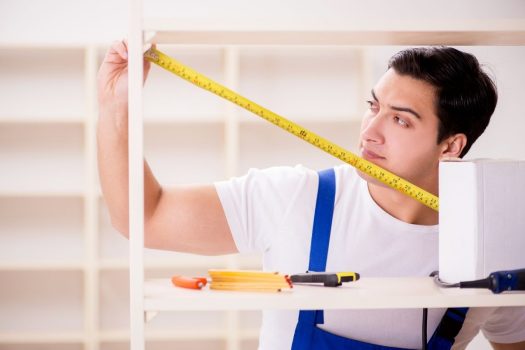
- Using a measuring tape, measure the ideal size of your bookshelf. Think about where in the room you want to place this bookshelf. Then, calculate how much space there is. This will help you to work out the measurements of your bookshelf. Note these measurements, either on your phone or by writing them down on paper.
- Next, measure the height of your books. Most books are between 8 and 9 inches tall, so your shelves should be just a little bigger than this. However, if you have some tall books, you may need to have a taller shelf suited to them.
- Design your bookshelf using the measurements that you obtained earlier. You should consider design elements at this point. For instance, do you want it to have a closed back?
- Think about which wood you want to use. Each wood has slightly different properties. For instance, some are more durable than others. This can affect the price. Solid wood can be costly, so you may want to use plywood instead. Ensure that you get enough wood for the measurement of your bookshelf.
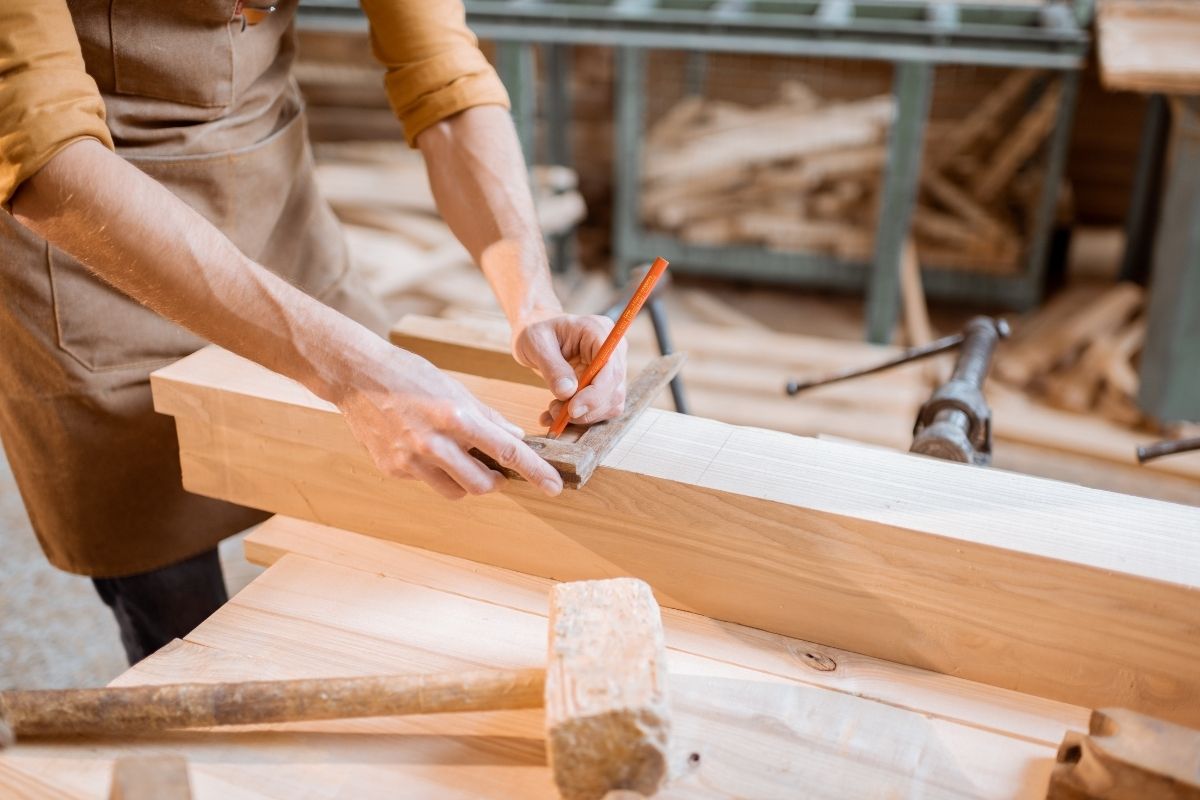
- Using a circular saw or table model, cut the wood to make the shelves and base of the bookshelf. These shelves should all be the same length and width. When doing this, you may want to wear safety equipment, such as goggles and gloves.
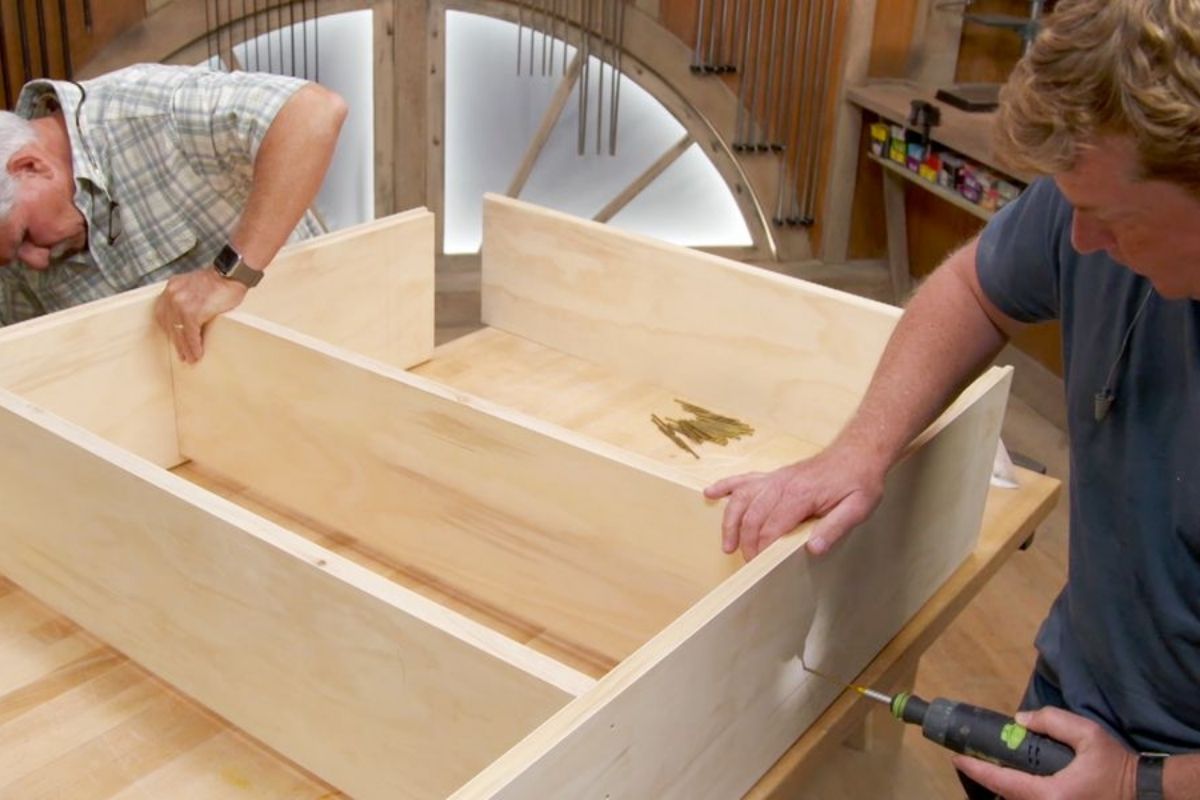
- Then begin constructing the sides of your bookshelf. These can be made from quite substantial pieces of wood, so you may want to get the help of another person. You can cut this out with your saw if your bookshelf has a closed back. The back needs to be the same length as the shelves.
- Using the same measurements as the shelves, make the top of the bookcase. To make attaching it to the sides more seamless, you may want to use a rabbet joint on the sides. Essentially, this is a small recess on the end of the wood plank.
- With wood glue, attach the top of the bookshelf to the two sides and the back. You might also want to use nails for added strength.
- Connect the side and back to the base using the same method as the previous step.
- With the aid of a spirit level and measuring tape, begin gluing and screwing the shelves into place. They should be straight and placed at equal distances apart from one another unless you want shelves for different-sized books.
- Once you have fitted all the parts in place and the glue has fully dried, begin sanding the wood. This will make it feel much smoother and will get rid of any imperfections.
- If you want to alter the wood’s color, you can now paint it. This can make your bookshelf personalized, and it will match your home. If you choose to do so, remember to select a type of paint that is designed for wood. After applying the appropriate number of paint coats, you should use a finish on the wood because it adds a layer of protection.
Equipment
Here are the main tools that you will need to complete our method:
- A measuring tape
- Wood, e.g., plywood, pine, birch, oak, or mahogany
- A saw, preferably a circuit or table saw
- Safety equipment, e.g., safety goggles
- Wood glue
- Some screws and a screwdriver.
- A spirit level
- Grit sandpaper
- Wood paint and a finish (optional)
Why Build A Bookshelf?
Now that you know how to build a bookshelf, you may be wondering how this can benefit you. For starters, handmade bookshelves and other furniture forms are more customizable than ready-made products.
This allows you to select whatever materials you want to use. For example, you can choose a wood that appeals to you. Furthermore, you can ensure that the measurements are the perfect fit for your home.
Many people also take great satisfaction in building their own furniture. If you enjoy DIY, then you will love this activity. Many people find it a relaxing task that enables them to be creative.
In some cases, making your bookshelf can be cheaper than buying one that has already been made. If you are looking to save money, you can find affordable wood.
Frequently Asked Questions
What Are The Best Types Of Wood For Bookshelves?
Aside from the aforementioned plywood, tons of beautiful woods are great for making bookshelves. These include mahogany, pine, koa, birch, maple, cherry, and oak.
Because these different wood varieties are sold at different prices, you should find one within your budget.
Is It Expensive To Make a Bookshelf?
Yes, it can cost a lot of money to build a bookshelf. Yet, it can be less expensive than hiring a carpenter or buying a ready-made bookshelf.
Ultimately, the price will depend on what type of wood you get and whether or not you already have access to the required equipment.
Closing Remarks
Whether you are an experienced woodworker or a novice in DIY, constructing a bookshelf is a massive undertaking. Though these instructions can help those of different skill levels, a bookshelf may be too difficult for those with little experience.
If this is the case, you may want to build a more simplistic bookshelf. Either way, we hope that this article has helped make your book storage dreams come true.


