Contents
Introduction – Plans – Instructions
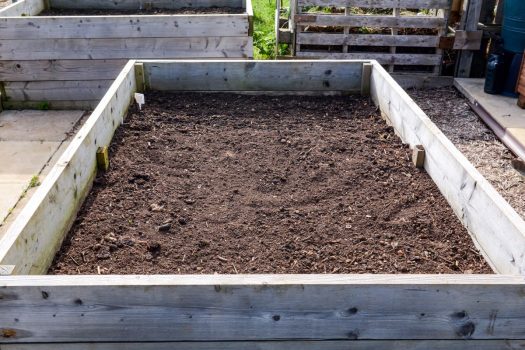
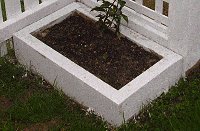
This most basic planter box is really just an oblong with four sides fixed together to hold in the soil.
The planter does not have a bottom. It is designed to sit on the ground and be fixed to a structure such as a fence or an arbor.
The sides are of 150mm x 50mm (2″x6″) lumber.
The size (footprint, area) is 600mm (24″) x 350mm (14″).
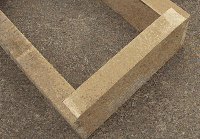
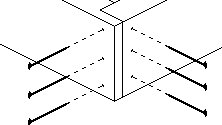
The corner joints are rabbet joints (see below). This enables each corner to be nailed from two sides, thus achieving more holding strength than could be realized from a standard butt joint.
- Fig.1
- [a] Planter end pieces. 150mm x 50mm (2″x6″) lumber. Two pieces approximately 350mm (14″) long, however you can make the planter as wide as you like.
- [b] Planter side pieces. 150mm x 50mm (2″x6″) lumber. Two pieces 600mm (24″) long. Rebate the ends, see next page for instructions.
- Fig.2
- This joint can be nailed through two sides making a claw-like grip and ‘locking’ the two pieces together. Even though this planter takes very little weight, over time weather alone can make wood bend or warp and play havoc on joints unless a little bit of thought goes into them.
Instructions continued
Cut the members and rebate the ends
- Cut the four planter box sides from 150mm x 50mm (2″x6″) lumber.
- Make two pieces 600mm (24″) long and two at 350mm (14″) long.
- Mark where the rebates are to go at both ends of the two side pieces.
- Set the blade on an adjustable circular saw to the required depth (about 2/3 of the thickness of the lumber).
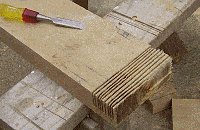
- Make repeated saw cuts over the area to be rebated. The more saw cuts, the easier the rebate will be to clean out. (See picture).
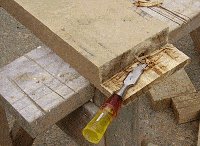
- Finish cleaning out with a sharp chisel.
Nail the sides together
- Nail the sides together as shown in the diagram below.
Position the planter box
- All done!
- Fix the planter box to whatever structure it is intended for.

